Showing posts with label cada c66006 steamed bun shop. Show all posts

Wednesday, April 29, 2026

I modified the lighting in the Cada C66006W Steamed Bun Shop

Hey brick fans!

Today I'm reviewing the lighting modifications I made to the Cada Steamed Bun shop.  Here's my initial review of it in case you haven't seen it before: https://bricksandfigs.blogspot.com/2022/06/cada-c66006-steamed-bun-shop-set-review.html.


Cada provides what are known as fairy lights to light up it's modular buildings.  In the pic above you can see that it is one long LED light string, connected to a USB plug with a blue button on it.  By pressing on the blue button, you can activate different modes to change the blinking or flashing of the lights.


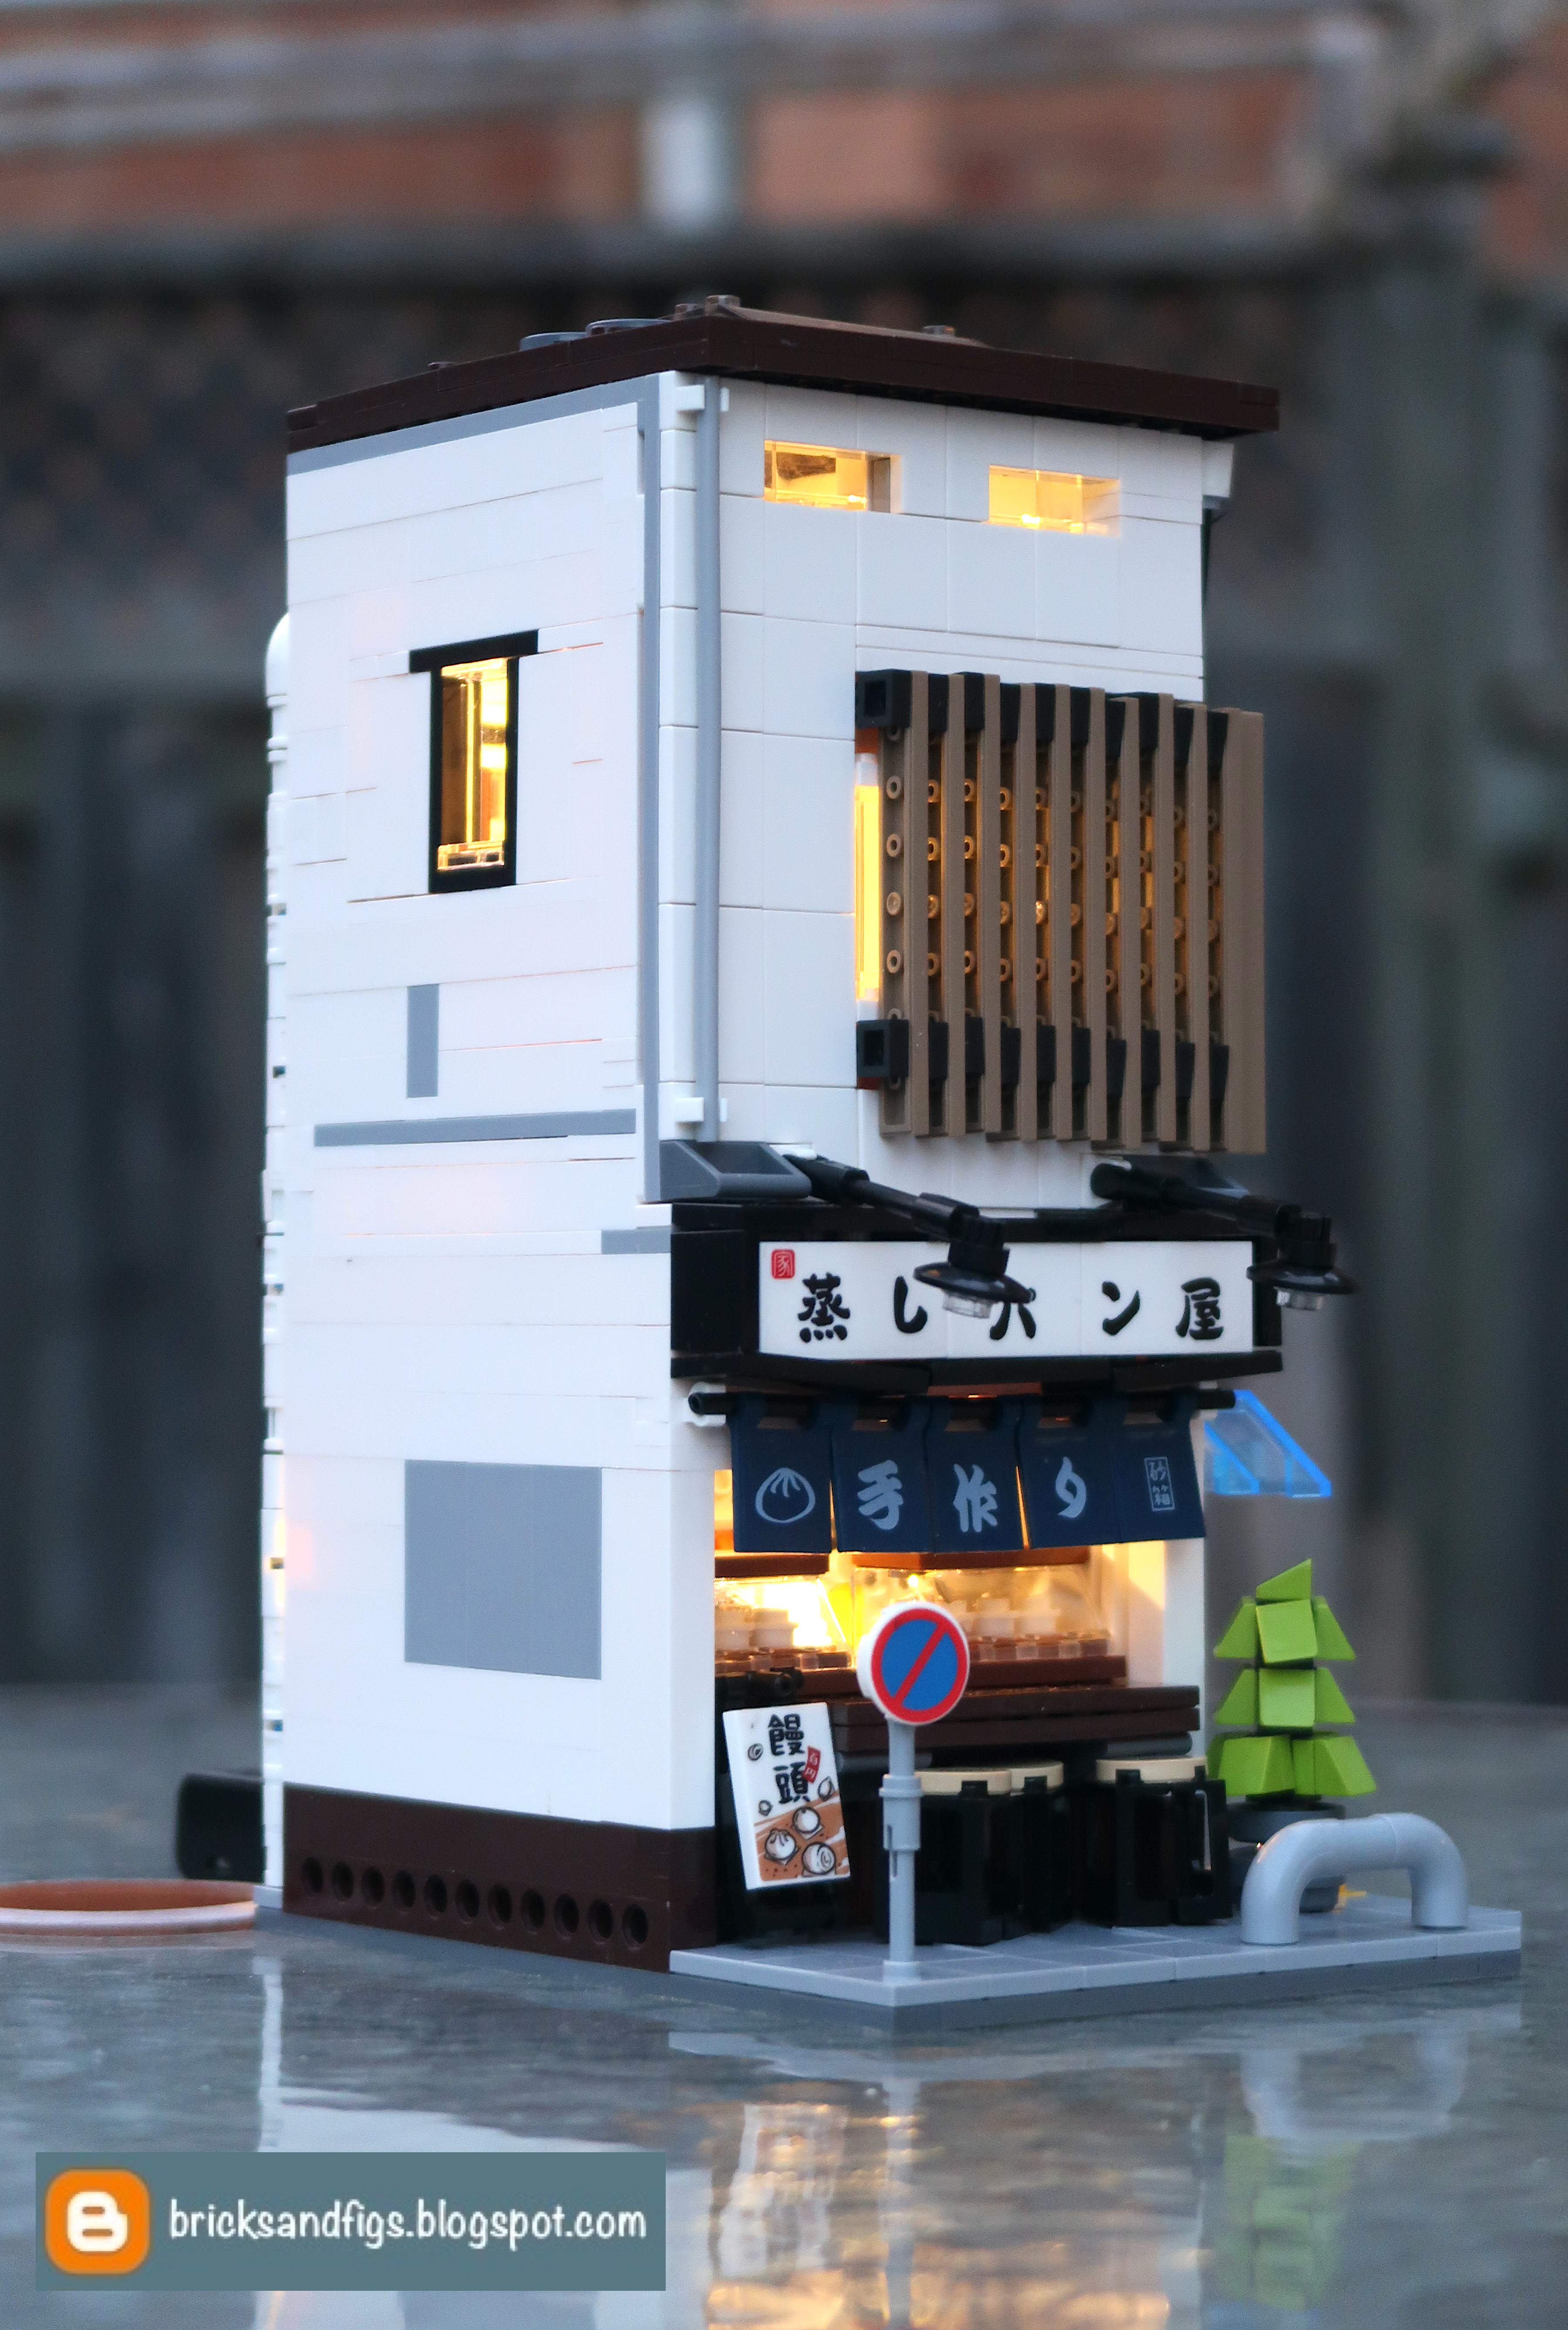
In the case of the Cada Steamed bun shop, it utilized the same type of lighting to light up the interior, but what I wanted was to light up the exterior as well.  I wanted to light up the two lamps over the signage, add some lighting over the vending machine as well as the streetlamp.  That's something the fairy lights could not do.

Before tackling the lighting issue I made some further changes to the overall structure of the steamed bun shop: https://bricksandfigs.blogspot.com/2023/02/modifications-to-my-cada-japanese.html.   After I was happy with those changes, I then set about collecting all of the lighting elements I needed to replace the fairy lights.

In preparation for the new lighting install, I moved the street lamp from the rear of the building to the front.  In this way, I could run the new wiring to the front of the shop.

The lighting elements I used are as follows:

3 warm white led dot lights, one for the street lamp and two for the overhead lighting for the signage.
3 warm white led light strips, one to be placed over the vending machine and one on each interior floor of the shop.  I used a 6 port hub and a new USB plug which I placed inside the building.

All of the above elements can be sourced from Lightailing.com or Aliexpress.  Get 10% off your purchase at Lightailing.com if you use my discount code itsnotlego at checkout.


Each of the exterior lighting wires feed back inside the building.

The streetlamp wire comes inside and is connected to the upper floor led light strip. A connecting wire from the upper floor light strip runs down the wall and connects to the hub.  The vending machine led light strip connects to the first floor led light strip which is wired into the hub.  The overhead sign dot lights take up two more ports on the hub and the USB plug uses another one, leaving one free port.

Yes it looks kind of messy, I probably could have used some adhesive tape to attach the hub to a wall or ceiling.

Here is the back wall reattached to the shop. 


Alright, that's a quick look at the lighting changes I made to the Cada Steamed bun shop.  Please let me know what you think!

If you're looking for any of the Cada series of Japanese themed buildings, you can find them on Afobrick.com or on Aliexpress.   Feel free to use my discount code itsnotlego during checkout on Afobrick to get another 5% off your purchase.

Thanks for looking, bye!

Friday, February 10, 2023

Modifications to my Cada Japanese Steamed Bun Shop C66006 (not Lego MOC)


Welcome back to Bricks and Figs!  Having recently modified/modularised the Cada Japanese Tea Shop, I decided to do the same to my Cada Japanese Steamed Bun shop.  Let's see what changes we had to make.

So the first thing you will notice is that the Steamed Bun shop now sits on a standard 16x32 stud baseplate, allowing for more space both at the front and rear of the shop. Passer bys can move freely on the sidewalk without bumping into patrons seated at the shop counter.  Other than that, cosmetically nothing has changed much in relation to the building exterior.  Oh, forgot to mention that the new MILS base strengthens the set enormously, making it easier to handle.

At the rear of the shop, the full depth base plate let's me make a patio, with some accessories of recycling containers I borrowed from my Sluban Recycling Truck set.

If you will recall, the downspout of the OG set served as a hinge in which the rear wall was connected, and you could swing it back to reveal the interior.

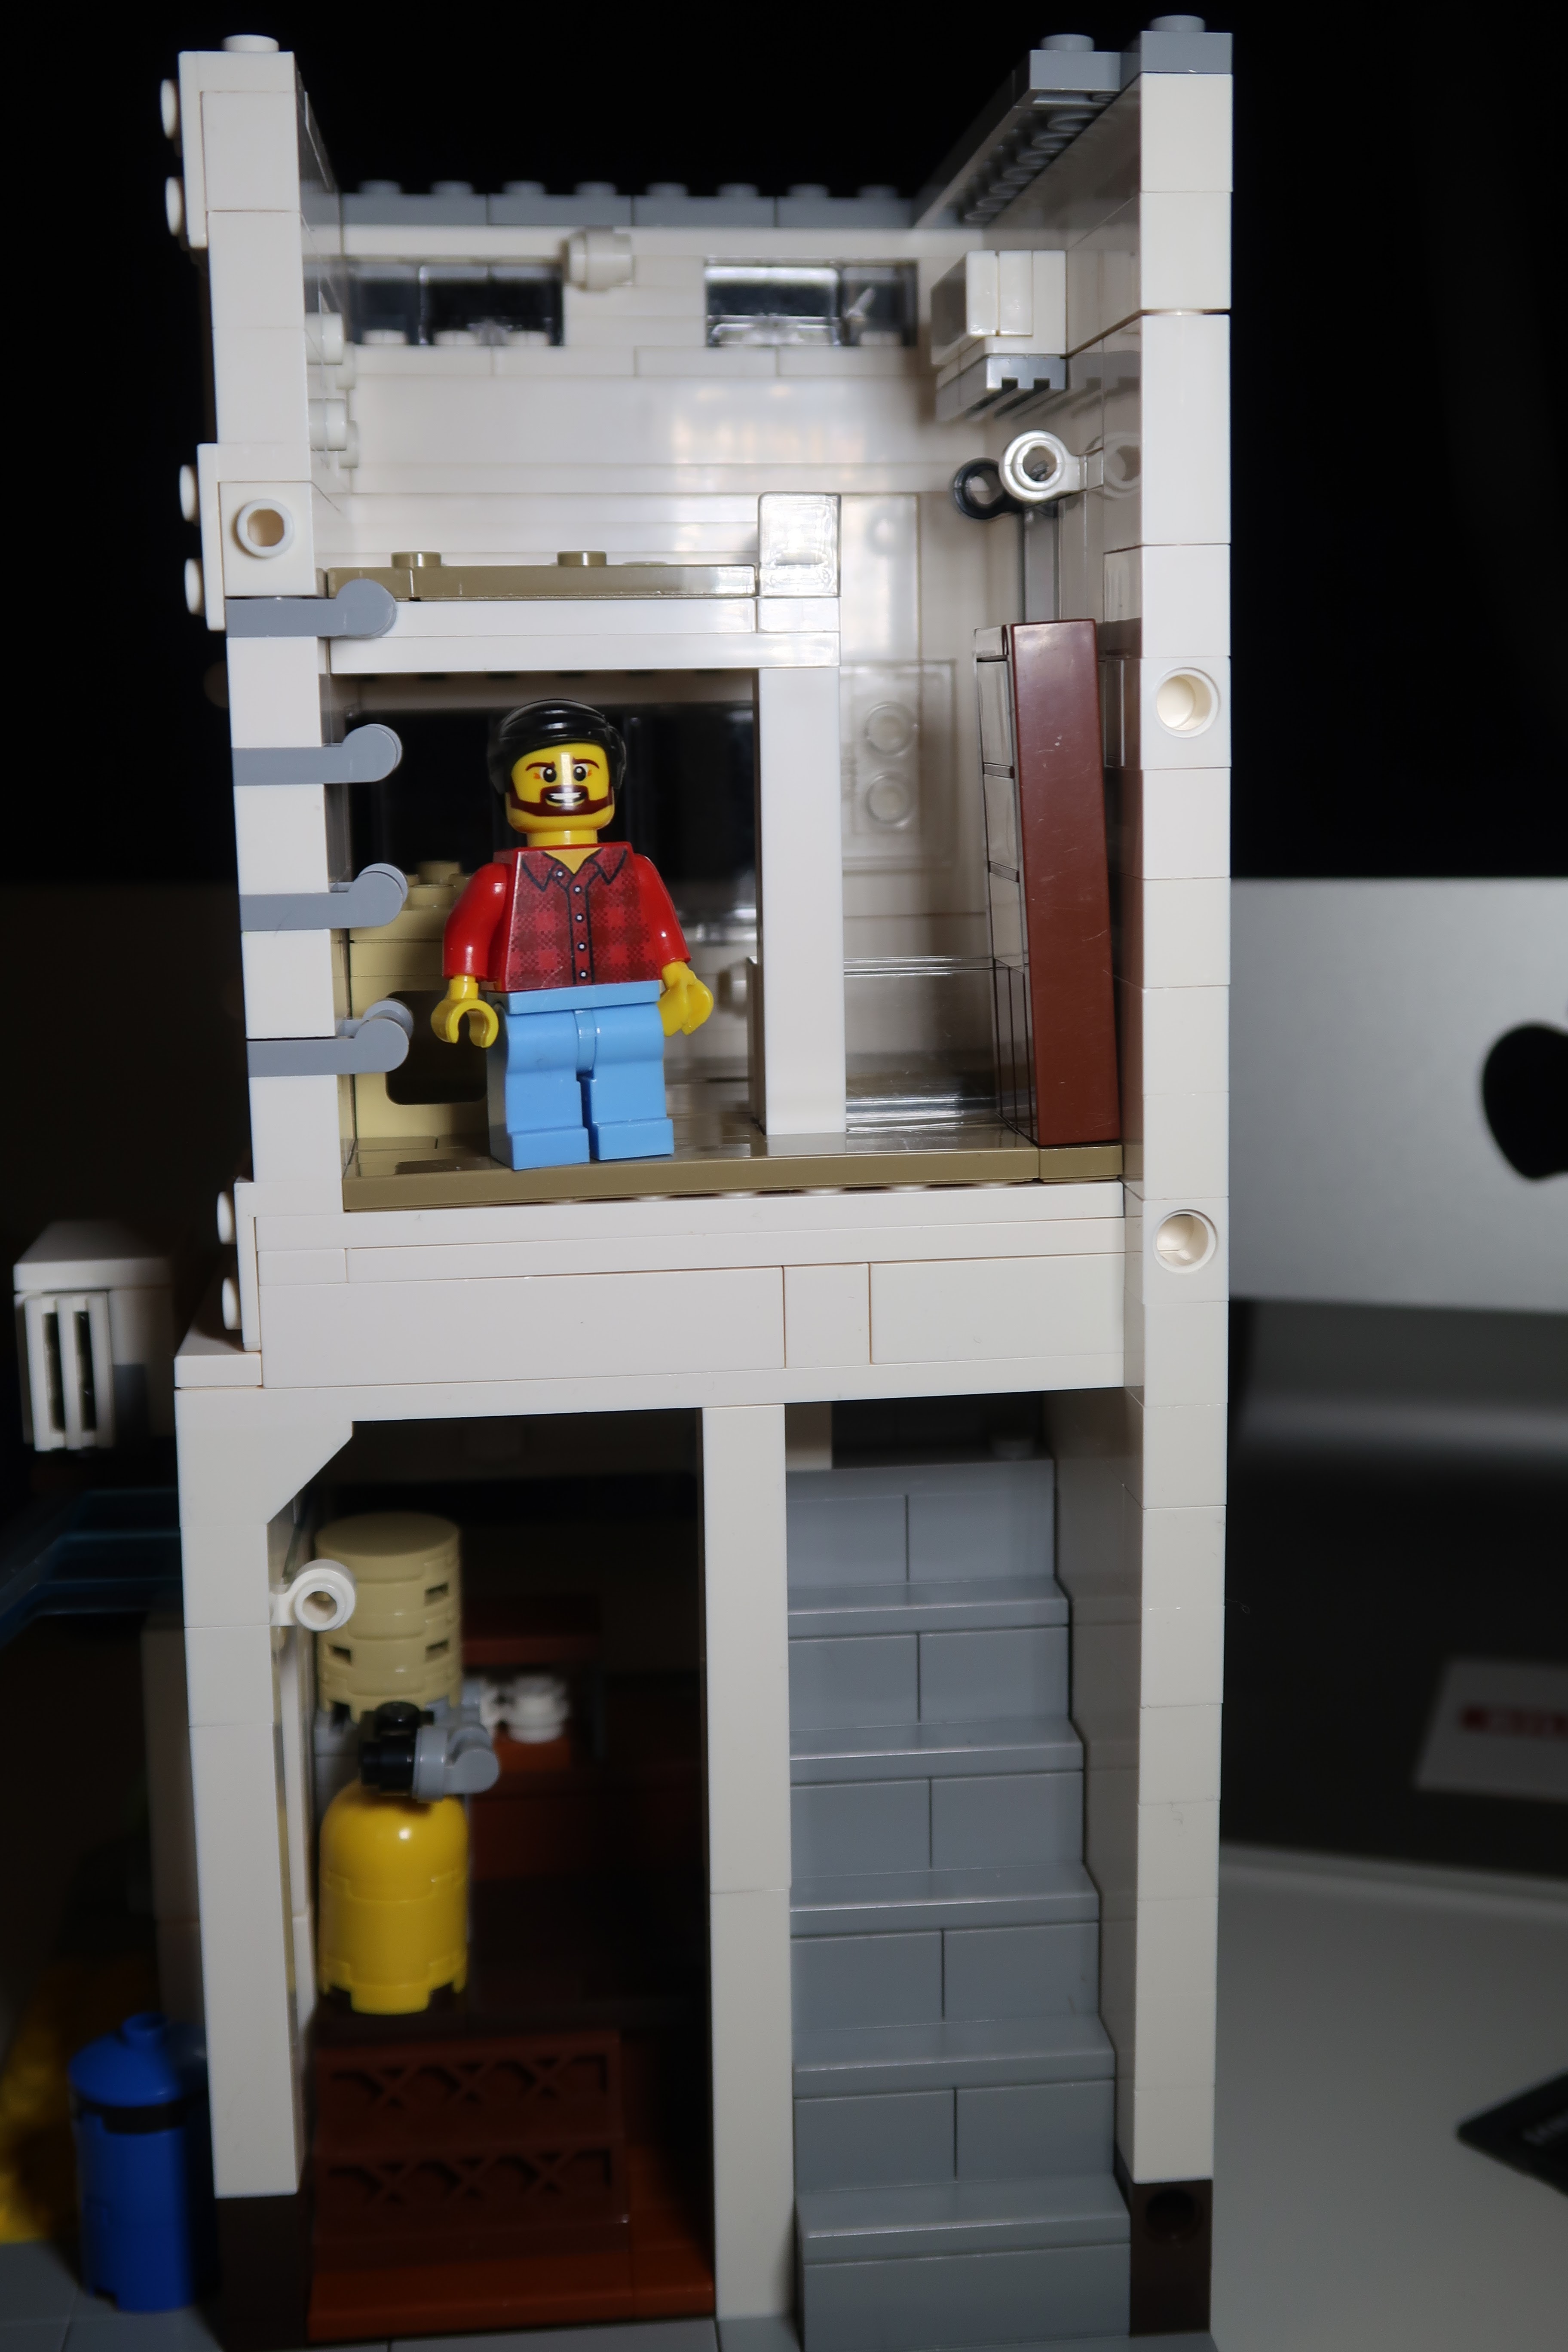
With my modifications, the downspout is purely aesthetic and serves no functional purpose anymore.  The rear wall of the shop can be removed entirely, as well as the roof.  The rear wall is secured to the building by simply pressing it into the two studs on the left side. Surprisingly, the clutch makes it hold in place pretty well.

I'd previously removed the furniture from the interior and now I'm afraid those pieces have been assimilated into my larger brick parts stash.  I was able to recover the small cot though.  I'll create some new furniture pieces in future.  Other than the missing furnishings, the interior remains pretty much the same.

The big change is that now the second floor can be separated from the first floor, in true modular fashion.

I removed the load bearing vertical beam next to the staircase and have added an inverted angle brick to help support the second floor, allowing the first floor interior to become more accessible.

One could display the first floor bun shop on it's own without the second floor apartment if desired.  Just needs a new roof.

If you have a few smooth tile pieces, it's not too difficult to make the changes to modularise your own Steamed bun shop.

Here's the Steamed Bun shop broken down into its component parts.  The utility pole is still attached to the second floor via the rubber hoses, and easily lifts off the baseplate for second floor removal.


I have removed the lighting wire that was provided with the set with intentions of putting in new lighting later.


Want this set?  Get it from Afobrick.com, and don't forget to get an extra 5% off using code itsnotlego.


Well, that's it.  Let me know what you think of the changes!  Bye for now!

Saturday, June 25, 2022

Cada Steamed Bun Shop and Summer Breeze Coffee Shop Picture Show (Special Promo by Afobrick.com)


Hey, what's up people, welcome back to Bricks and Figs!  I recently built both of the @exesandbox designed Japanese themed buildings for which I posted separate detailed reviews of the Steamed Bun shop and the Summer Breeze coffee shop.

You can find pictures of the individual buildings on various websites, but I've yet to come across many pictures of both the bun shop and coffee shop together, so that's what this post will do.  


For a limited time only, afobrick.com is doing a special promo, buy both the CADA C66007 coffee shop and the C66006 steamed bun shop together and get 8% off their already low prices.


The side you mostly won't see.

Drone view

Side of the bun shop

Beauty shot

Coffee shop with doors closed

The buildings really shine at night!

Hope you have enjoyed the pictures of both the Cada buildings together.  Don't forget to take advantage of the special pricing only found at AFOBRICK.com!

See ya!

Thursday, June 9, 2022

Cada C66006 Steamed Bun Shop Set Review (not Lego)

Hello brick fans and welcome back to bricksandfigs.blogspot.com, my little space on the web where I review Lego and non Lego brick sets, mini figures and share pictures of my MOC builds.

Today, I'll be reviewing the Cada C66006 Steamed Bun Shop.  The Japanese style building is a design of Tong Xin Jun (ExeSandbox).  It's a small two storey building, and is comprised of 1108 pieces.  The set comes with an instruction manual, a sticker sheet, a brick separator and a USB powered light string.  Please note, that this set does not include any minifigures, however I have included one of my own minifigures for display purposes.


Thanks so much to AFOBRICK.com for providing this set for me to review!  Details on how you can get this set from them at the end of this post.


The Cada bun shop was well wrapped and it arrived in great condition.  Thanks AFOBRICK!

Here's everything I got in this set, in addition to the instruction manual.  There are 7 bags of parts for Step 1, and another 7 bags of parts for Step 2.  There's a few other bags of additional parts.


The instructions were adequate, but I sometimes found it hard to differentiate between clear and light gray pieces, and the same for dark brown vs. black pieces. Below are a few pics that I took during the build process.


People were asking if the Cada Bun Shop was minifigure scale, so I took a few pics during the build and posted them in my earlier blog post which you can find here

Buns for sale at the counter.  Just want to point out that brick quality and clutch is excellent.  You really can't tell that you aren't building with Lego bricks.

Makings of the vending machine.  I haven't put on the stickers yet for the little bottles inside the vending machine.

Here's the completed storefront.   Actually, it's more like a stall with the seating in front.   One of the changes I would make is to put the building on a full 16x32 stud baseplate, and then set the building back a few more studs, so that the accessories like the sign and the pipe don't impede either the patrons seating at the counter or pedestrians who might be walking past.

Although I can't read what all the signage is about, they give a very authentic feel to the Japanese bun shop.  The stickers were not too hard to apply.

Here's the backside of the shop. The stairs to the second floor are pretty steep.  On the second floor, is space for a cabinet, a desk and stool, with ladder access to the sleeping loft (bedding not shown).  On the wall is an air conditioner unit.  

By adding the back wall, the shop has a much more completed look.  The electrical pole, the ducting, the wall mounted ventilation unit, all add to the cool details of this building.   The designer did a great job here, I must admit.  With a deeper baseplate, one could even add a few extra trash bins or some boxes.  That's something I might do in the future to modify the bun shop.

The rear wall of the bun shop is hinged so that you can access the interior, however unlike other modular buildings, you can't separate the first and second floors from each other.


Check out the finished model.  The first thing that catches my eyes are the wooden slats over the windows, so cool.  Then there's the foliage growing near the roof.  The plastic piping needs to flex a little more, right now it pushes on  the electric pole so that it doesn't quite stay upright.  There's even a small light that extends off the electric pole.

With the drink vending machine built into the side of the bun shop, it doesn't take up too much room.  I like the awning over the vending machine too. 

With the provided USB powered LED light, you can make the interior glow!  Looks awesome, doesn't it?  The manual instructs you to weave the LED light wire all through the shop during the building process, but I just shoved the lighting in as an afterthought and it still looks great.  

Please note that I have used my own battery pack which has a USB port to which I can attach the light.  That's not provided with the set, but it would have been nice if Cada had included one.

The bun shop looks amazing all lit up.

Here's how I fed the LED light wire into the back.  You can see the battery pack to which I attached the USB plug and switch into.  Cool, right?

I forgot to mention that there's a skylight on the roof of the building.

So to wrap up, here are some of the extra pieces that I had left over.  I might not have added everything as per the instructions because sometimes I gloss over things.  But it didn't affect the final result.

The furniture that I built but didn't put into the second floor includes a desk with computer monitor and tower, a small stool, a futon bed and a small nightstand with light and potted plant. 

For my rating I give this building 5 out of 5 stars, despite the stickers and the smaller base plate.  Once built, the bun shop just looks amazing and even more so with the LED lighting that comes with the set.  To improve this set, I would use a larger base plate and add one or two minifigures, like a shopkeeper and a customer.


This was my first time building a Cada brand set and I thought that the quality and clutch of the bricks was first rate.  I would love to build more Cada buildings in the future and have them added to my modular building collection.


For those who are interested in acquiring the Cada C66006 Steamed Bun Shop, you can find it at AFOBRICK.com.  They are a newer seller of Lego compatible brick sets.  Feel free to check them out, if you like.   Click on the picture below to take you to Cada bun shop on the AFOBRICK website.

For a limited time only, get a further discount by using code ITSNOTLEGO at checkout for extra savings.  Don't know how long the discount code will last.

Also on Aliexpress, find it using the term Japanese Streetview.


Thanks for sticking to the end of this long post.  Hope you enjoyed all the pictures and the review of the Cada C66006 Steamed Bun Shop.  Let me know how I can improve my content or what not in the comments below.   See ya!