Showing posts with label cada brand. Show all posts

Wednesday, February 7, 2024

I completely rebuilt the Cada Japanese Kitty Grocery Store C66015W!


Hey there, fellow brick enthusiasts! How's everything going? Today, I'm thrilled to unveil my latest project: a complete overhaul of the Cada Japanese Kitty Grocery Store C66015W.

Intro

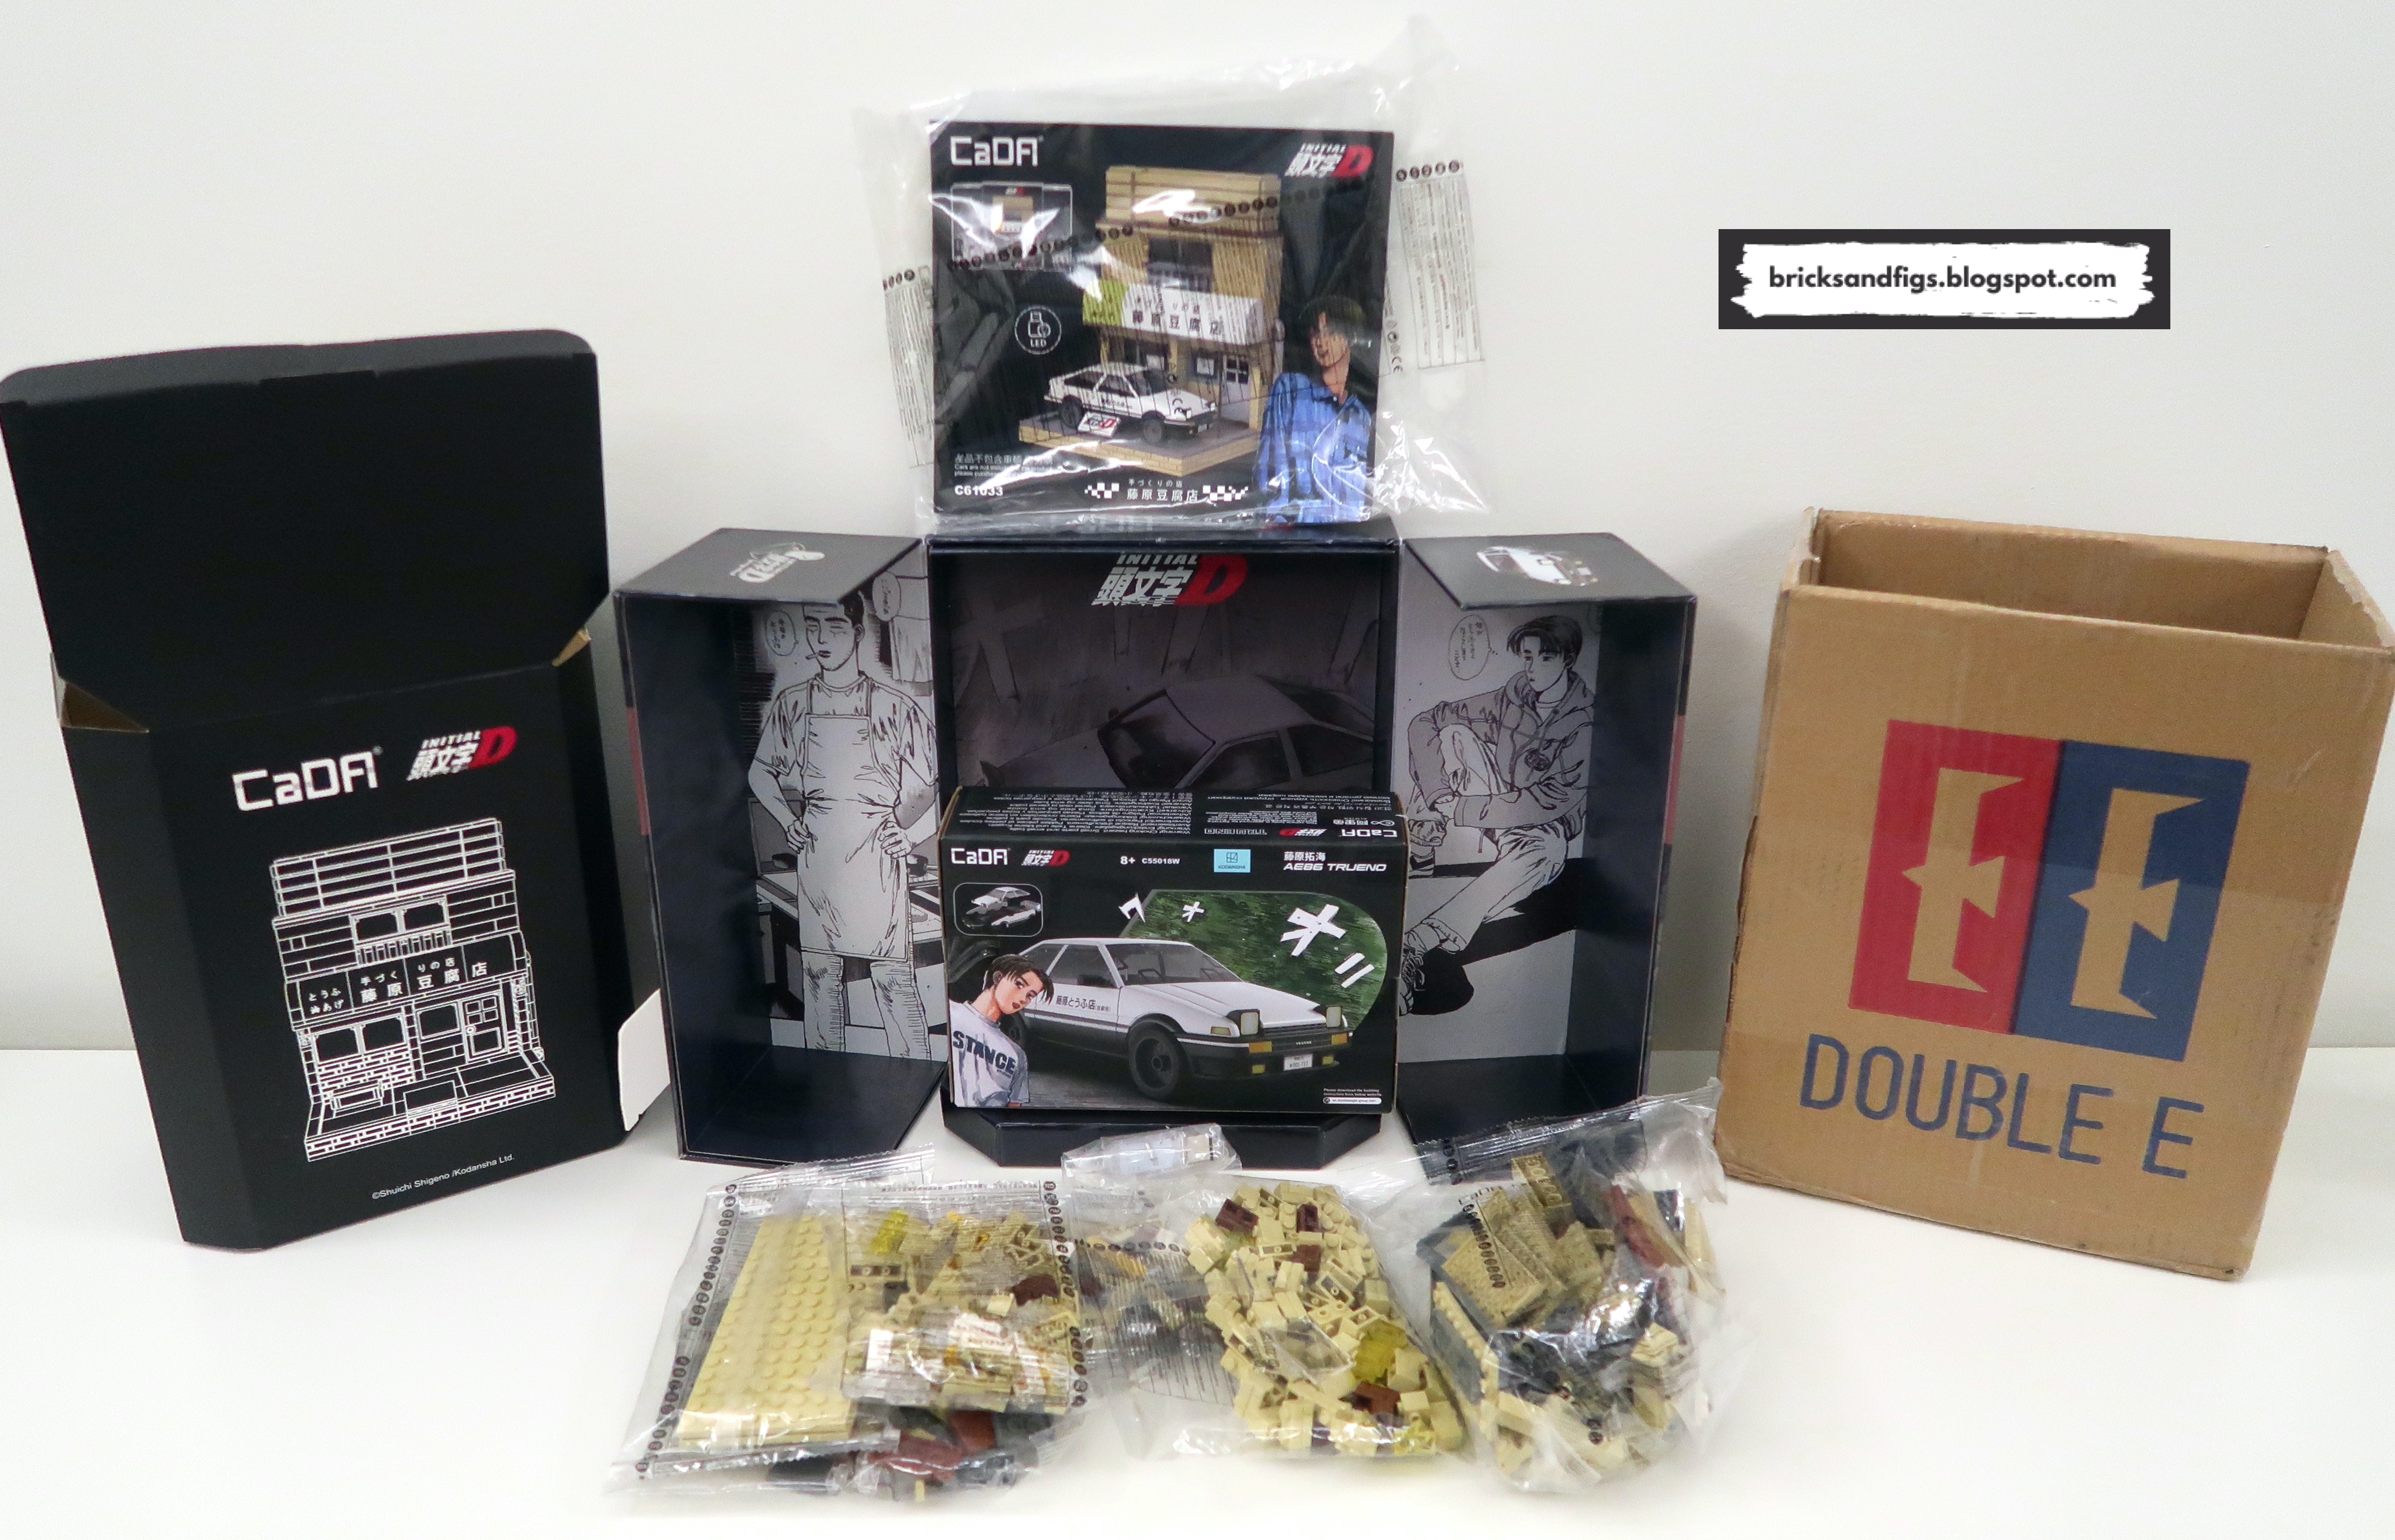
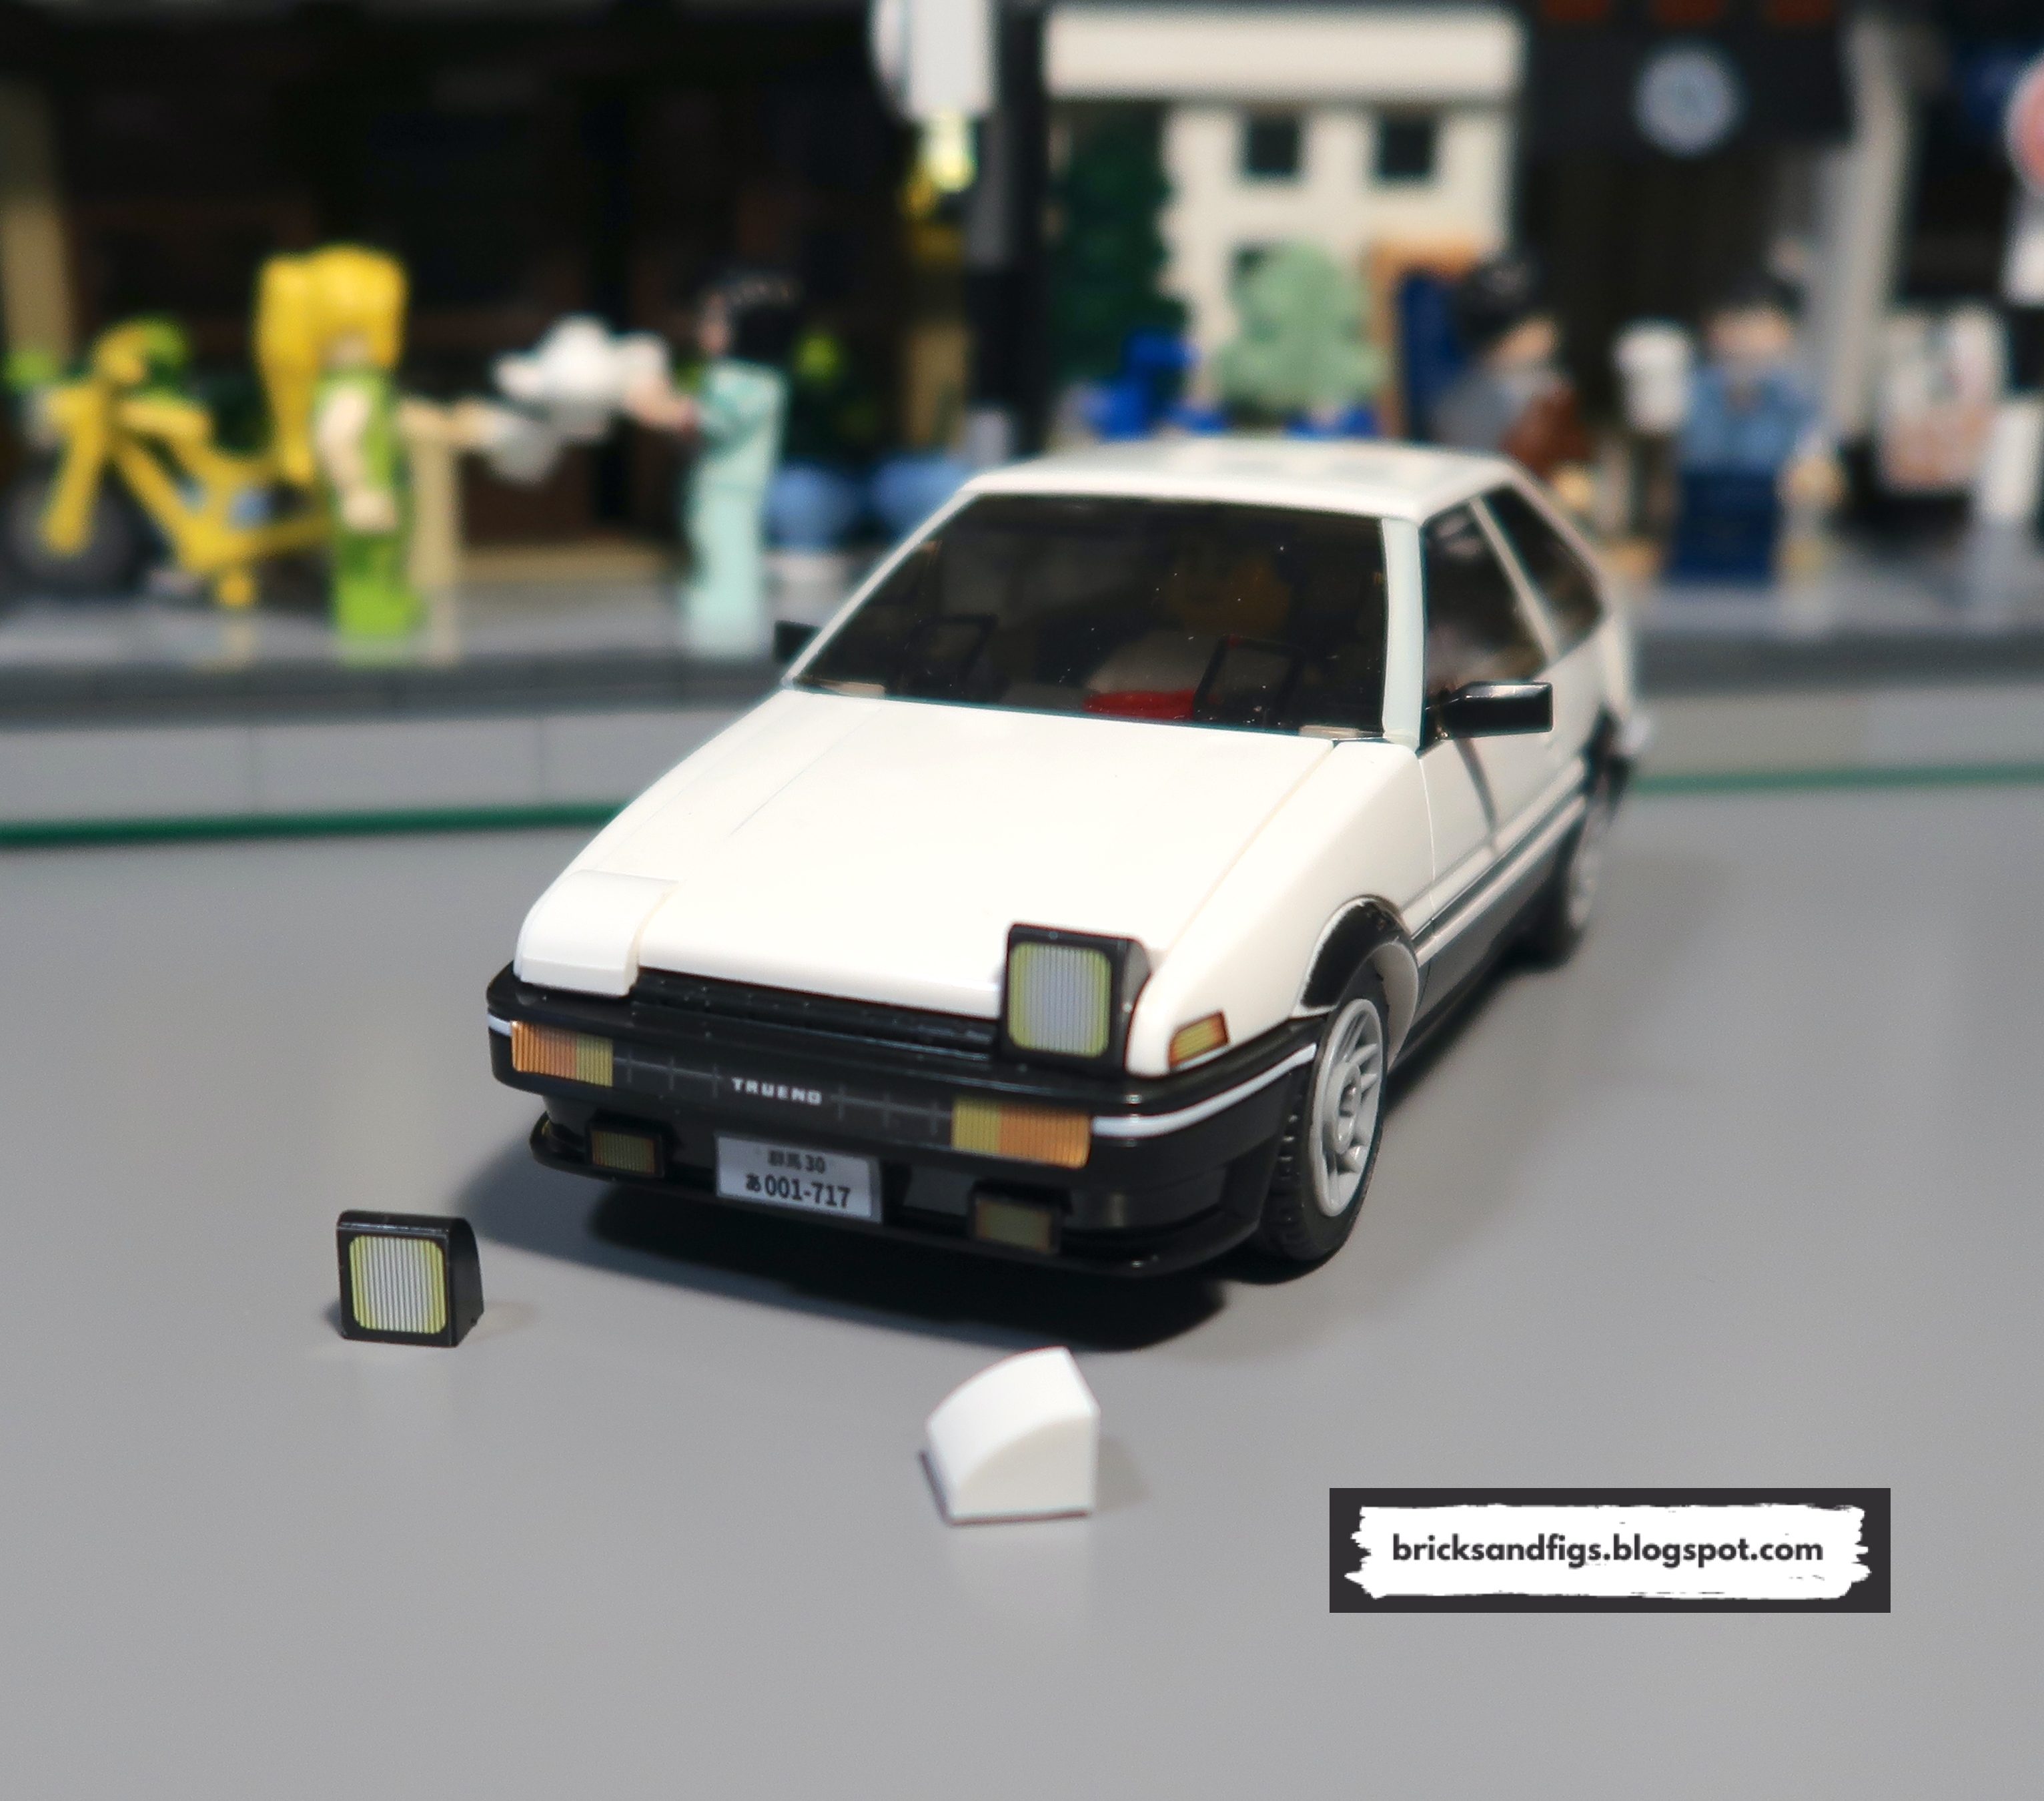
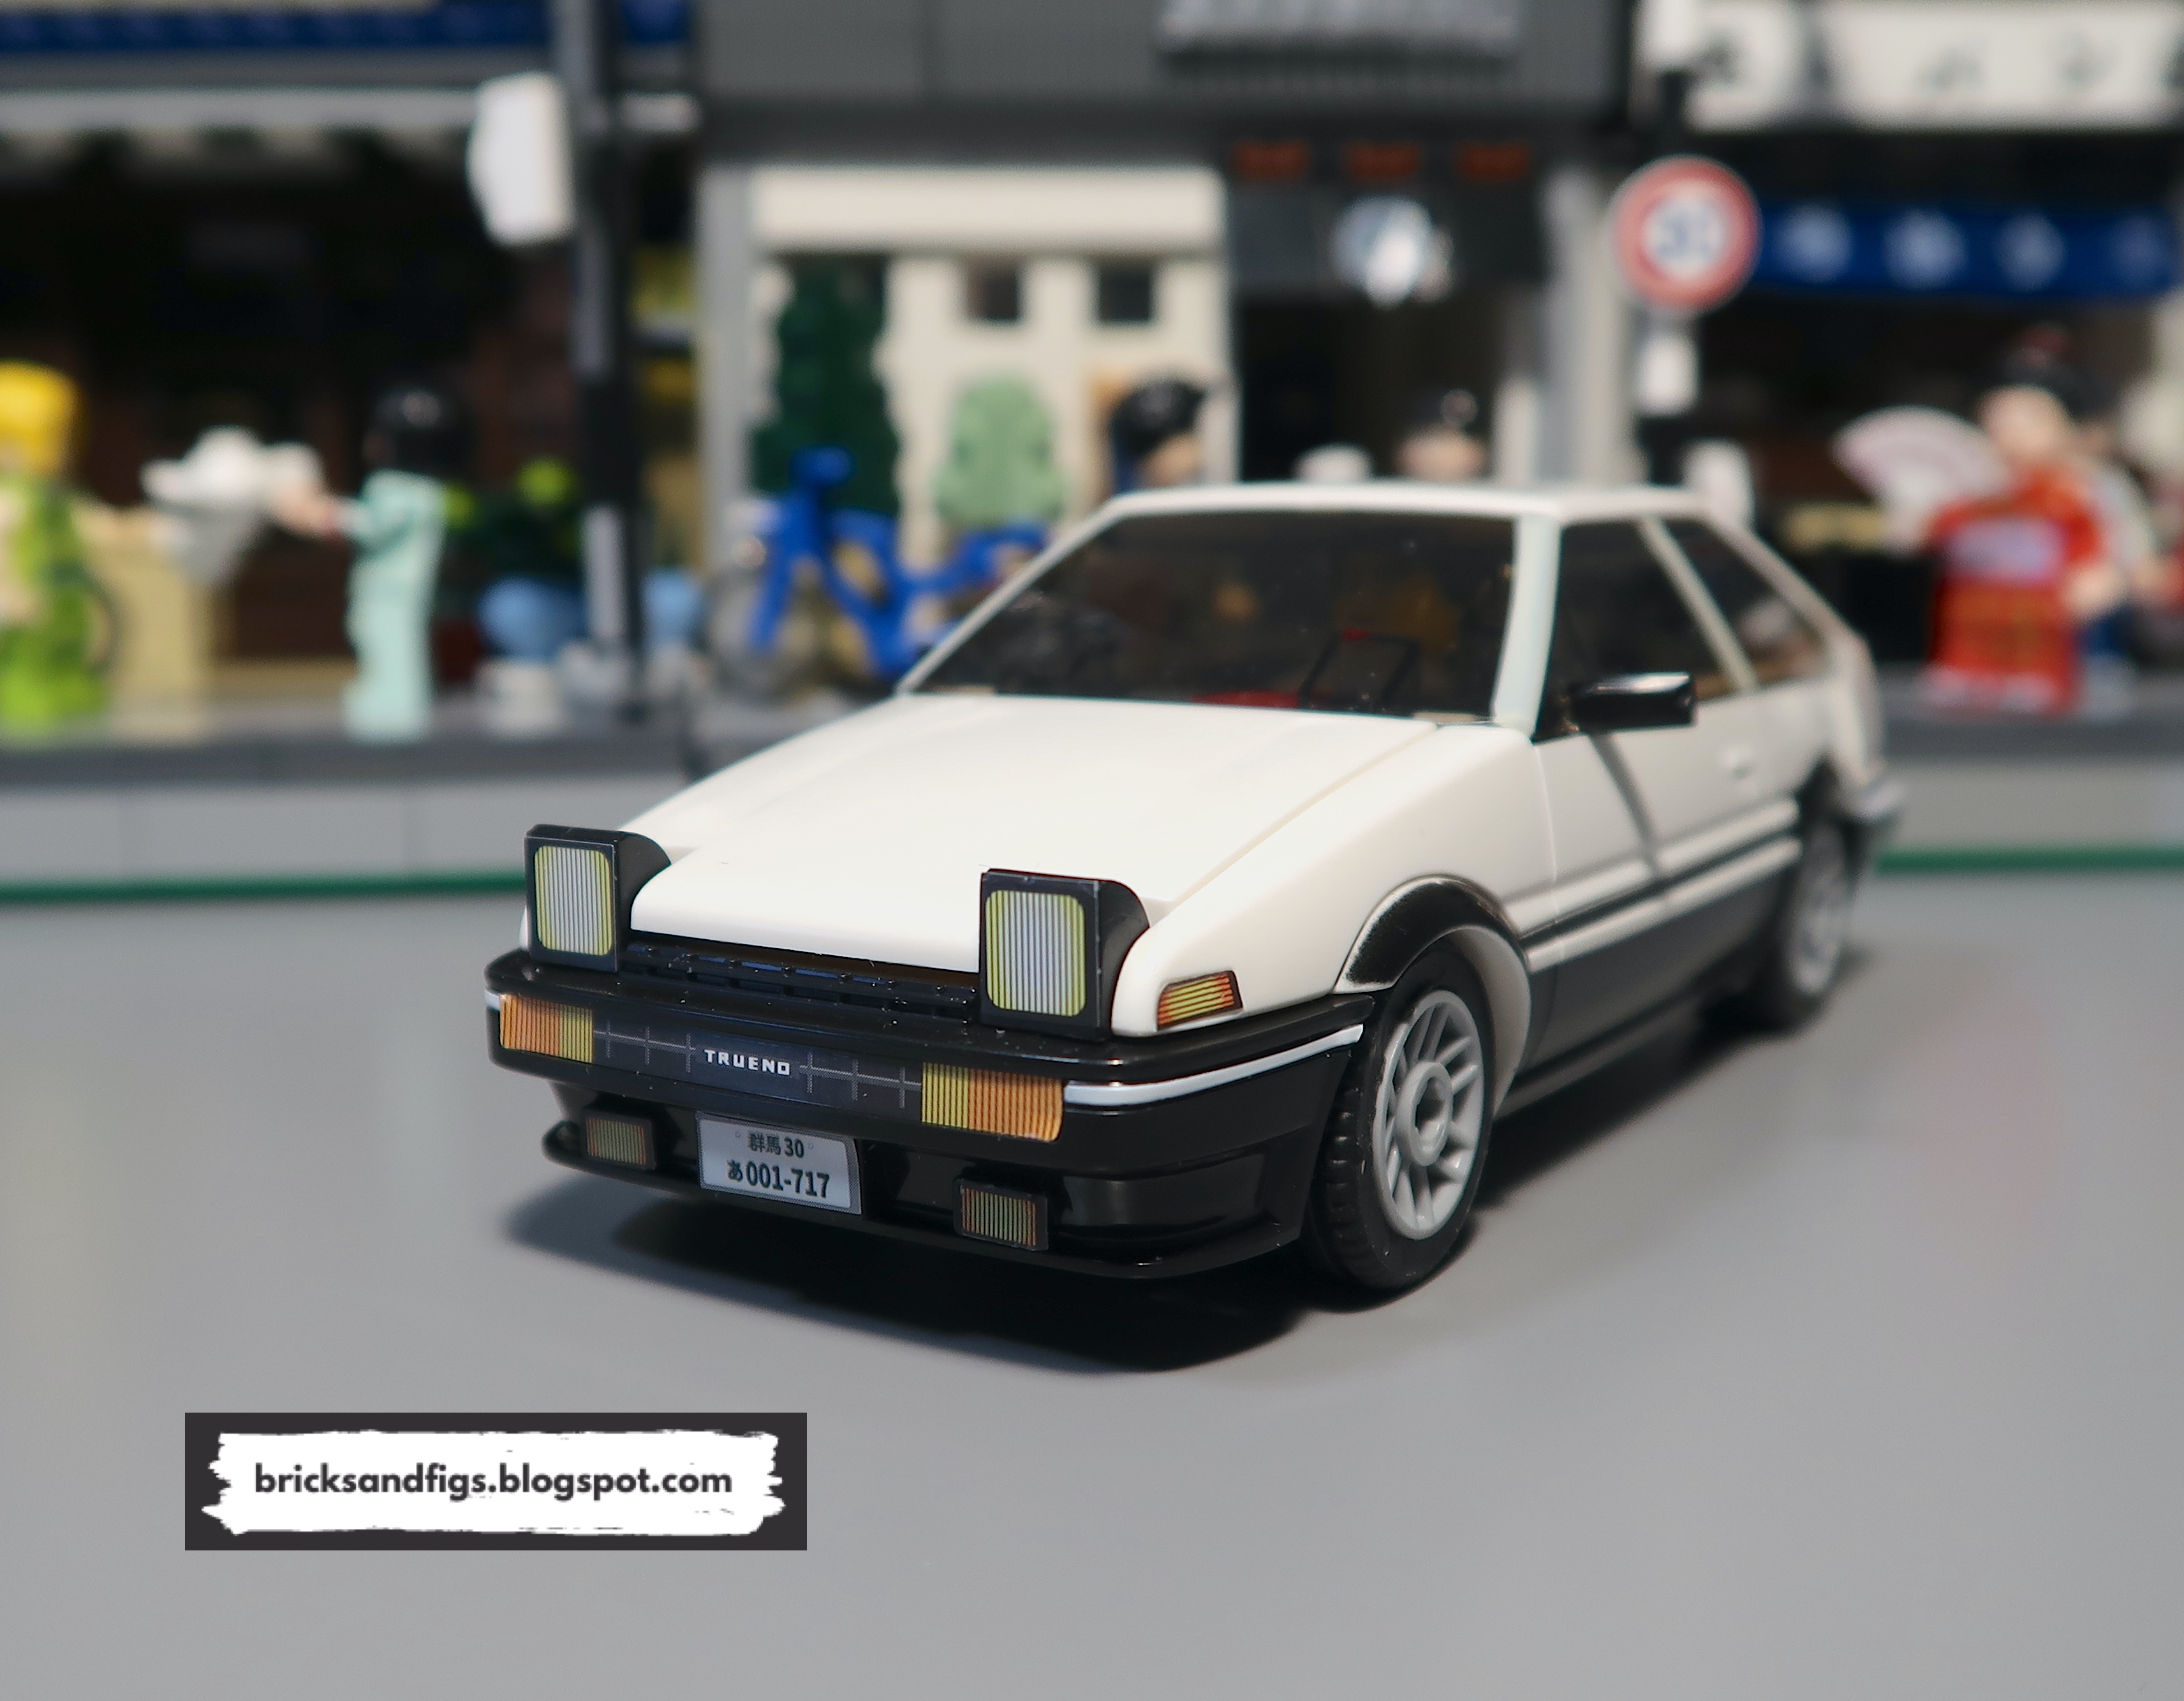
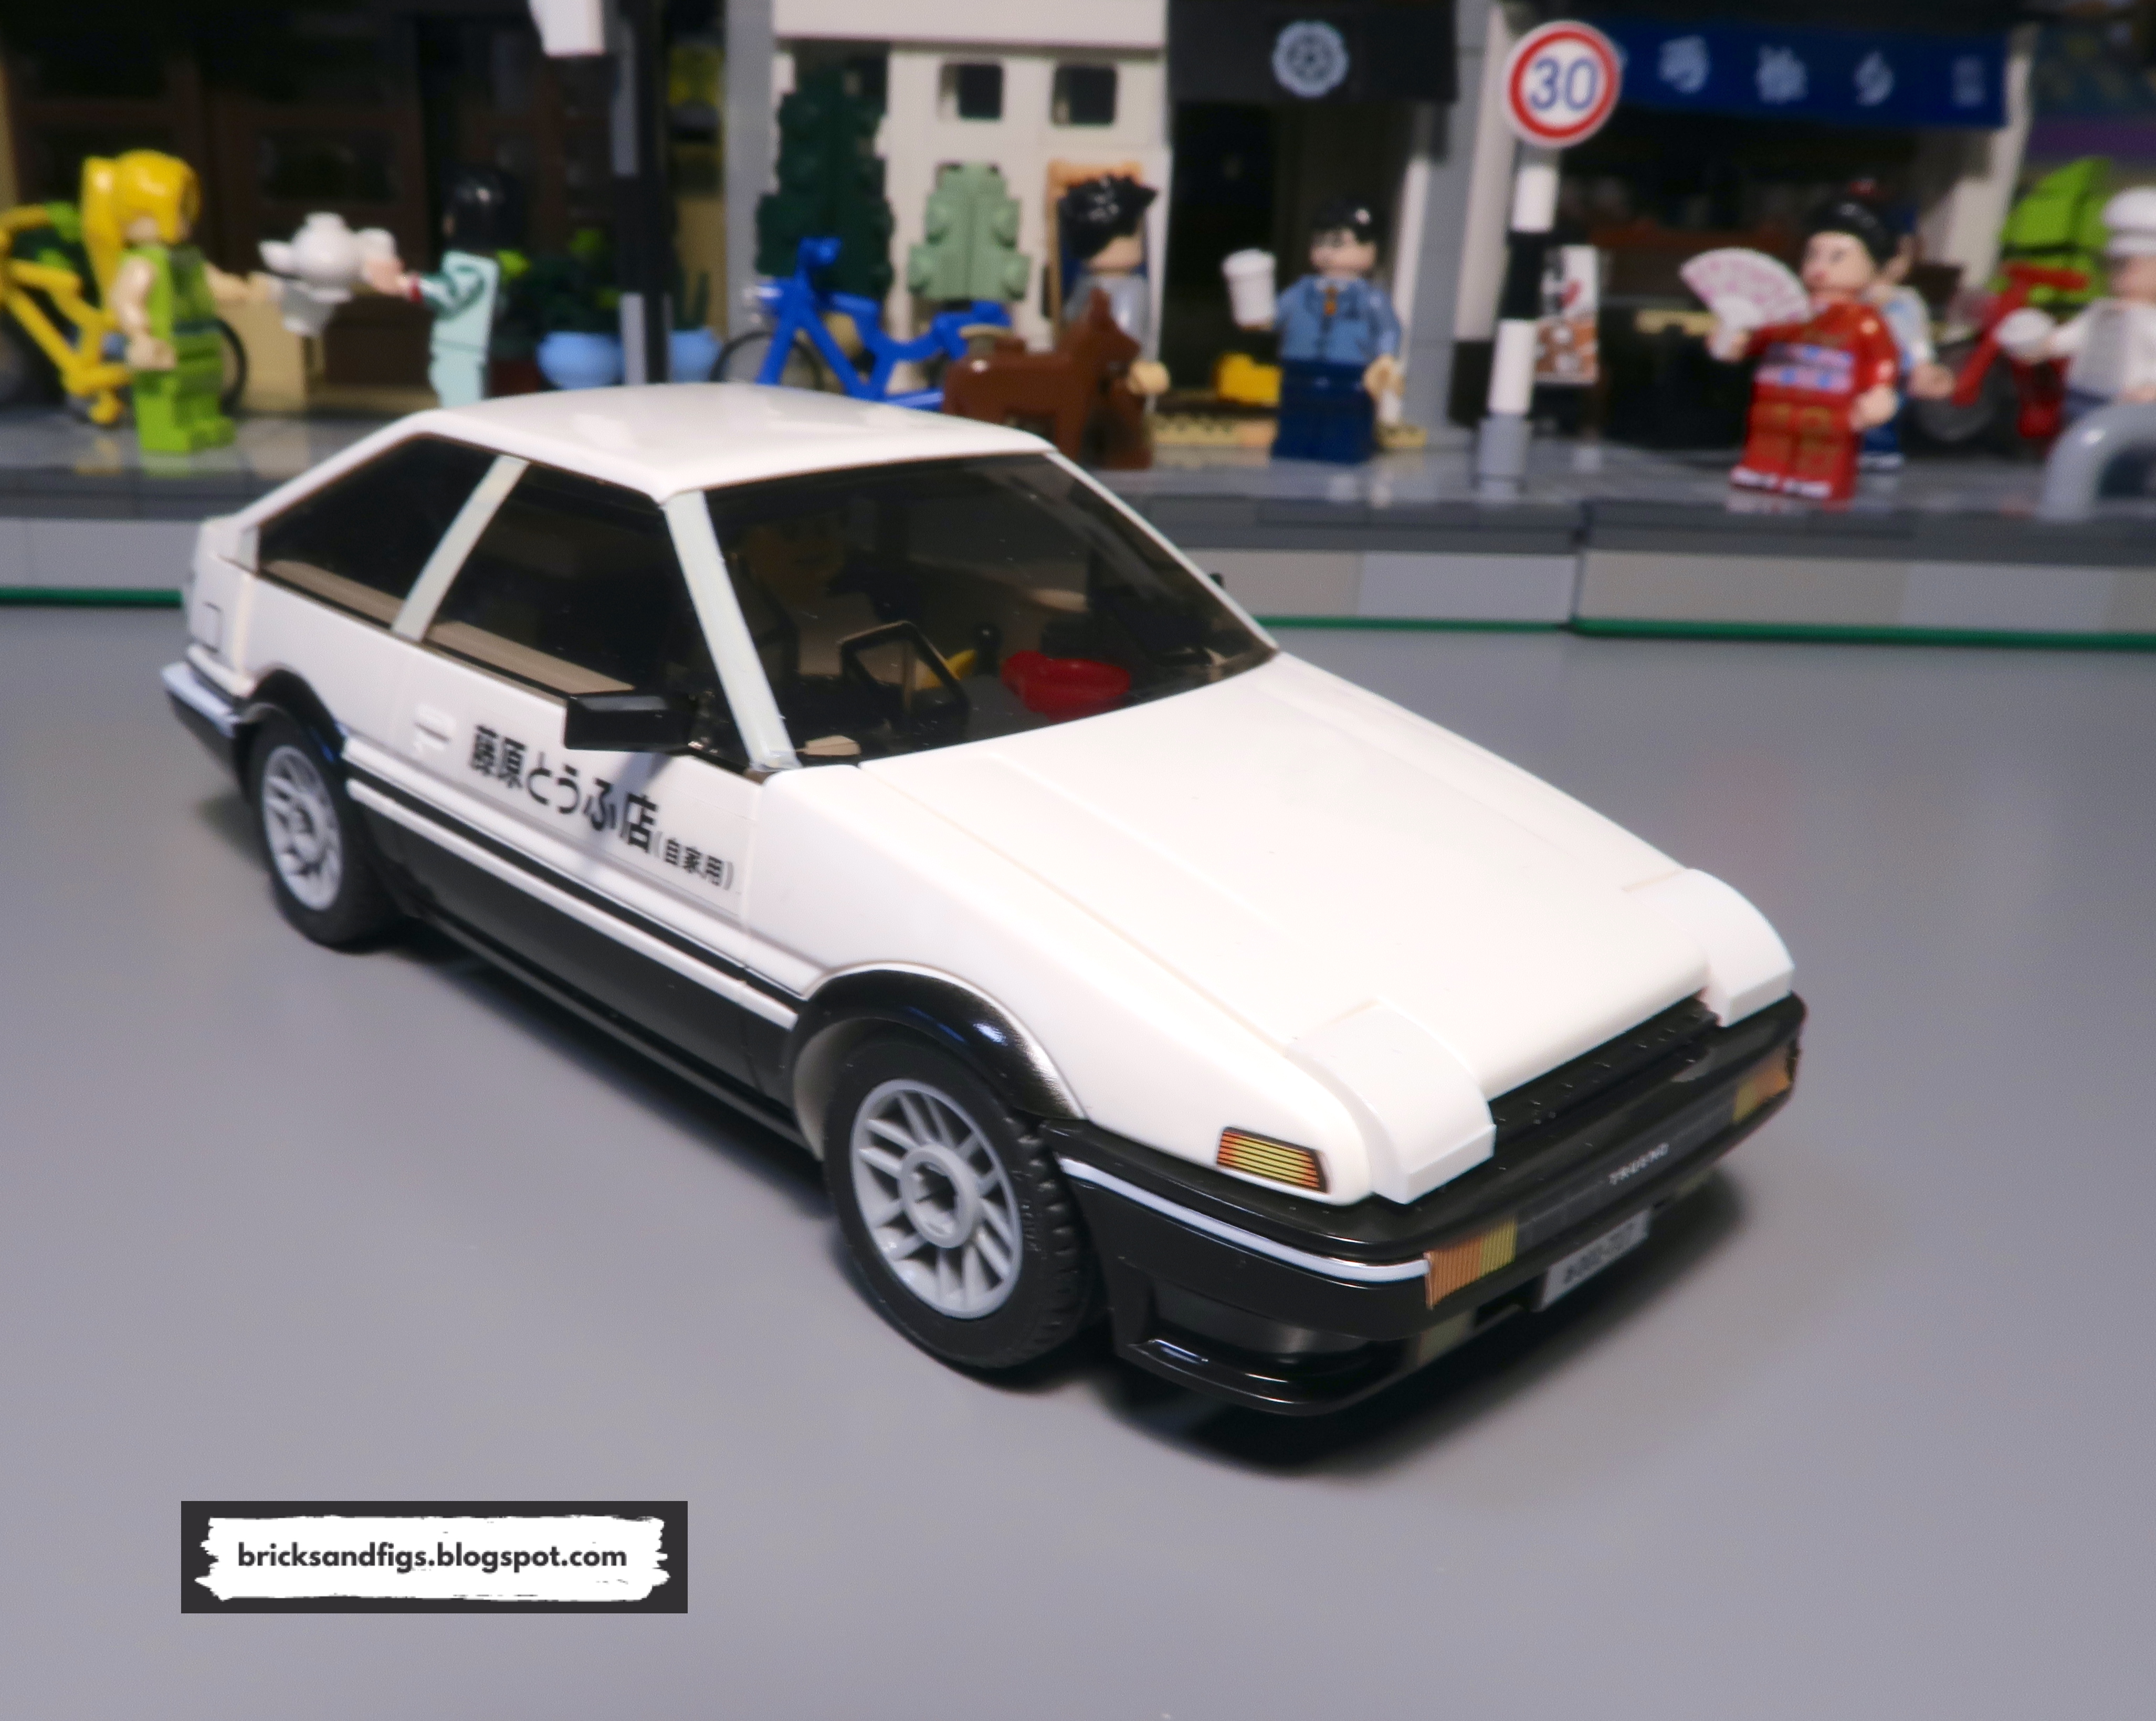
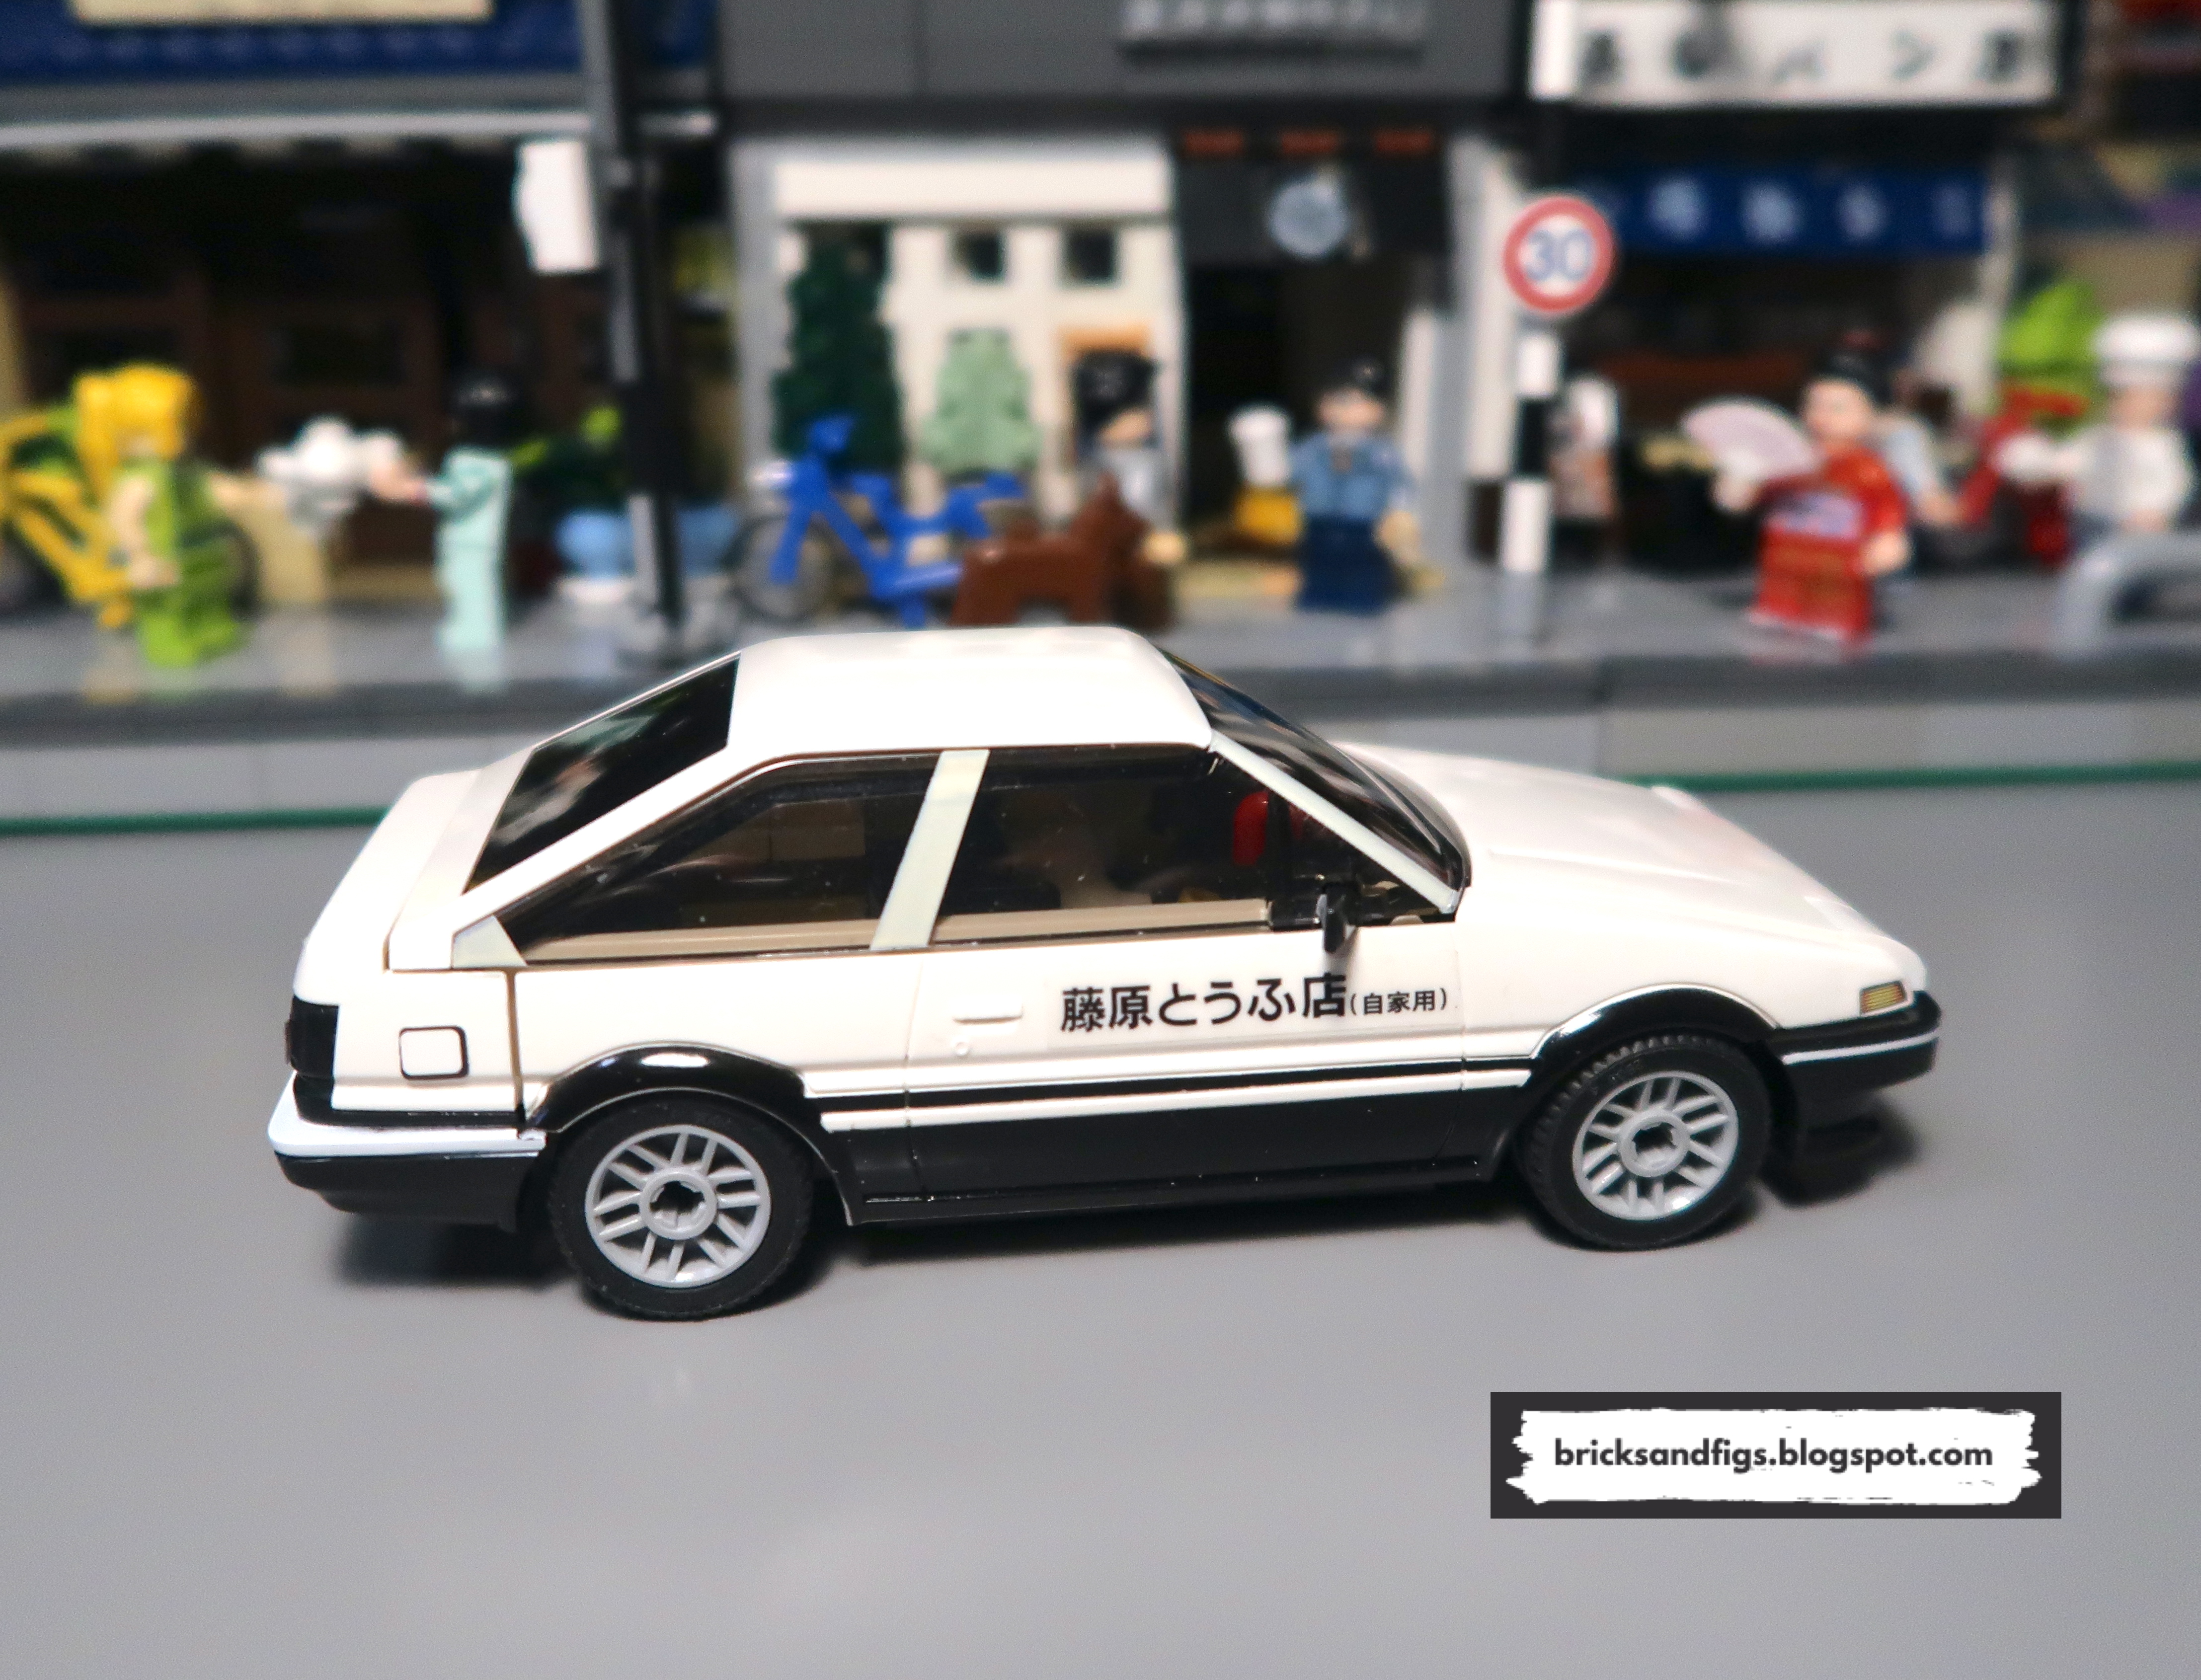
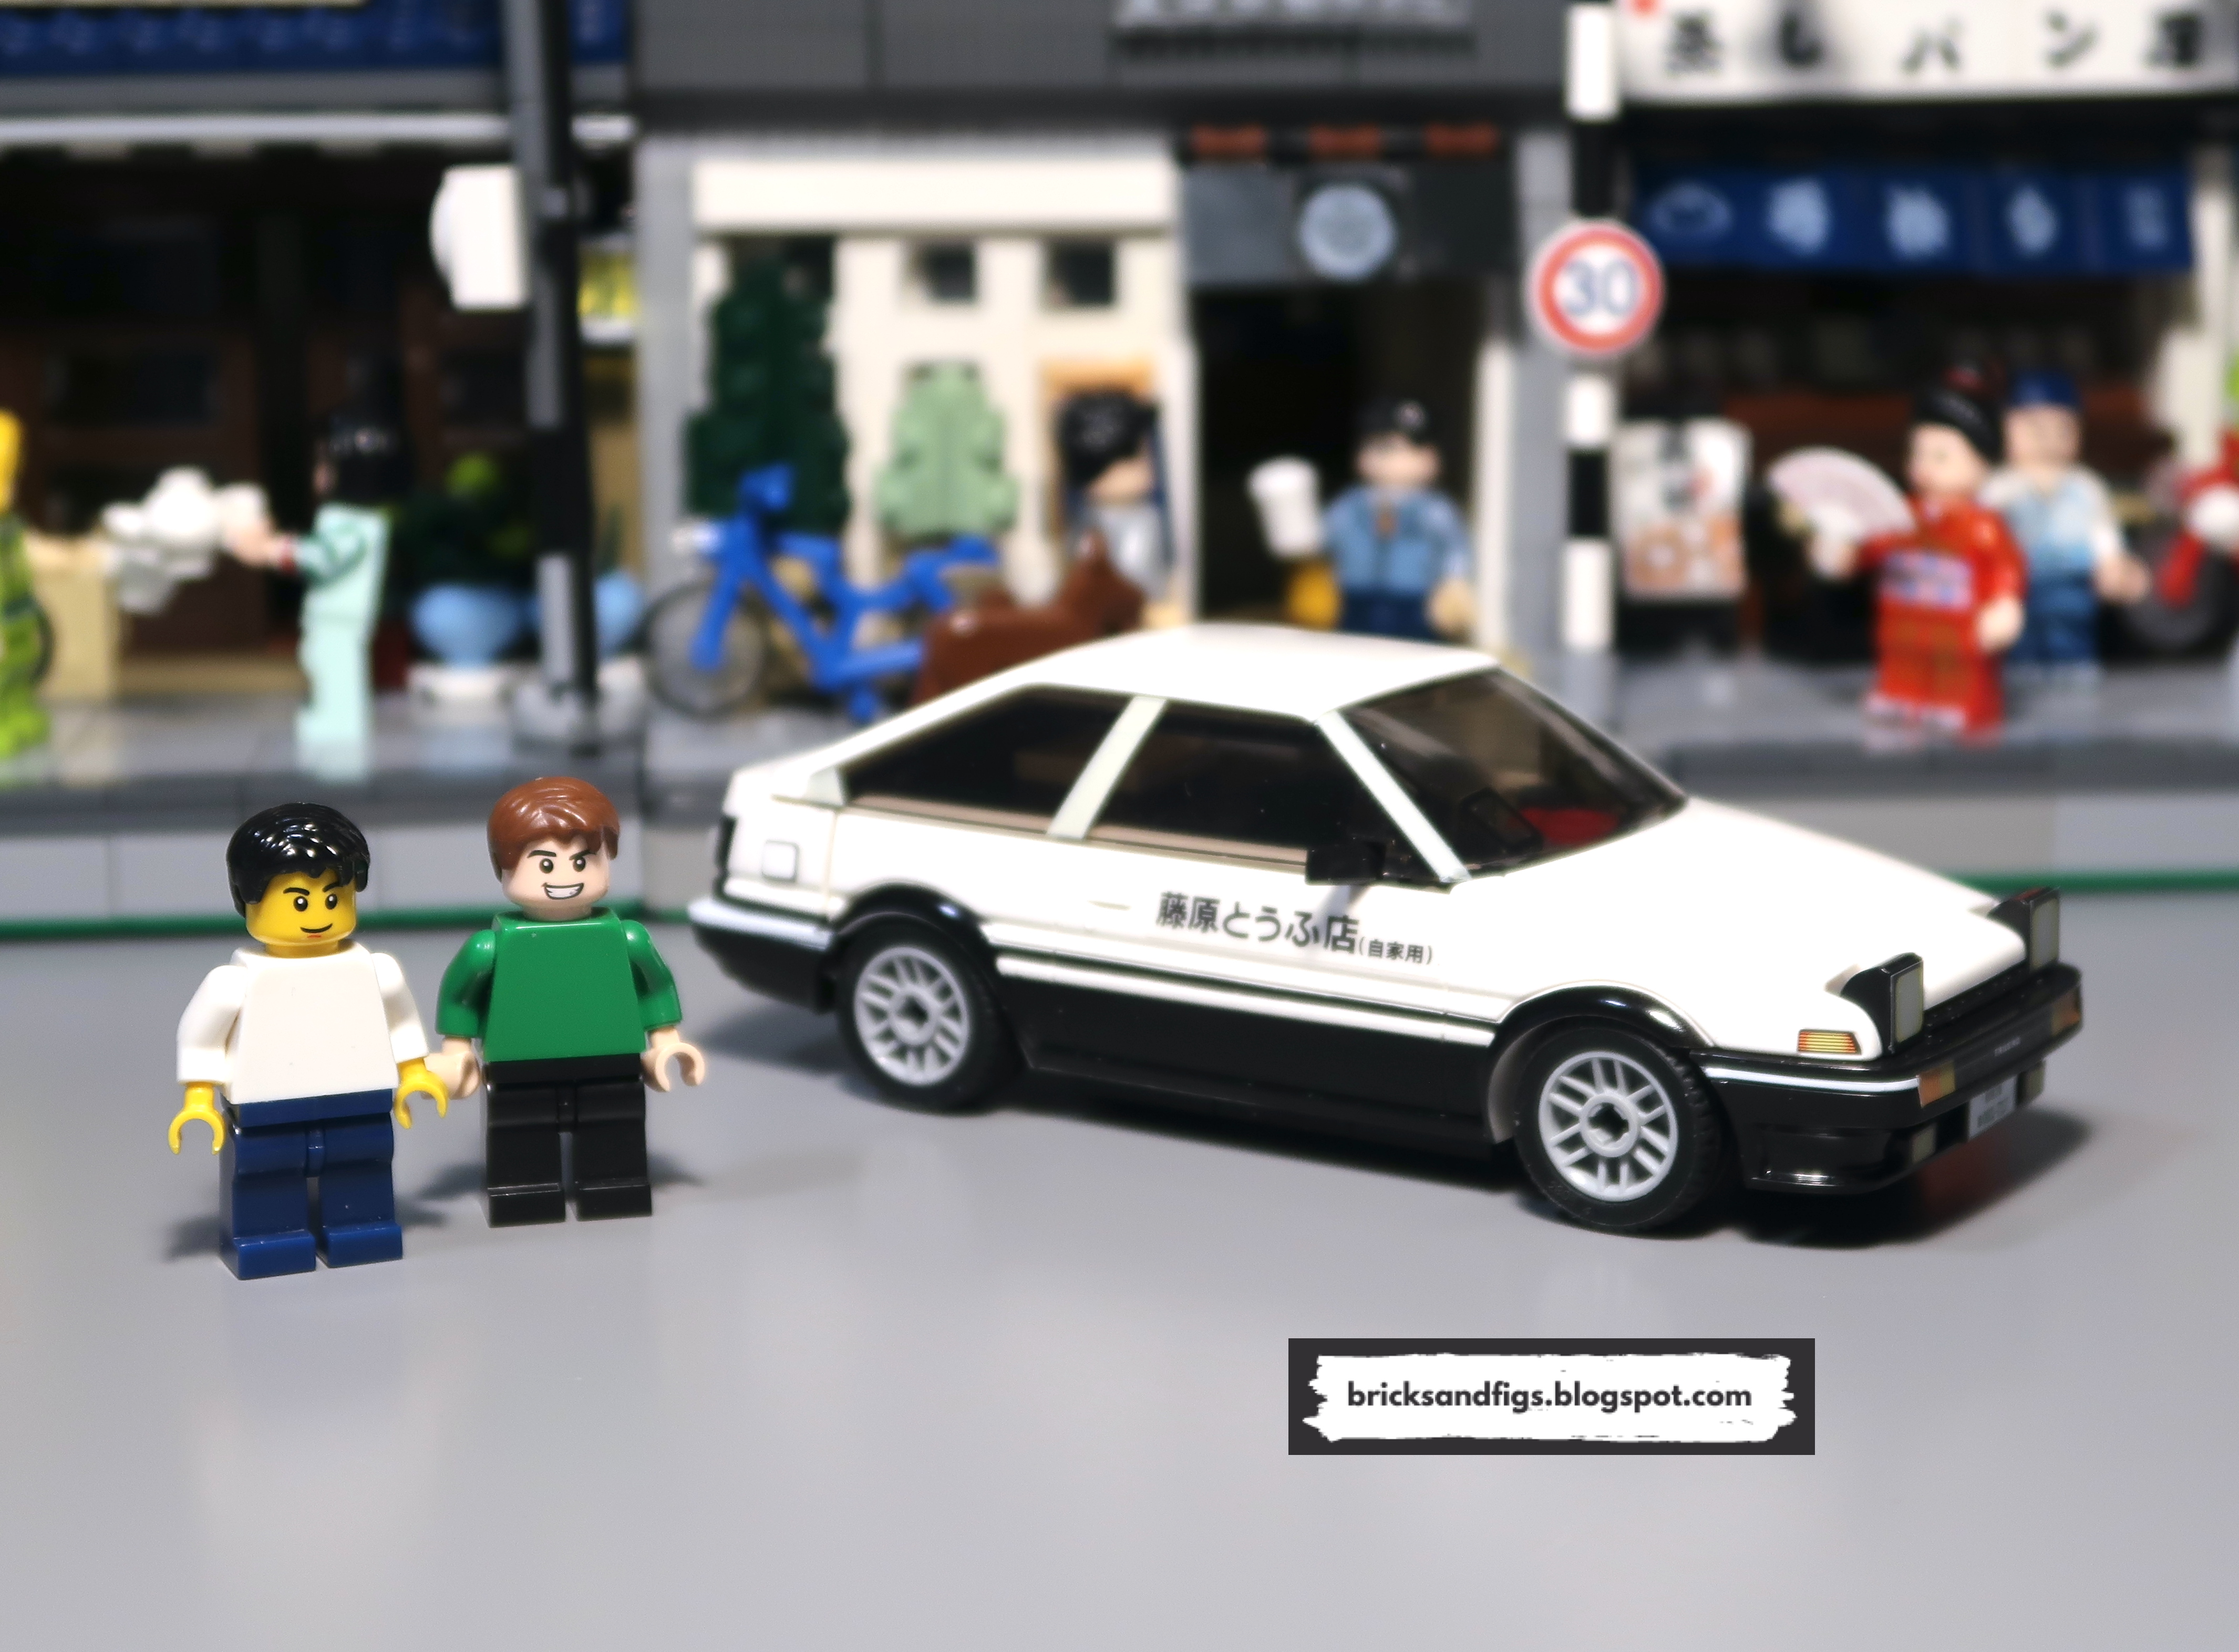
The Cada Grocery store marks the newest addition to a series of Japanese-themed shops by Cada, totaling five buildings, or six if we count the Cada licensed Initial D Fujiwara Tofu Shop set C61031W.

The initial trio of buildings, expertly crafted by exesandbox, were a joy to assemble and showcase. You can check out his designs on his instagram page. I've personally constructed all three and shared my thoughts on each:


However, the subsequent two Japanese shops were a tad smaller and lacked the finesse of the first three. The fourth, dubbed the Japanese Canteen, felt a bit lackluster with its sparse and puzzling interior. That one ranked lowest among the five for me. You can read my review of it here:

Japanese Canteen

Finally, we have the Japanese Grocery Store. While the original rendition was quaint, I felt it could use some enhancements. If you're curious to see its original form before my modifications, check out the review here:

Japanese Grocery Store

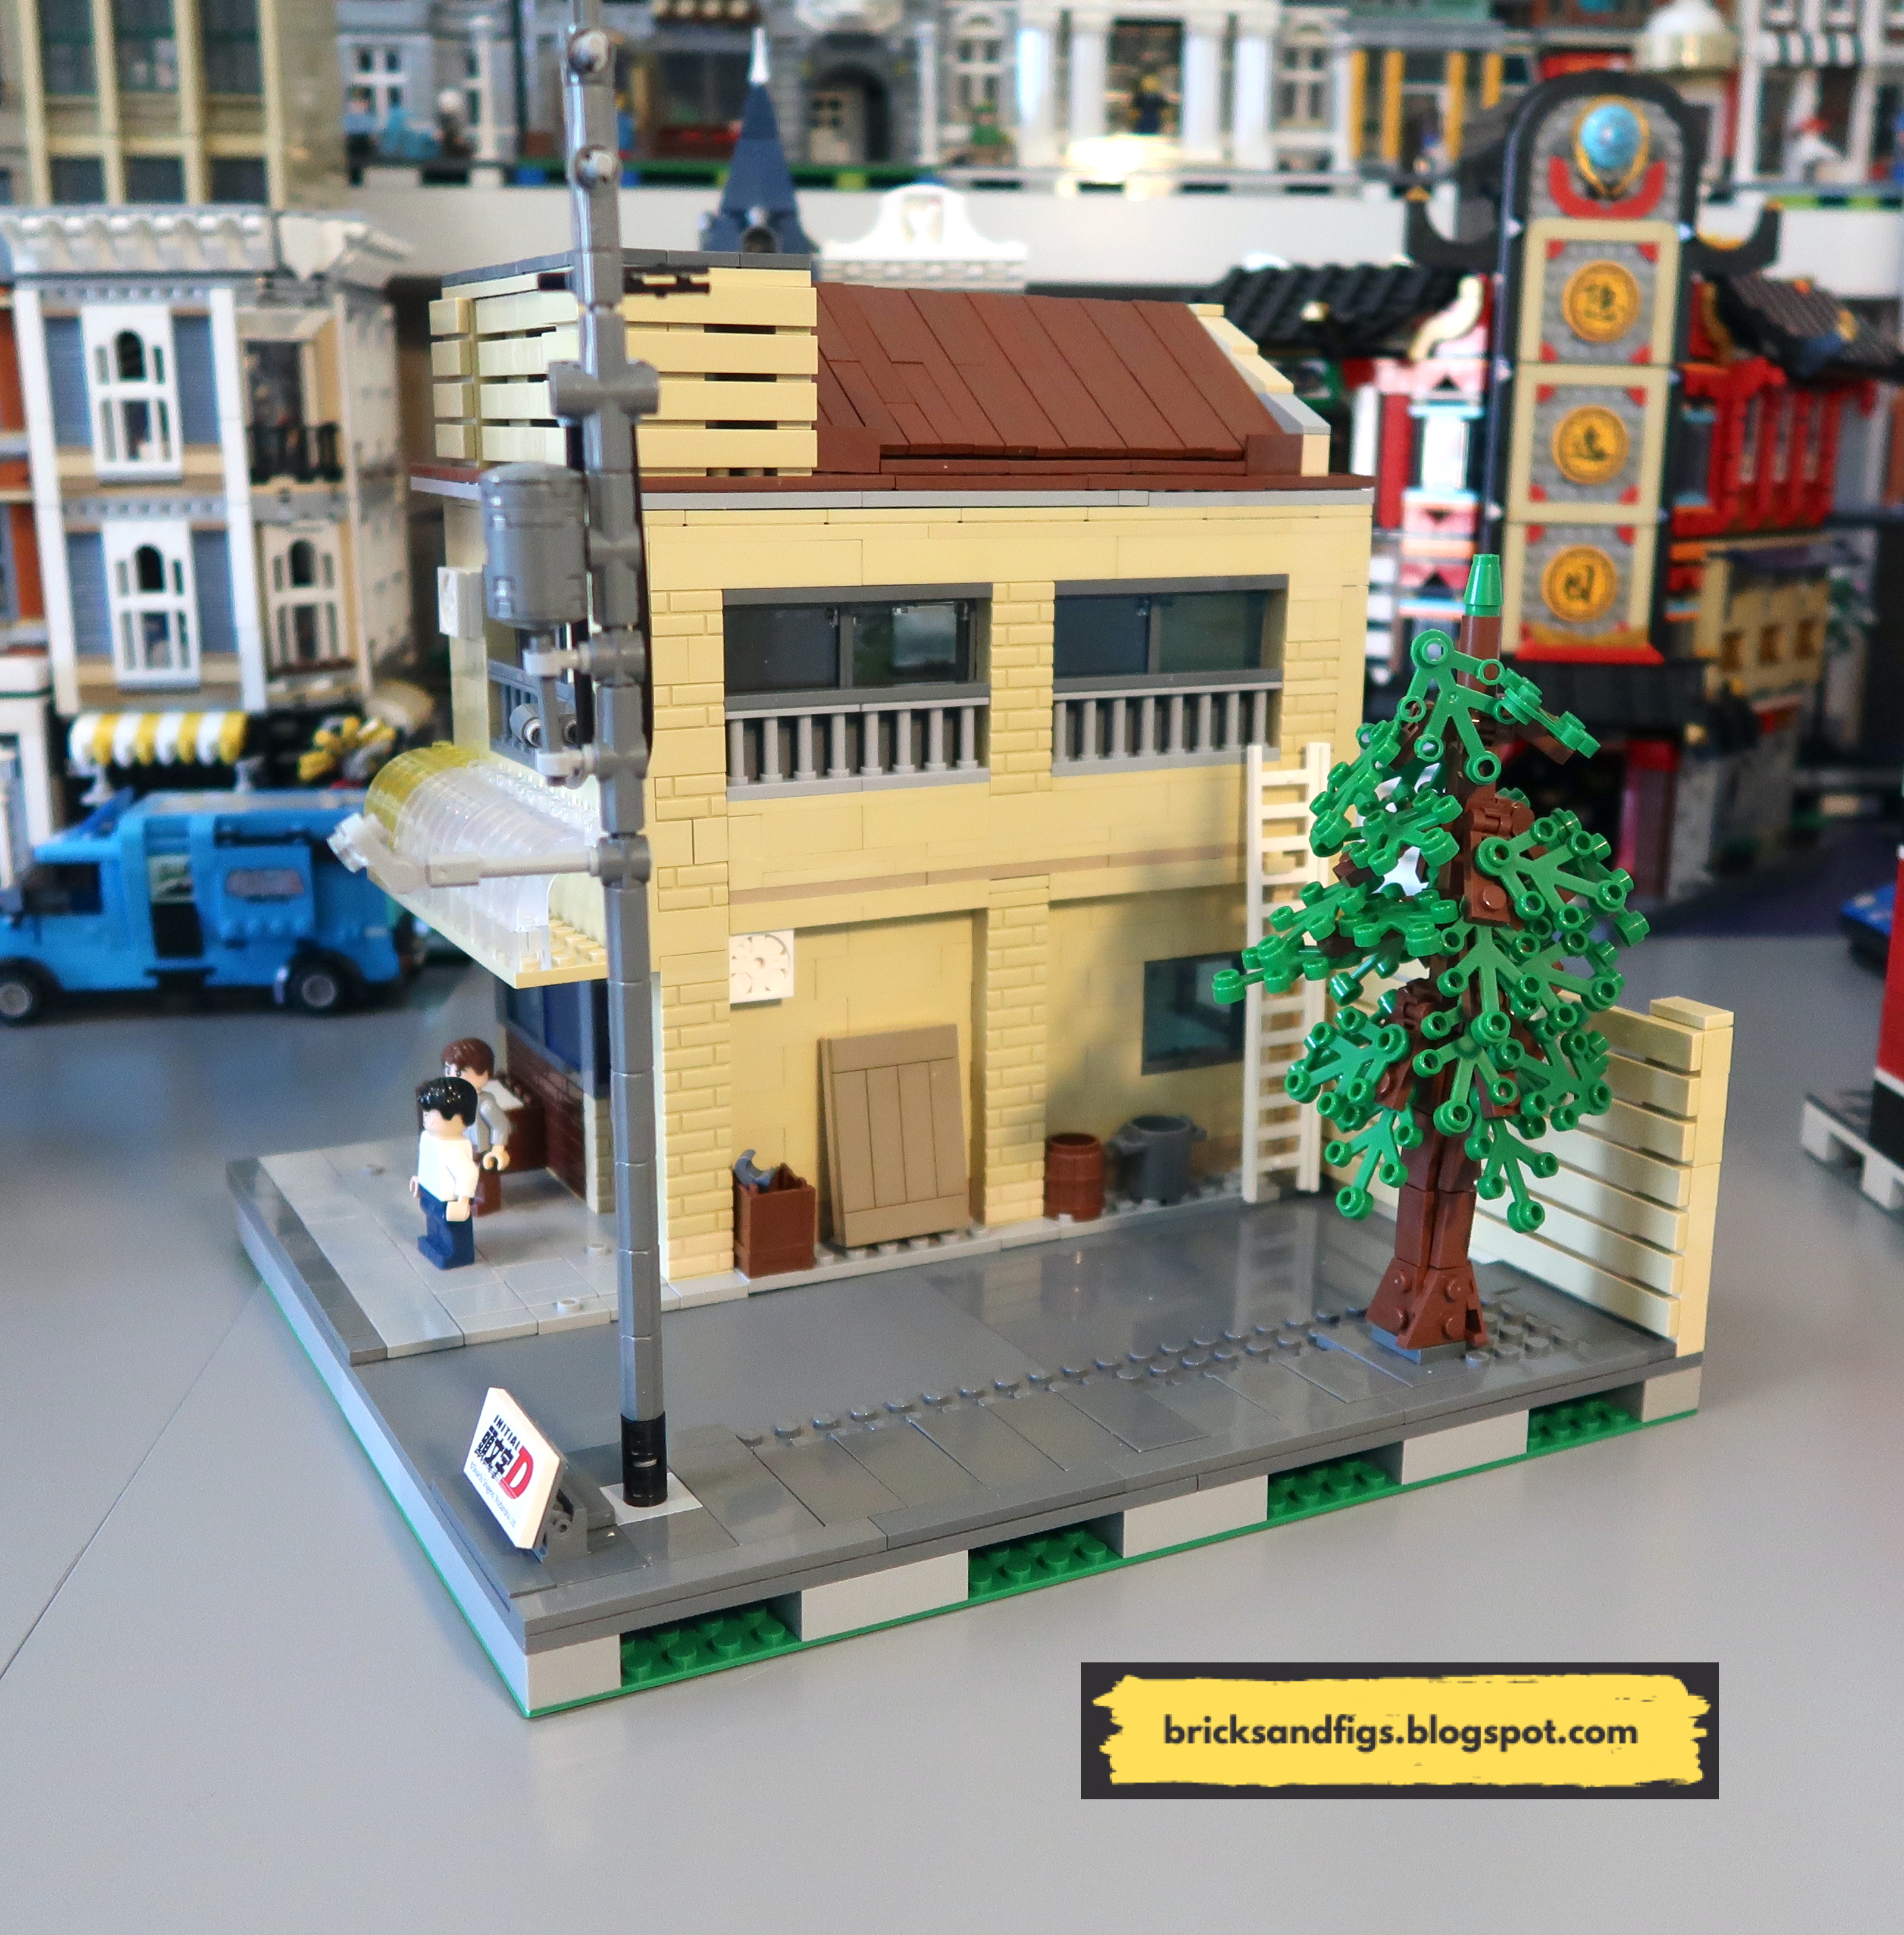
Now, with that backstory in mind, let's dive into the revamped version of the set. Firstly, despite its name, the grocery store doesn't stock any actual food items, leading me to believe it's more of a thrift shop. It's filled with odds and ends like dishes, mugs, and handbags. I've endeavored to utilize as much from the original set as possible while incorporating additional items from my collection.

One of the primary modifications I've made to each of my modded buildings is placing them on raised baseplates. This not only reinforces the base for easier handling but also allows for the addition of a sidewalk to the front of the set. I've standardized all buildings to fit onto a 16x32 stud baseplate. Initially, this set was about 17 or 18 studs wide and 20 studs deep.

As seen in the pictures, I've extended the building's depth, providing ample space for the main floor thrift shop.

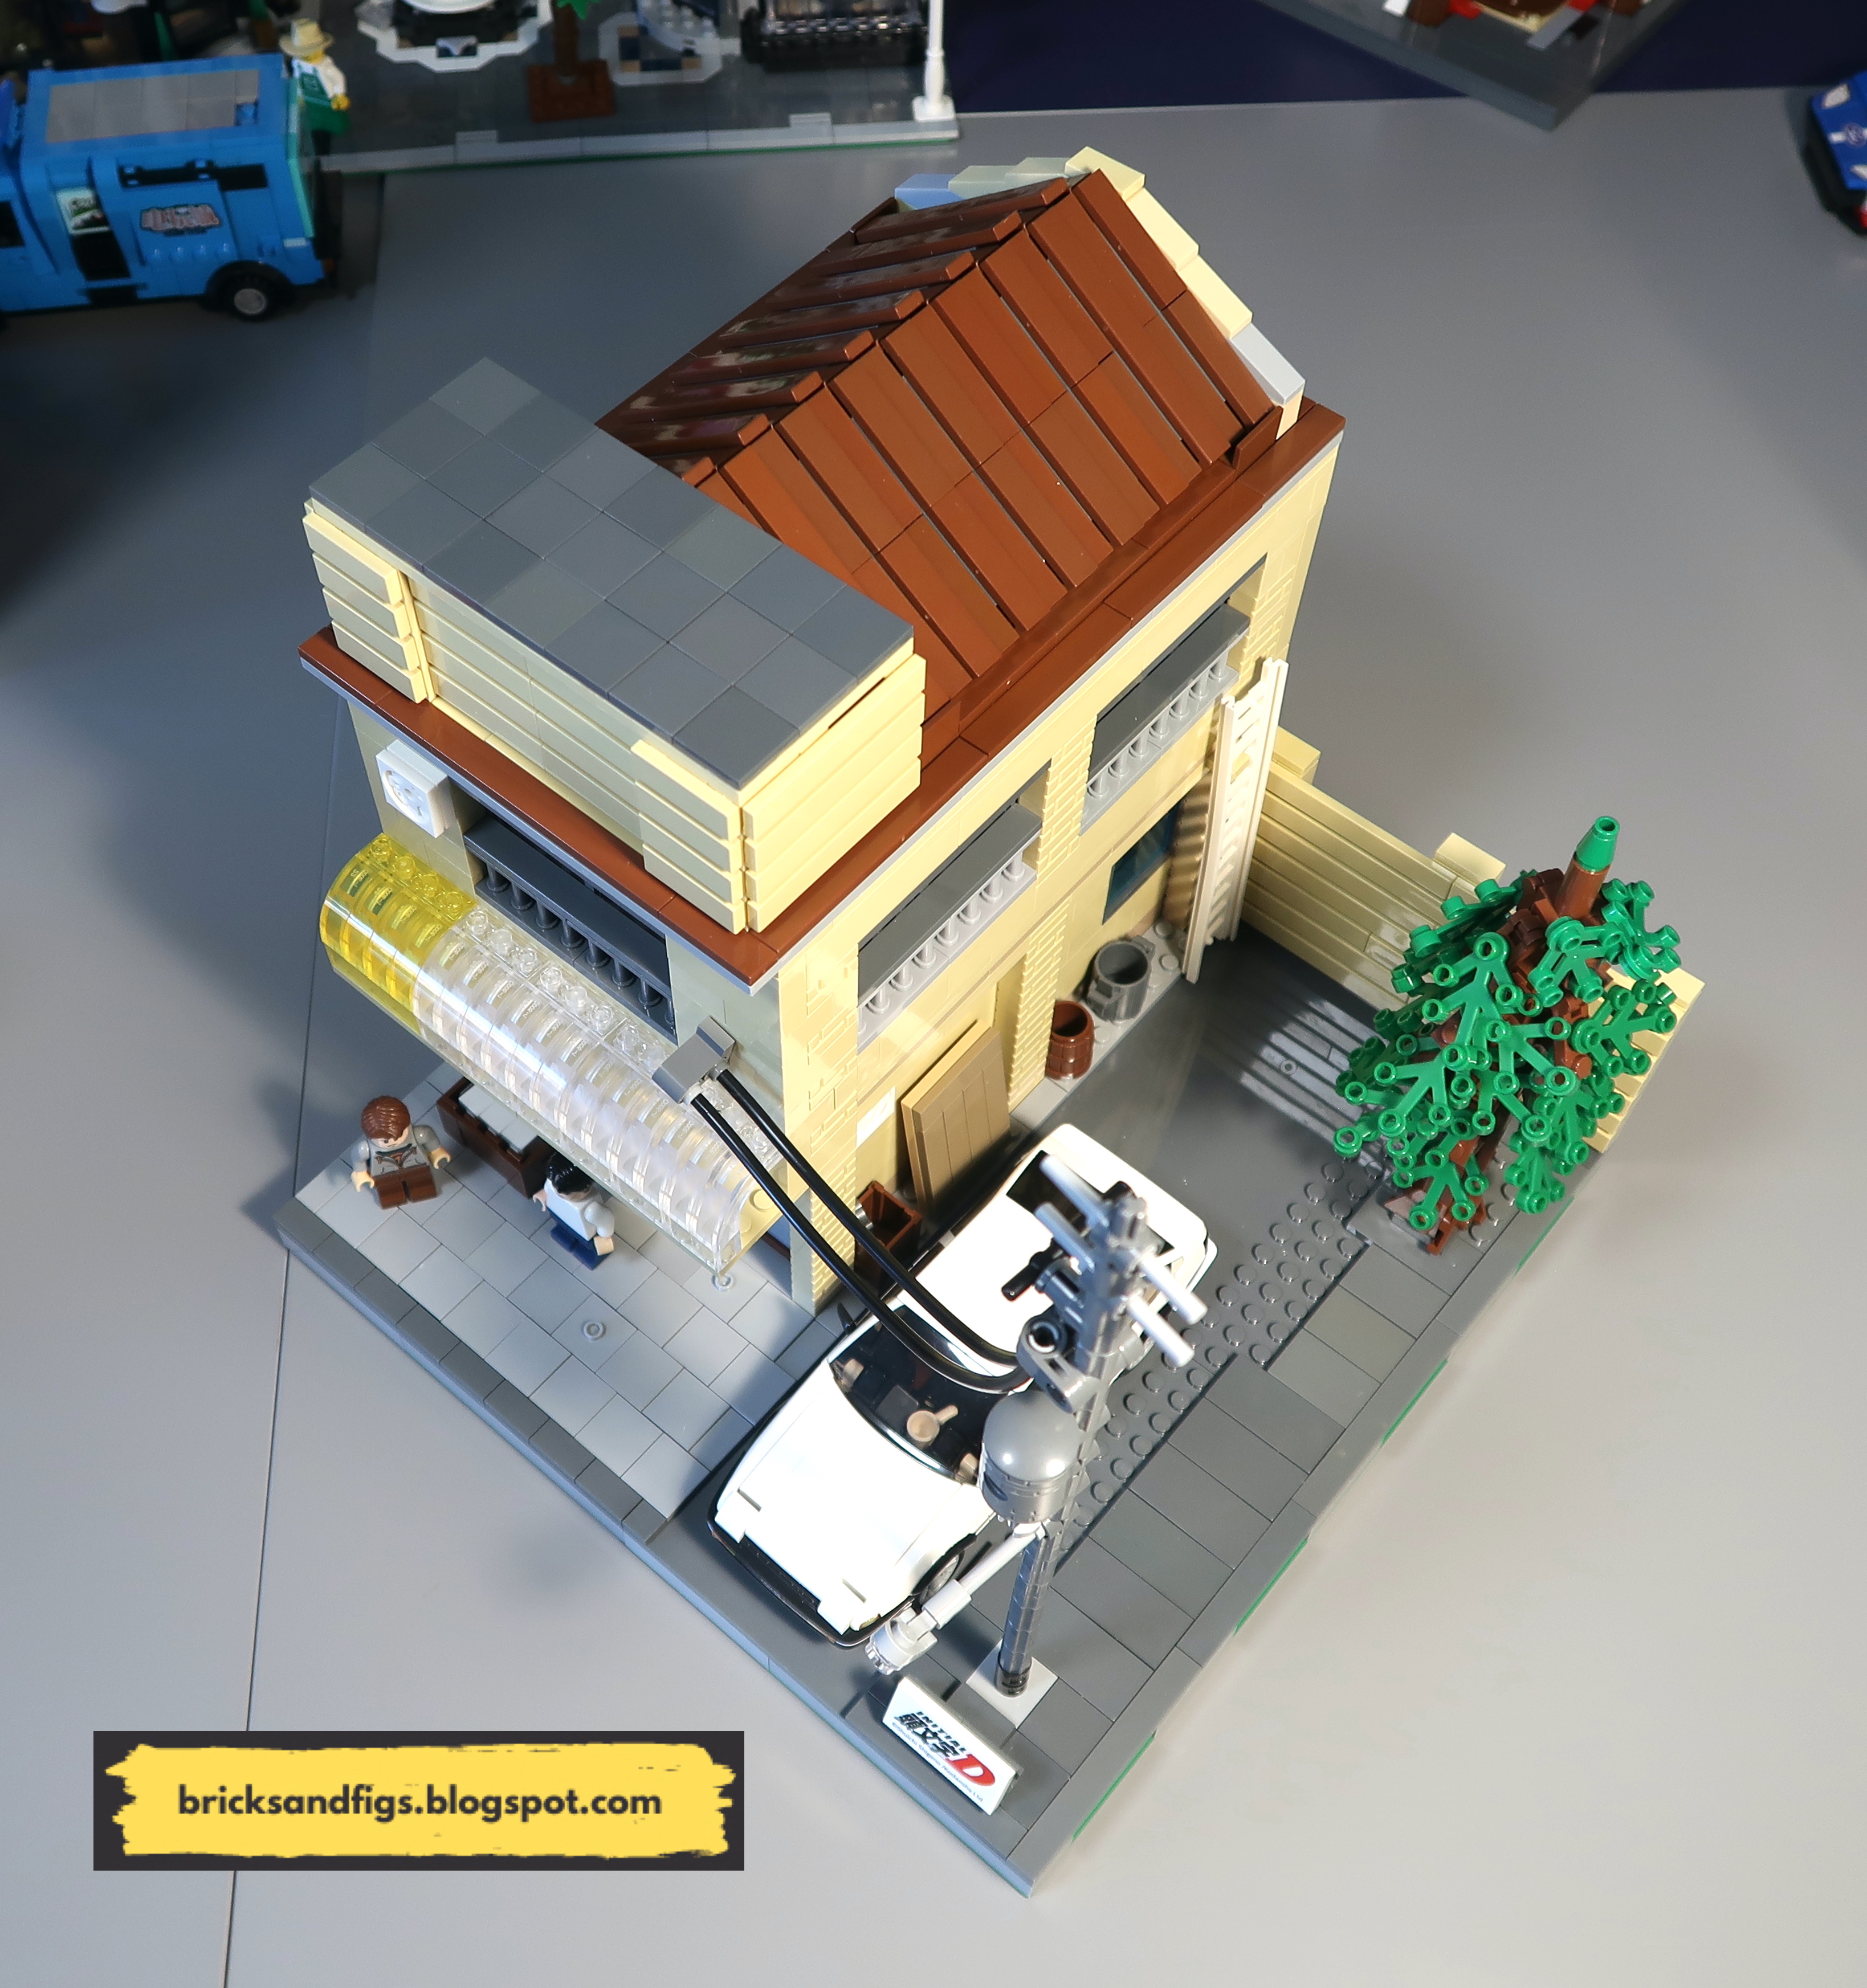
The second floor, originally a tea room with a koi fish pond, lacked sufficient headroom. It seemed odd to have a pond on the second floor, so I've maintained similar dimensions while ensuring enough height for a minifigure to stand comfortably. 

In my redesign, the second floor now serves as Kitty's bedroom, the shop owner, accessible via a new staircase I've added. While I considered expanding the second-floor space, I lacked enough tan bricks in my stash. Instead, I've created a new patio or terrace in front, accessible from the bedroom.

I've made several adjustments to the exterior as well, including removing the sliding door and downsizing the sakura tree while relocating it to the upstairs patio.


The roof remains largely unchanged, housing a fixed roof in place of the original movable awning.

While remaining faithful to the original design, I've made slight modifications to enhance its aesthetic appeal. I've centered the front doorway, removed the plant stand, and relocated the sign post. 

On the second floor, I've retained the original window while adding a new door to the patio.  

With the sakura tree on the left side, I've reversed the location of the leaves and flower petals and moved the sign accordingly.

I've transformed the new thrift store into a modular building, allowing for easy roof removal and floor separation.

Removing the roof reveals a simple bedroom, consisting of a bed and chest with tiled sand green floors and a staircase with railings for safety.


The entire second floor can be detached from the main floor, showcasing the revised layout of the thrift shop, now featuring the staircase at the back and a door under the stairwell.


I've relocated the checkout counter to the back and preserved the wall shelves and turquoise chair, adding a few more items to fill out the shelves.  Note to self:  cash register needs a computer screen.

Pictured above is a new shelf that is a copy of the one that came with the set.  Also added a few more items to fill out the shelf.

Here's the original shelf which I have moved to the other side of the shop.  Whatever is shown above the front door was preserved from the original set.

The floors on the main level also sport sand green tiles, complementing the large sticker on the floor.

And that's a wrap on all the modifications! I hope you've enjoyed this tour of the newly designed Japanese thrift store! I've also started modifying the Japanese Canteen, though I haven't finished the interior yet. Stay tuned for updates on the blog.

Feel free to drop your comments below. Thanks for tuning in!

Tuesday, March 7, 2023

My Custom Not Lego Initial D Fujiwara Tofu Shop (using the Cada C61033W building block set)


Good day brick fans!  Today's blog post goes out to all you Initial D manga and anime fans.  I hope you like my highly modified Japanese themed Fujiwara Tofu not Lego shop that I made  from the Cada C61033W scenic diorama set

Cada recently held a contest on their Facebook page and I won the gift pack which includes both the Tofu shop facade and the Initial D C55018W Toyota Trueno AE86 car.  I made some changes to the AE86 which I reviewed in my blog post:


*If you are thinking about buying anything off the Cada website, check out my discount code at the end of this post.

In this blog post, I will review the process of transforming the Tofu shop small diorama scene into a complete modular building. However, I must note that Cada offers a Lego style modular version of the Fujiwara Tofu shop (set number C61031W) that I highly recommend purchasing to save significant time and effort. This set includes 1908 pieces and features a complete interior on both floors, which my own creation currently lacks.

This is what I started with, the Cada C61033W set.

My decision to build the modular Tofu shop from scratch was based on the fact that I already possessed the building's front portion. With this in mind, I wanted to test if I could fashion the rest of the building using my collection of non-Lego bricks. 


To construct my own modular building, I first had to decrease the width of the front facade from its original 20 studs to 16 studs. Then, I had to locate all the necessary bricks for the side walls, back wall, floors, and roof, as well as acquire windows, railings, sidewalk tiles, and other accessories for the building's exterior.

While I managed to retain the front windows and doors, I had to downsize the awning. The Tofu shop's name, which is displayed on the awning, is a large sticker that spans the entire width of the shop. I have not yet affixed the sticker as I am trying to determine the best way to do so while achieving a pleasing Japanese themed aesthetic result. 

From the above picture, you can see the entire length of the newly modified Tofu shop.  The box-like roof structure has been extended further back and a new sloped roof has been added to replicate what I've seen in pictures.

I added two sets of windows on the second floor and two smaller windows at the rear of the main floor, one on the side wall and one on the rear wall.

I included three portable wall mounted A/C units, which the original tofu shop doesn't have.  Don't mind the shitty bricks that form the roof back wall, I ran out of bricks.  :(

More windows here too.

This is one of the plainer wall surfaces.  Luckily, I have all these beige masonry bricks to serve as accents on the otherwise plain walls.


Coming around the front again, I stole the utility pole from the Cada Japanese Bun shop which looks a lot nicer than the one that comes with Cada's full modular version of the Tofu shop.  Wires from the utility pole attach directly to the shop.

The tree is one I borrowed from the Funwhole Wood Cabin set.  I was going to make a tree but this one looked pretty good, so maybe I will copy it again one day to replace the Funwhole tree.

The back fence is my own creation, which I copied from the rooftop box structure. 

My modified AE86 sits on the attached parking pad.  I also added some extra bins and boards to my setup.


These minifigures are supposed to represent Takumi Fujiwara and his dad Bunta Fujiwara.  What do you think, yes or no?

Here's a drone shot from above the shop.  Oh wait, drones hadn't been invented yet back in 1998!

Let me know if I should make interiors for both floors of the Tofu shop.  Right now, there's nothing inside.


All three of the Initial D sets are available for purchase on the Cada website. Use my coupon code ITSNOTLEGO to save 5% at checkout.


Initial D Fujiwara Tofu Shop Modular Building C61031W

Well, that's all for now.  Please let me know in the comments what you think of my version of the Lego compatible Fujiwara Tofu shop.  Did I miss anything important that needs to be added or changed?

Thanks for looking!  Bye!

Saturday, February 25, 2023

How I enhanced the Cada C55018W Initial D AE86 Trueno (started out as a review)


*the above picture is not mine.  I found it on the internet.

Hello brick fans!  Just wanted to let you know that I recently won an Initial D prize pack that was part of a Cada contest on Facebook.  The prize pack included two small sets from Cada, the Fujiwara Tofu Shop C61033W and this Toyota AE86 C55018W.   

If you are interested in these sets, be sure to check out my Cada discount code at the end of this post!

Thank you Cada!

In this post I'll do a quick review of the Toyota AE86 set, a black and white drift car featured in the very popular anime series called Initial D by manga author Shuichi Shigeno.  The owner of a Tofu shop uses the car to make deliveries and ultimately it becomes a race car.

Here's some pictures I found on the internet of the featured vehicle.


Shuichi Shigeno standing next to his real AE86.

You can read more about it on the Initial D wiki page which can be found here: https://initiald.fandom.com/wiki/Initial_D_Wiki

After the short set review, I will detail the enhancements I made to my AE86 model.

Set Details

Brand: Cada

Set: C55018W Initial D Toyota AE86 Trueno

Piece count: 72pcs

Numbered bags? No

Stickers or printed parts? Both

Missing or deformed pieces: No

Extra parts: No

Minifigures: No

Lighting kit: No

Brick Quality and Clutch: Great

Measurements (approx): 1/35 scale

Age Rating: 8+


Unboxing

The Toyota AE86 set came in it's own box, but packaged together with the Tofu shop set.  Initial D artwork is featured on the cover of the box.  On the back of the box is the name of the Fujiwara Tofu Shop.


Inside the box, you get a thin booklet for the instructions, two sticker sheets and four bags of parts.  According to the Cada website there are a total of 72 pieces.


Unpacked, I counted a total of 75 pieces, 3 more than what Cada indicated.  Thr body panels, front and rear bumpers have printed details, but the fine details such as badging, lighting and license plates are added via the included stickers.

Assembling the AE86


As you can imagine, with only 75 parts, this is a very easy set to put together, great for kids.  

* not my pic, I forgot to take a shot like this.  Basically this is the original interior.

The Cada set is sort of a hybrid between a Lego style set and a plastic model kit with the pre-molded body panels, hood and bumpers.  The entire roof attached to the window panel but the rear window is blacked out.  You can even open the hood to display the engine block.  Other features include the side mirrors and the pop up headlights.

On the downside of this set, you can't open the doors or access the trunk, since there is no interior to speak of.  The car is supposed to be 1/35 scale which makes it slightly larger than minifigure scale which is estimated to be around 1/45 scale.  As such, no minifigures are provided with this set either.  But as we find out later, we can still put one inside.

So, I don't know why, but I got really distracted by the size of the wheels on the AE86. When I put them on the car, they look like giant marshmallows or steamrollers, to me anyways.  

At this point, I stopped taking pictures of the model and started rummaging through my parts bin to see if I could find some smaller wheels.  That's why you don't see any pictures of my finished original model, it's because I had already started to modify it.

Enhancing the AE86

Pictured above left are the original wheels and technic attachment axles used by Cada for the AE86.  On the right is the smaller diameter wheel and brick axle I decided to use instead.  It's a simple part swap that can be done by anyone if you have the parts.  

These are the same wheels used for the Lego caravan set 60182.

There's a lot more clearance in the wheel wells with the smaller tires.

I like that the new wheels actually lowers the stance of the car.  It actually looks more proportionate in my opinion.  So did anyone notice anything else what else looks different with the car?   There's actually two other things!

Did you guess the headlights?  Good for you!  So I also discovered that by replacing the headlights with a curved 1x1 brick, it puts the AE86 headlights into daytime driving mode.

Before.

After.  And I can swap the bricks anytime depending on how I want to display the AE86.


Here's a few more pictures.


I don't normally apply stickers to my building block sets, but the AE86 just wouldn't be the same without the Fujiwara Tofu Shop logo.

Are you wondering what's under the hood?  Oh yes, that may or may not be my minifigure representation of Bunta Fujiwara.  He was the best I could cobble together with the minifig pieces I had.  My answer on whether the Cada AE86 is minifigure compatible or not is Yes!

It's hard to see with the tinted windows, but you can definitely put a minifigure inside.

C'mon, you didn't really think I could enhance the exterior, yet leave the interior alone did you?  

There wasn't any interior in the kit, but I managed to squeeze as much detail as I could into the AE86.  This includes, a dashboard and steering wheel, a cup of water, and a stick shifter.   Initial D fans will understand the meaning of the cup.

My interpretation of tofu for delivery, lol.

Due to headroom constraints with minifigure added to the interior, I couldn't also add in a seat, so this was all I could do.  Can it be made better?  Let me know.


Some final thoughts.  Fit and finish were pretty good.  Some minor smudges on my roof panel which you might not notice if you don't look too closely.  All the parts fit together well and nothing fell off when handled.  The car rolls both well with the original and the retrofitted wheels.  I'm going to give this set a 4 out of 5 ,with points deducted for the large wheels, the lack of interior, the lack of minifigures and all of the stickers.  But it displays really well, if you just swap out the wheels.

Anyways, I hope you've had as much fun looking at the pictures, as I've had taking them.   Thanks again to Cada for the contest!

All three of the Initial D sets are available for purchase on the Cada website. Use my coupon code ITSNOTLEGO to save 5% at checkout.


See ya next time, bye!