*the above picture is not mine. I found it on the internet.
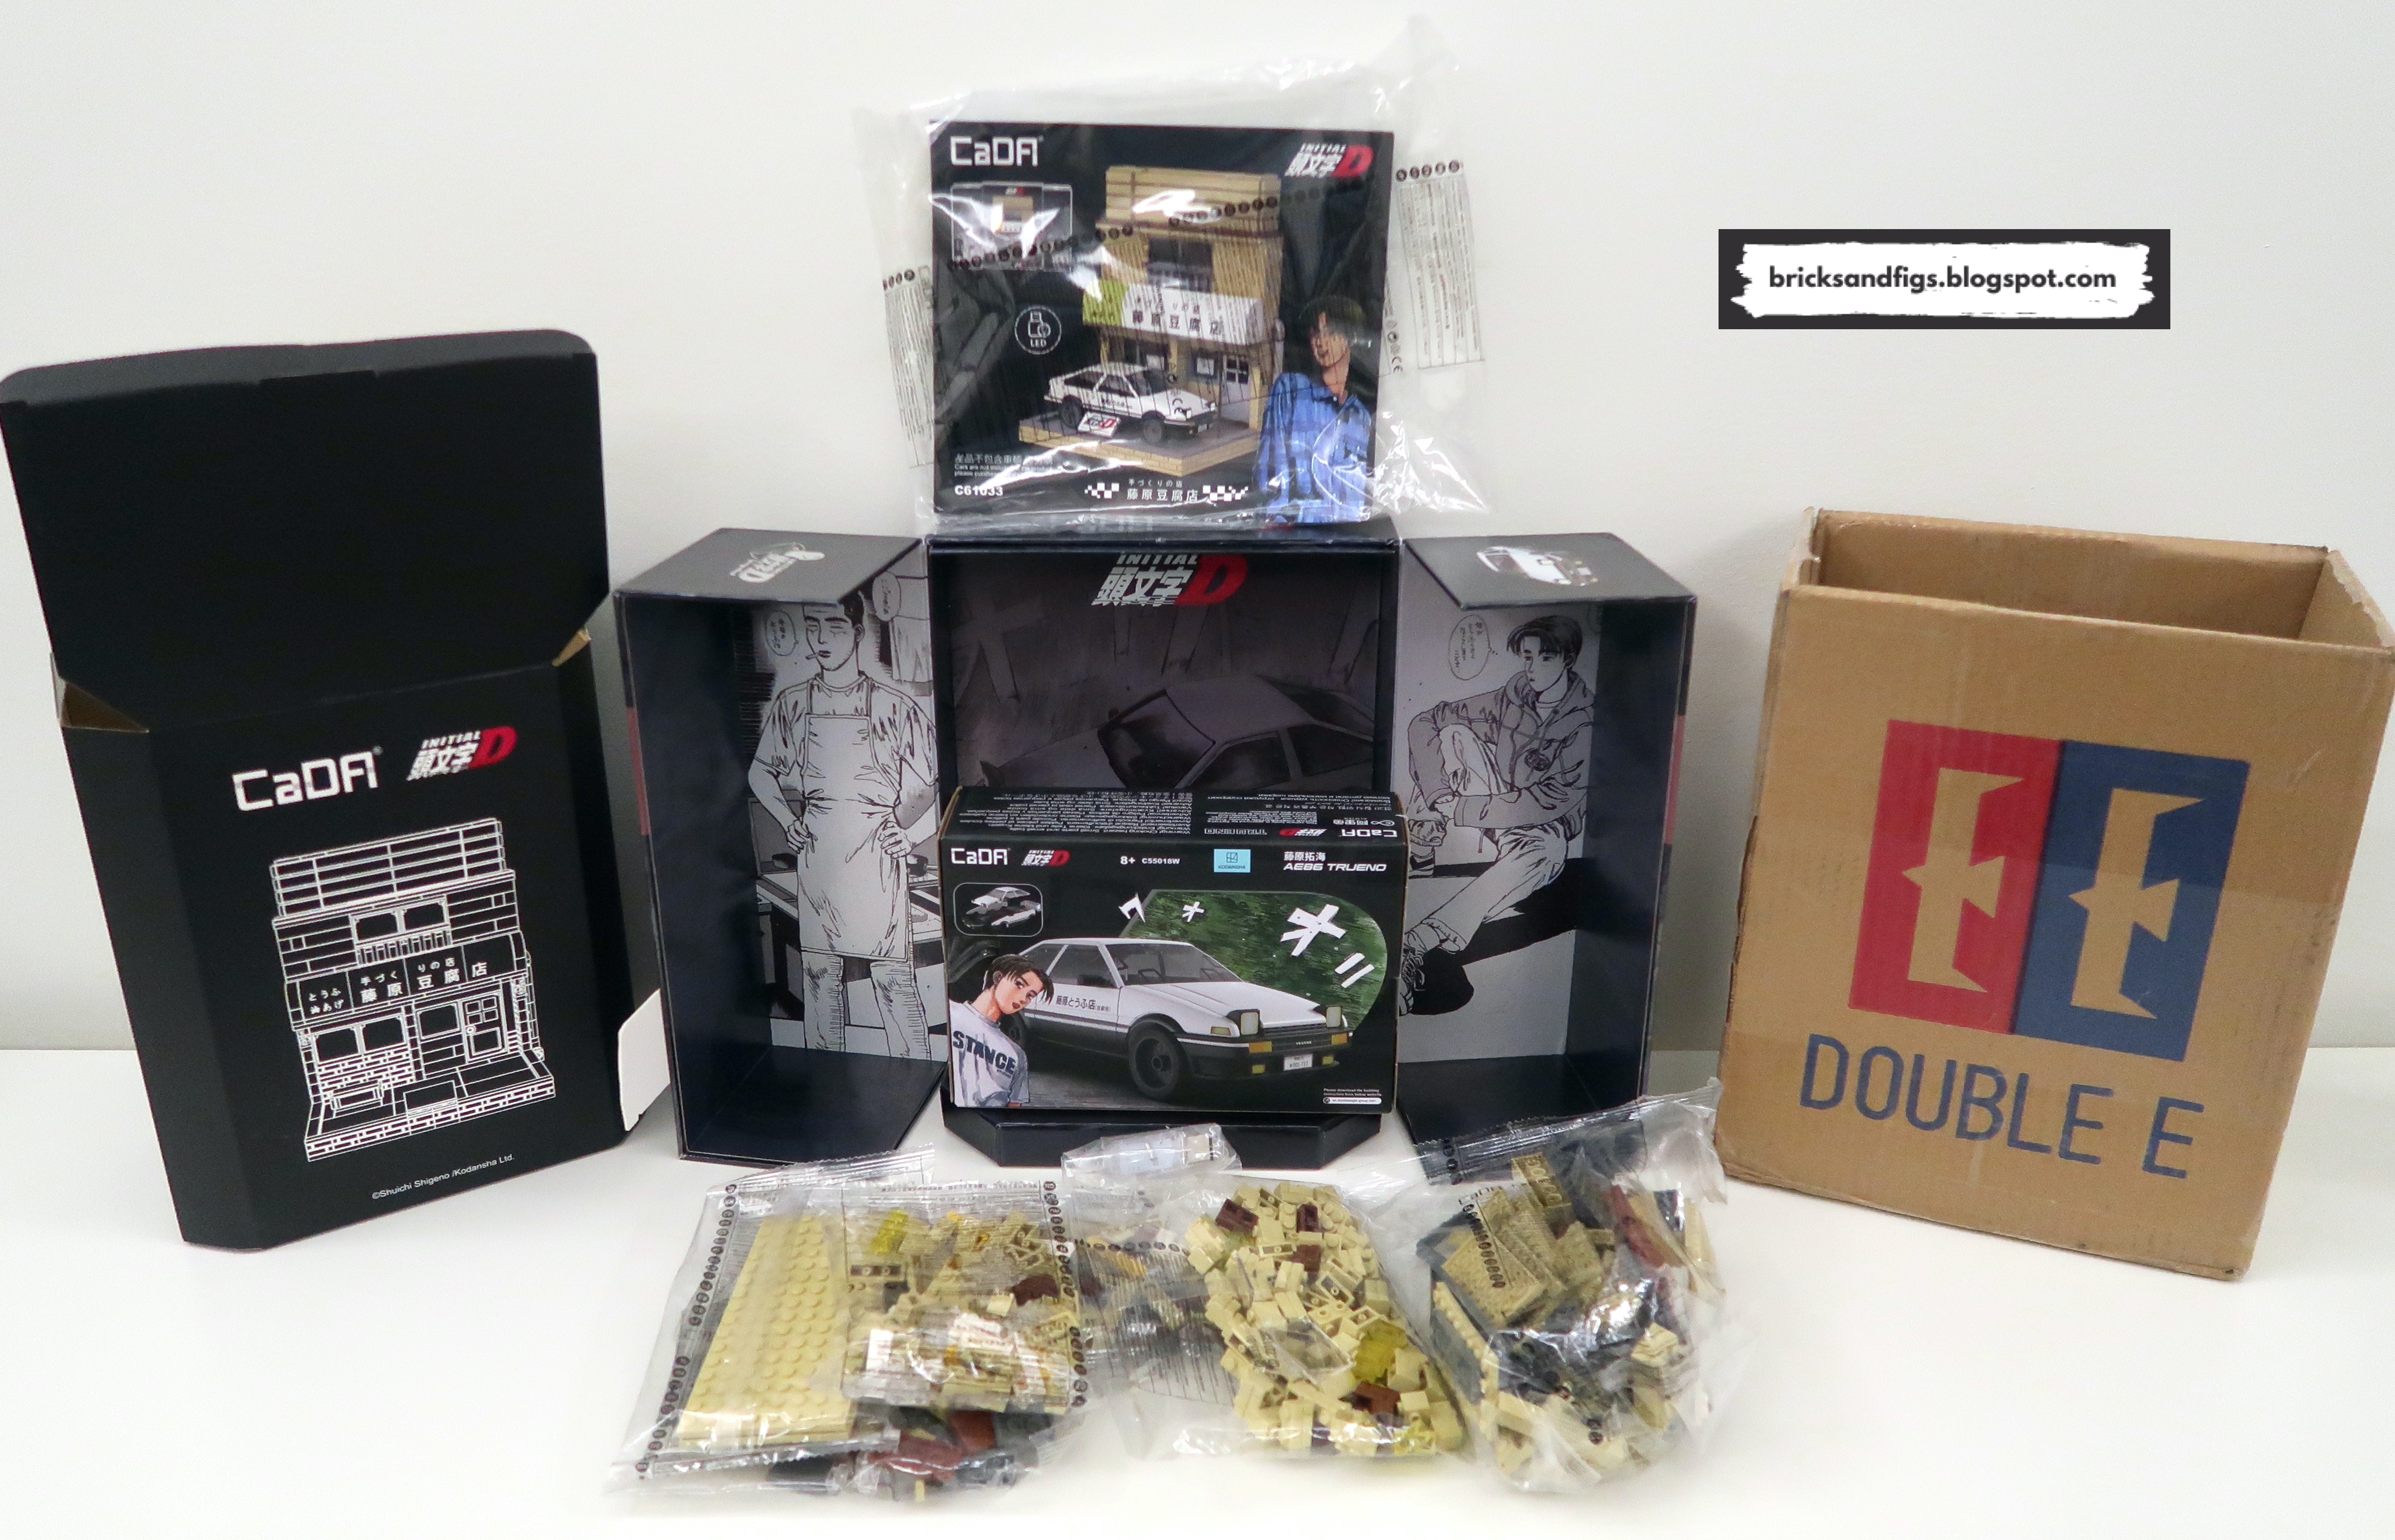
Hello brick fans! Just wanted to let you know that I recently won an
Initial D prize pack that was part of a Cada contest on Facebook. The
prize pack included two small sets from Cada,
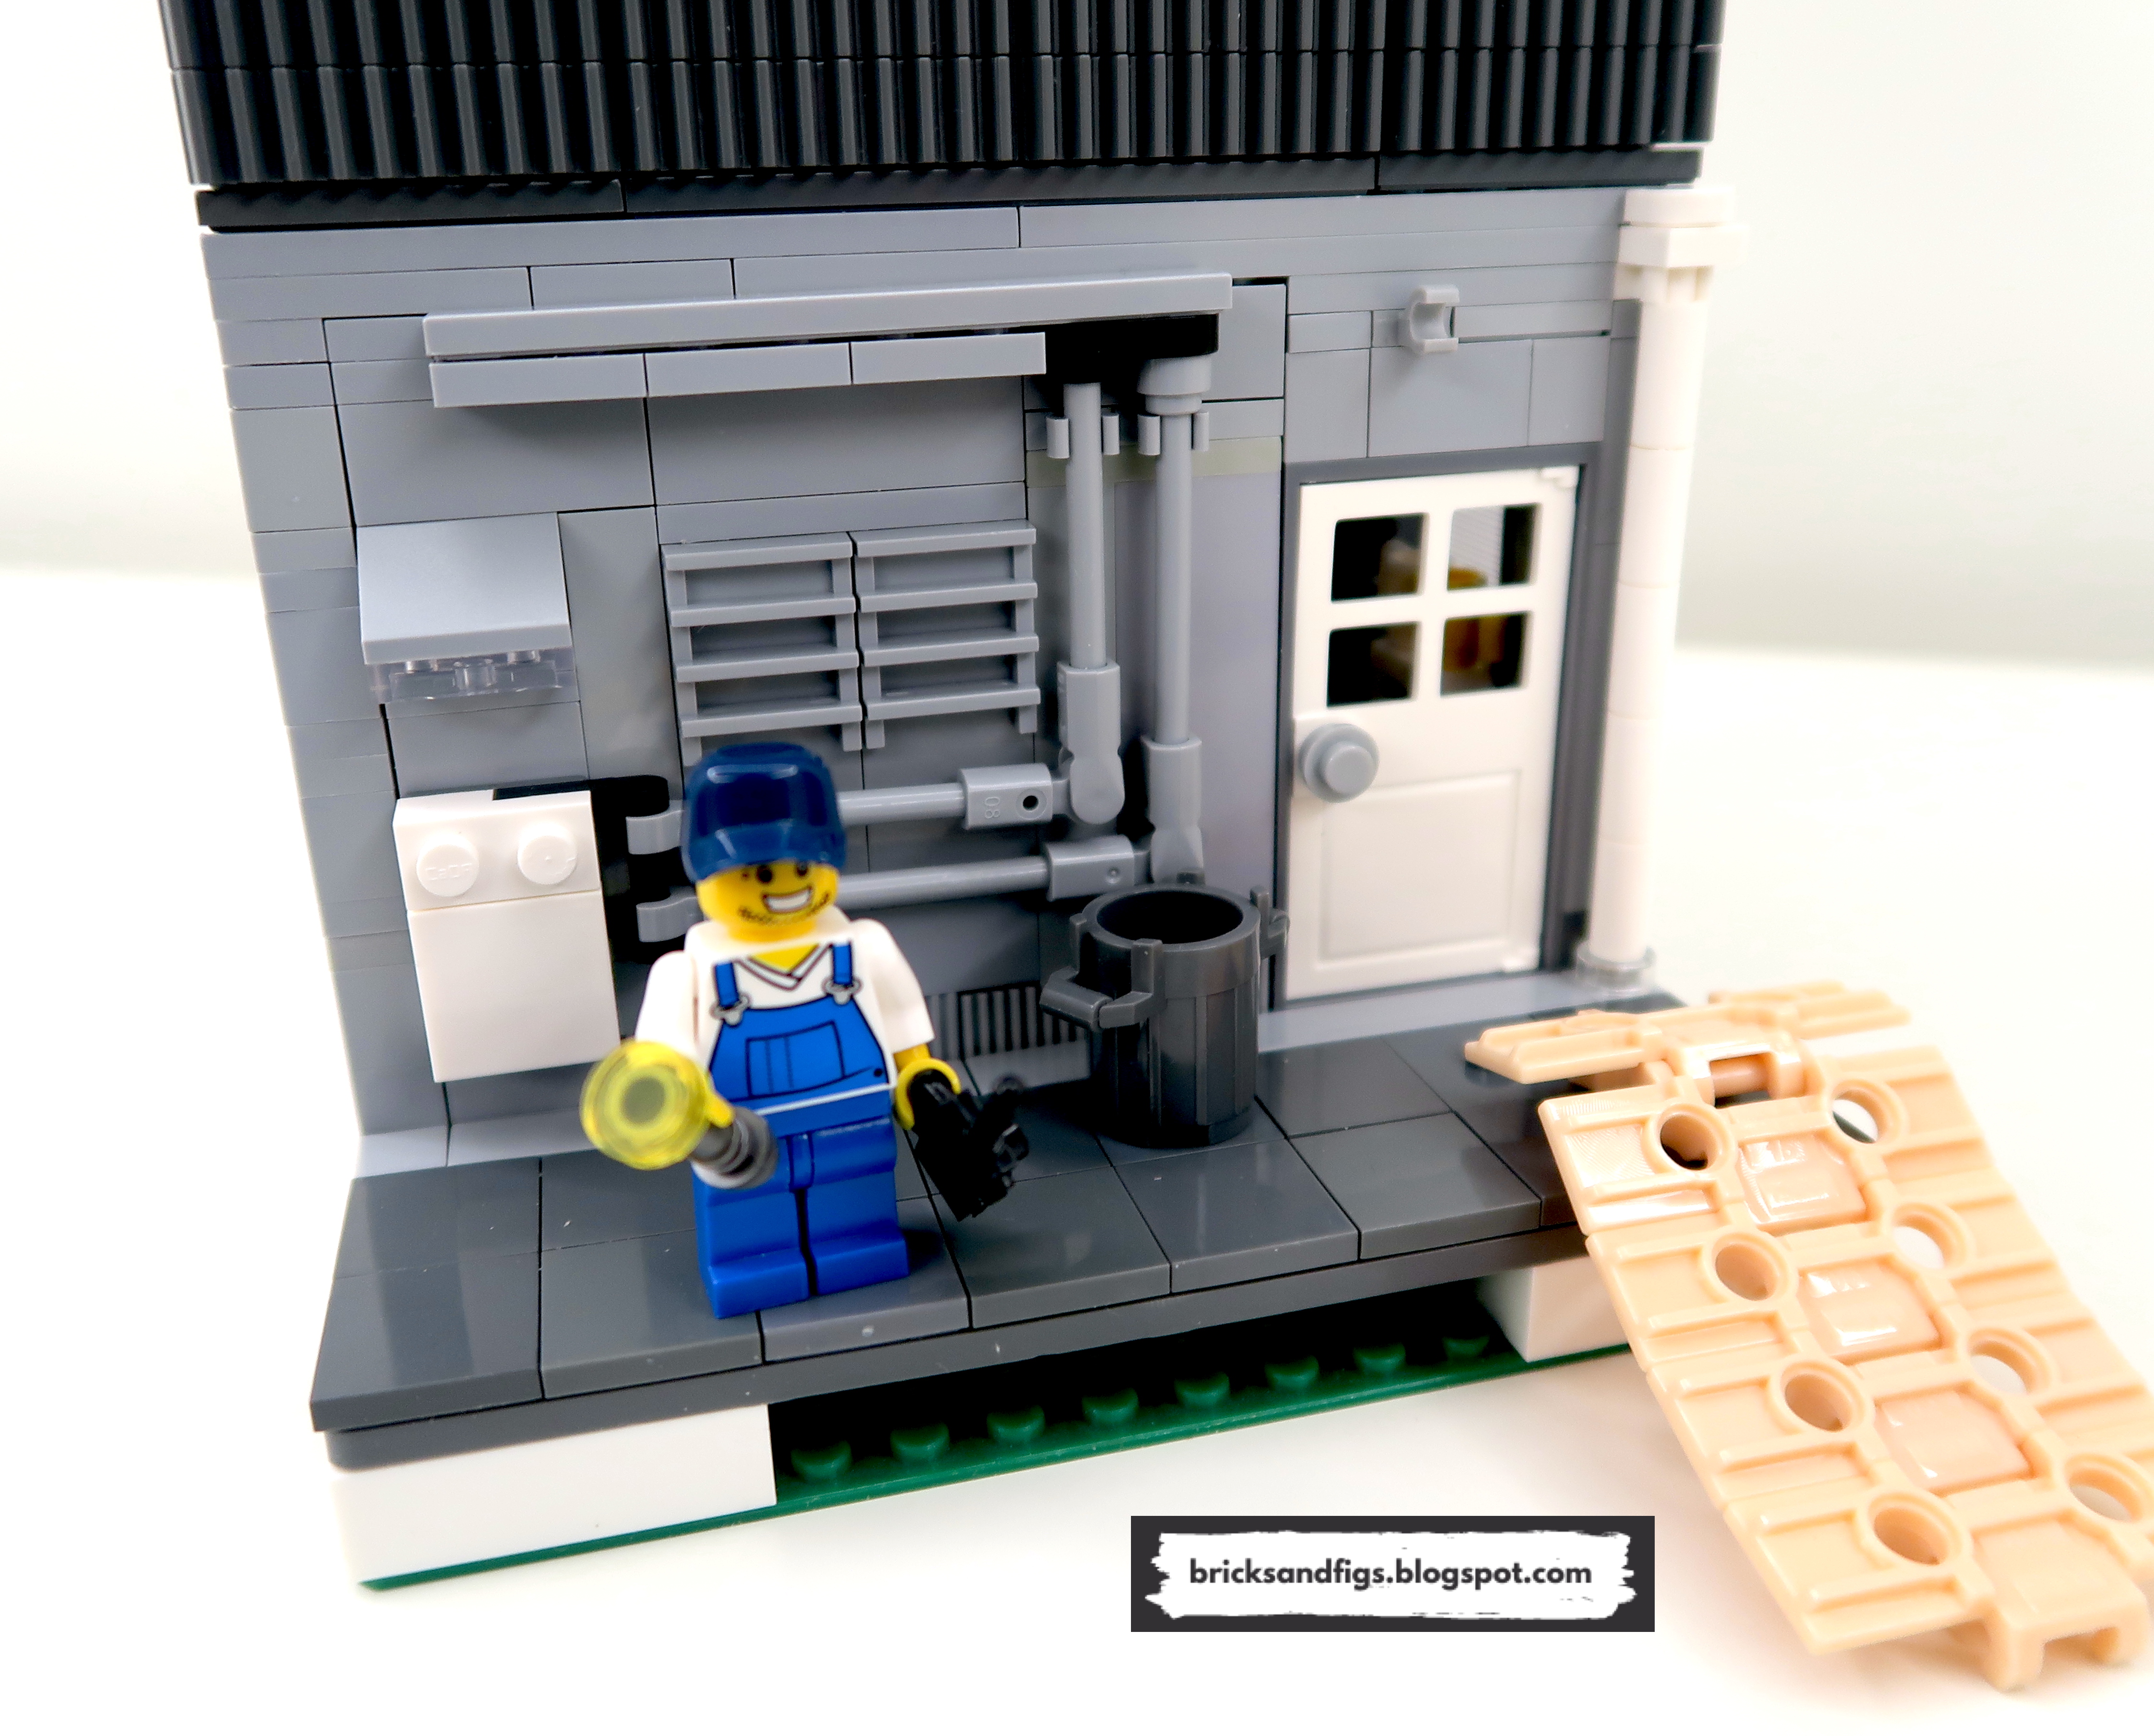
the Fujiwara Tofu Shop C61033W
and this
Toyota AE86 C55018W.
If you are interested in these sets, be sure to check out my Cada discount
code at the end of this post!
Thank you Cada!
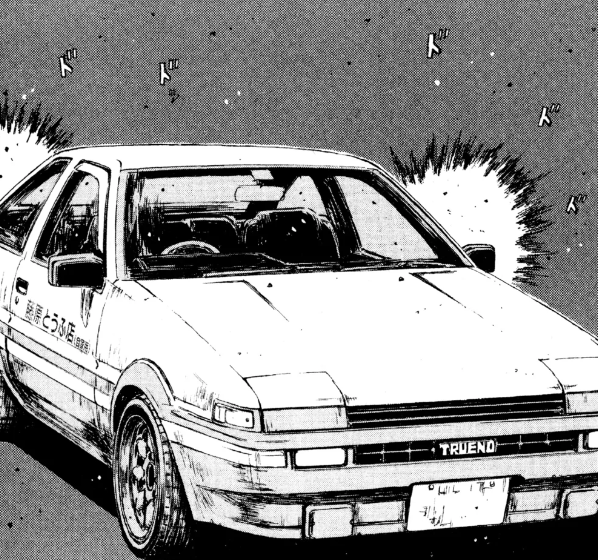
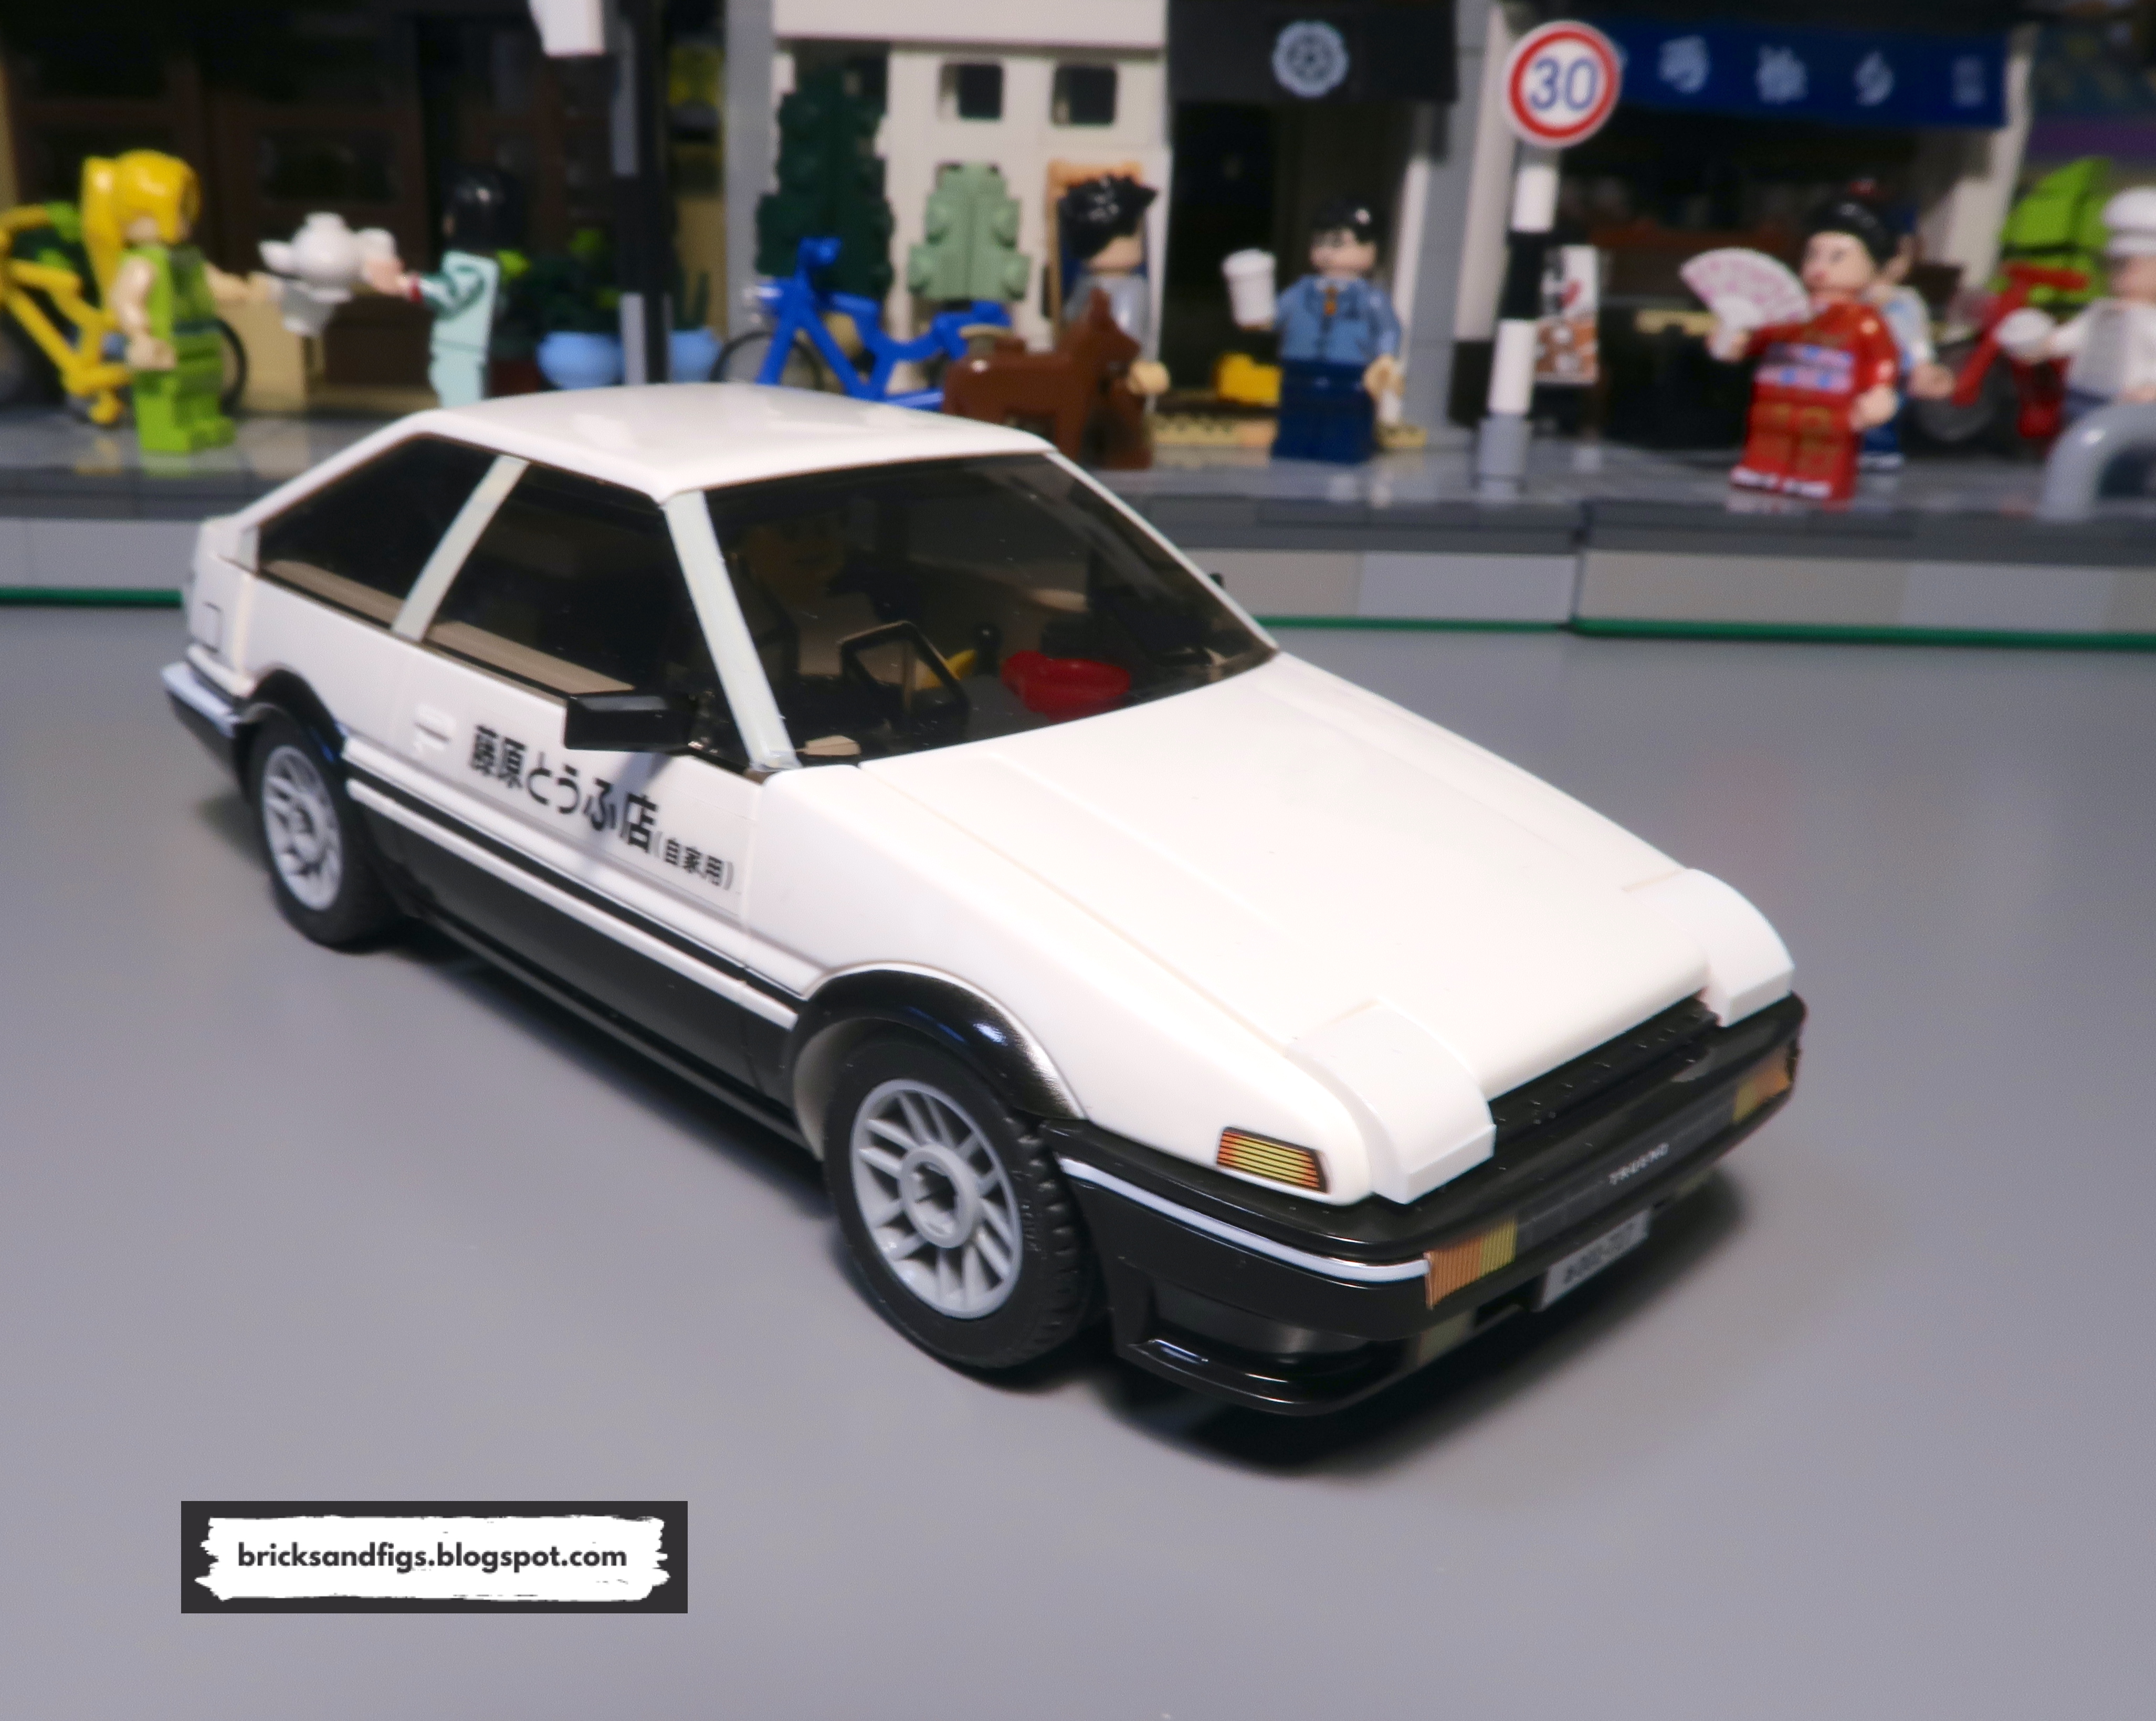
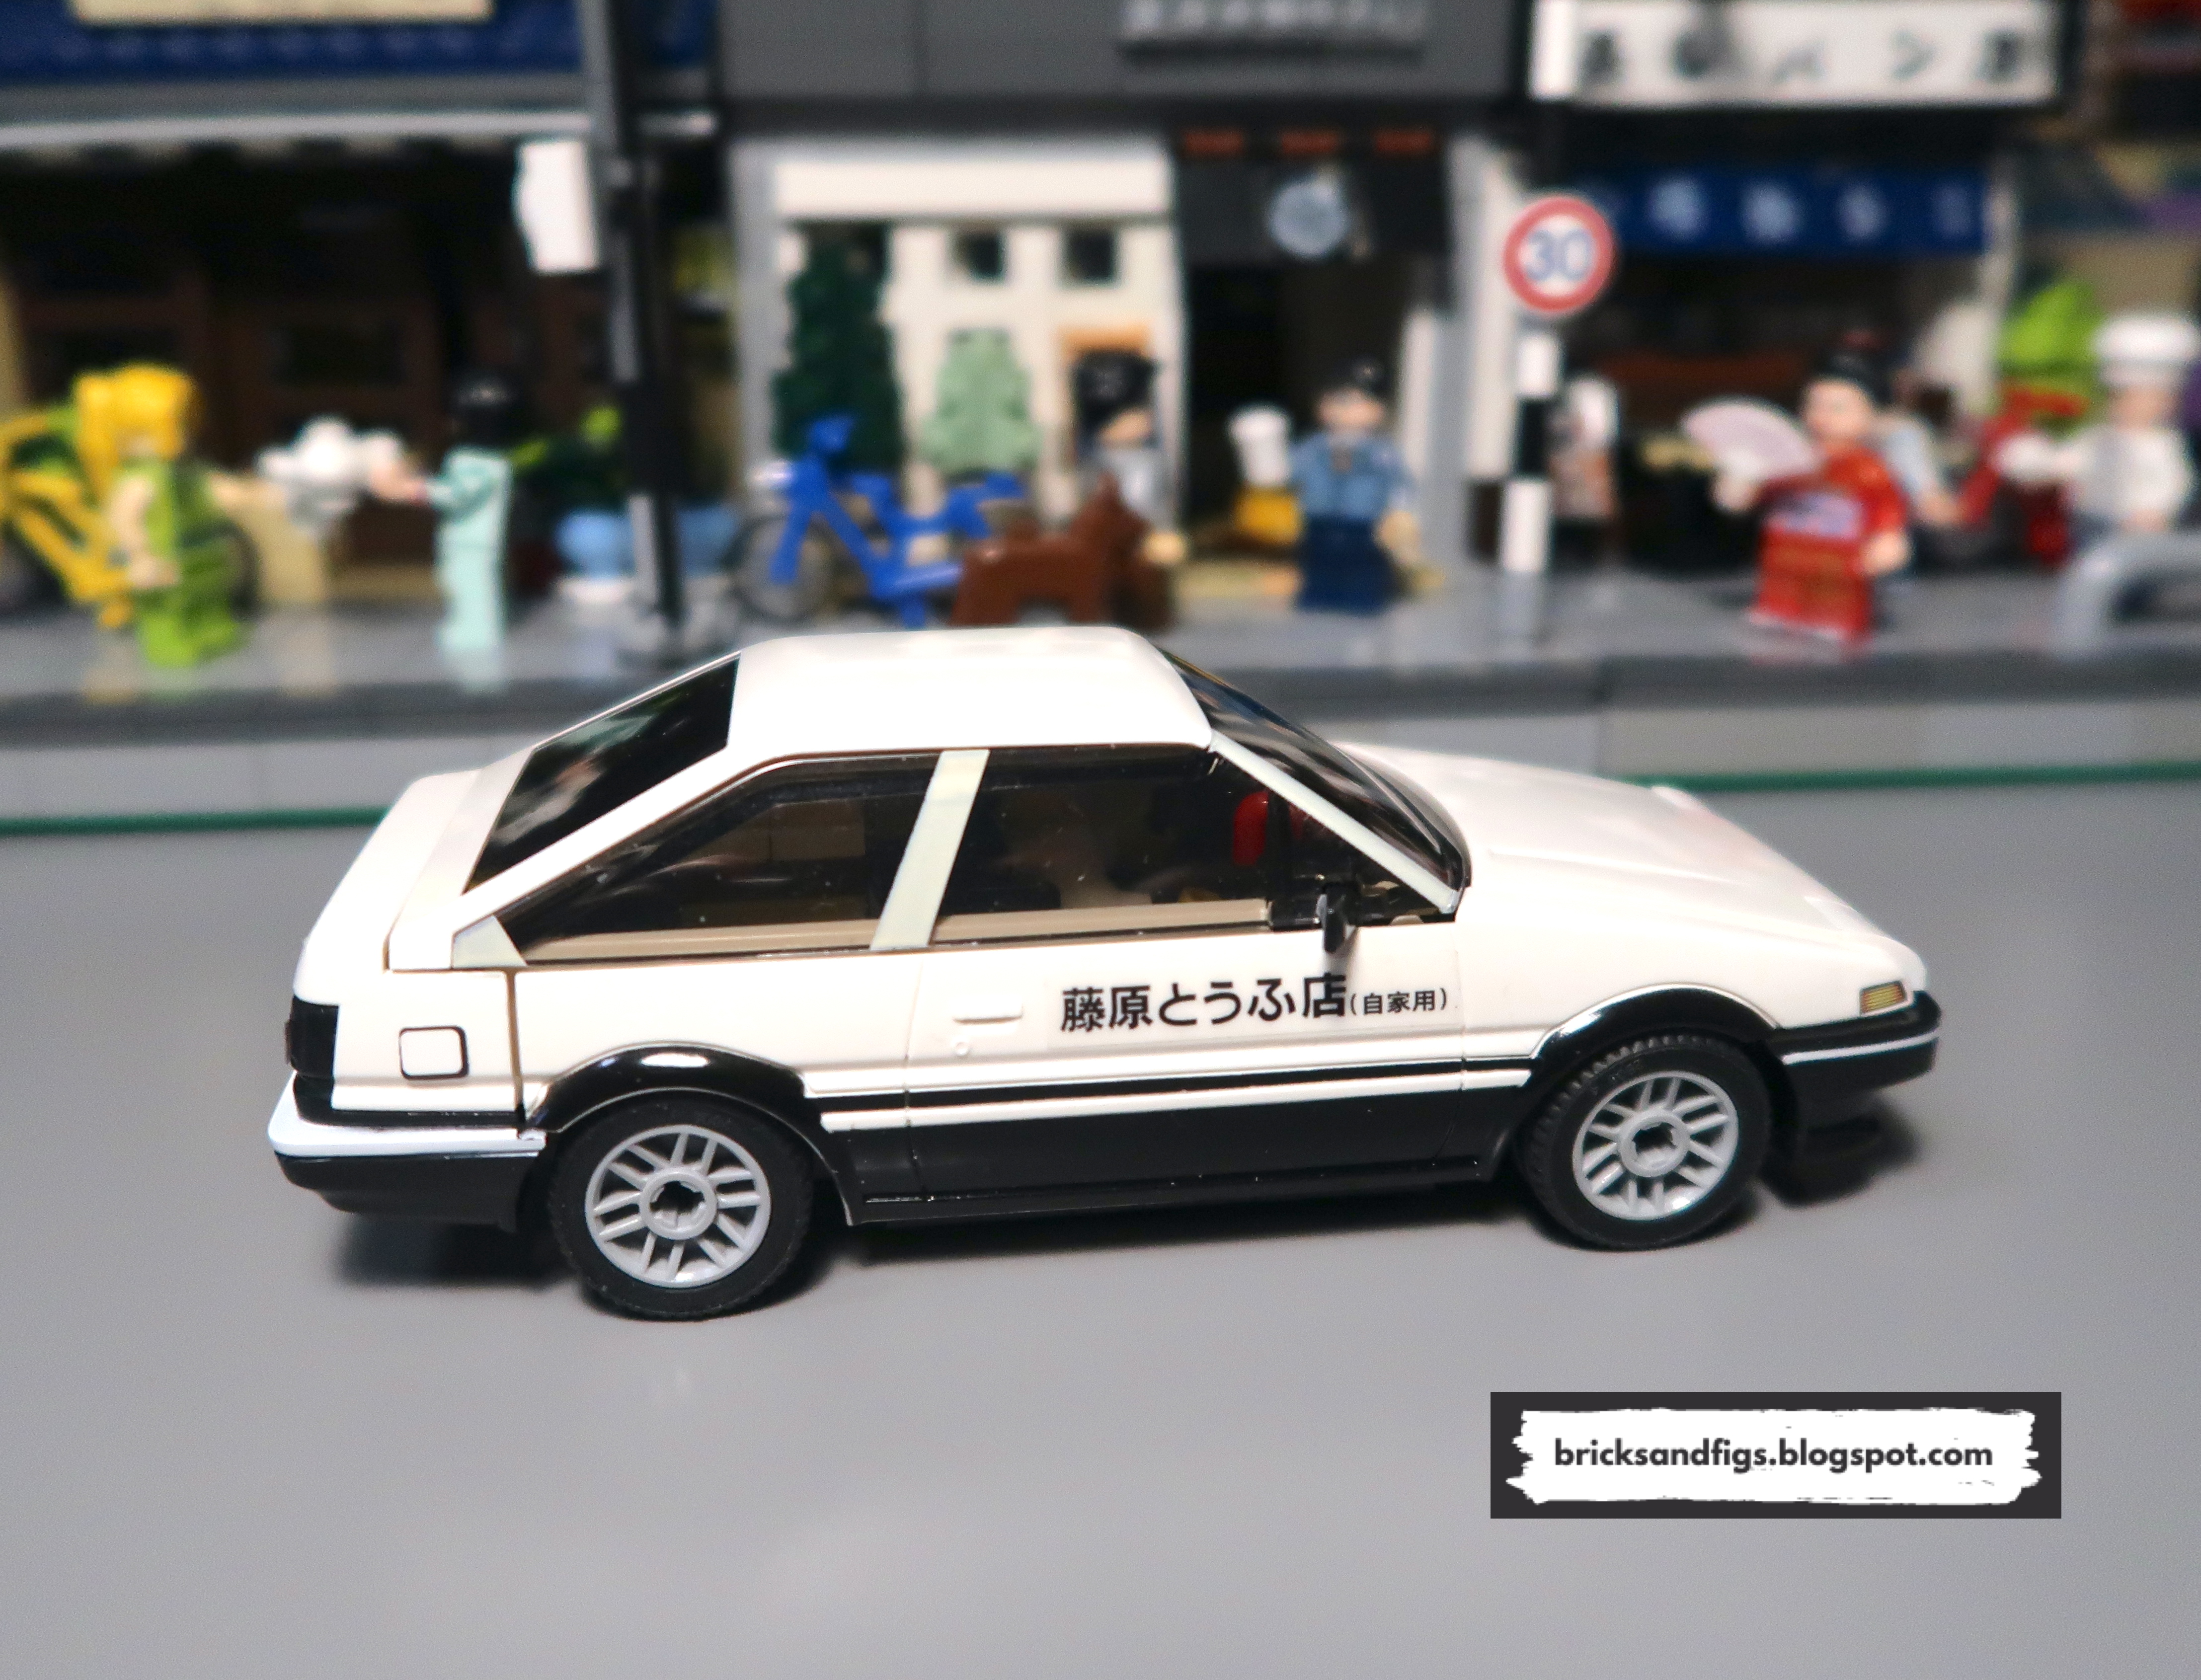
In this post I'll do a quick review of the Toyota AE86 set, a black and white
drift car featured in the very popular anime series called Initial D by manga
author Shuichi Shigeno. The owner of a Tofu shop uses the car to make
deliveries and ultimately it becomes a race car.
Here's some pictures I found on the internet of the featured vehicle.
Shuichi Shigeno standing next to his real AE86.
After the short set review, I will detail the enhancements I made to my AE86
model.
Set Details
Brand: Cada
Set:
C55018W Initial D Toyota AE86 Trueno
Piece count: 72pcs
Numbered bags? No
Stickers or printed parts? Both
Missing or deformed pieces: No
Extra parts: No
Minifigures: No
Lighting kit: No
Brick Quality and Clutch: Great
Measurements (approx): 1/35 scale
Age Rating: 8+
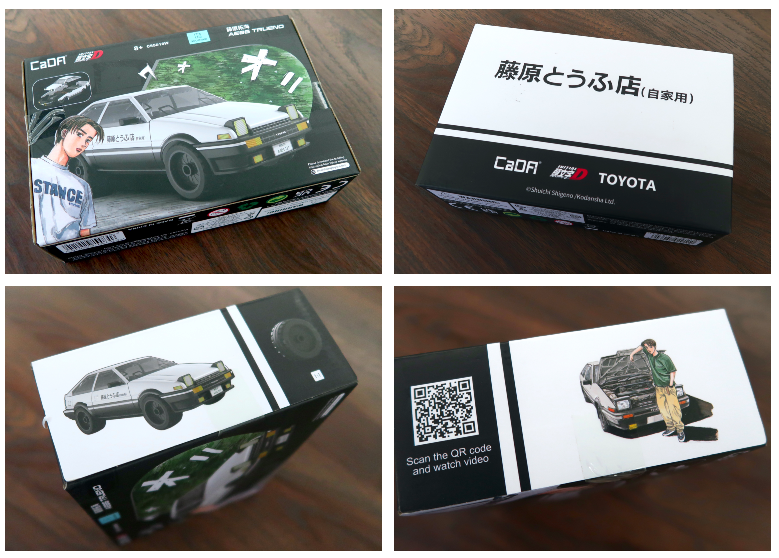
Unboxing
The Toyota AE86 set came in it's own box, but packaged together with the
Tofu shop set. Initial D artwork is featured on the cover of the
box. On the back of the box is the name of the Fujiwara Tofu Shop.
Inside the box, you get a thin booklet for the instructions, two sticker
sheets and four bags of parts. According to the Cada website there are a
total of 72 pieces.
Unpacked, I counted a total of 75 pieces, 3 more than what Cada indicated.
Thr body panels, front and rear bumpers have printed details, but the fine
details such as badging, lighting and license plates are added via the included
stickers.
Assembling the AE86
As you can imagine, with only 75 parts, this is a very easy set to put together,
great for kids.
* not my pic, I forgot to take a shot like this. Basically this is the
original interior.
The Cada set is sort of a hybrid between a Lego style set and a plastic
model kit with the pre-molded body panels, hood and bumpers. The
entire roof attached to the window panel but the rear window is blacked
out. You can even open the hood to display the engine block.
Other features include the side mirrors and the pop up headlights.
On the downside of this set, you can't open the doors or access the trunk,
since there is no interior to speak of. The car is supposed to be 1/35
scale which makes it slightly larger than minifigure scale which is
estimated to be around 1/45 scale. As such, no minifigures are
provided with this set either. But as we find out later, we can still
put one inside.
So, I don't know why, but I got really distracted by the size of the wheels
on the AE86. When I put them on the car, they look like giant marshmallows
or steamrollers, to me anyways.
At this point, I stopped taking pictures of the model and started rummaging
through my parts bin to see if I could find some smaller wheels.
That's why you don't see any pictures of my finished original model, it's
because I had already started to modify it.
Enhancing the AE86
Pictured above left are the original wheels and technic attachment axles used
by Cada for the AE86. On the right is the smaller diameter wheel and
brick axle I decided to use instead. It's a simple part swap that can be
done by anyone if you have the parts.
These are the same wheels used for the Lego caravan set 60182.
There's a lot more clearance in the wheel wells with the smaller tires.
I like that the new wheels actually lowers the stance of the car. It
actually looks more proportionate in my opinion. So did anyone notice
anything else what else looks different with the car? There's
actually two other things!
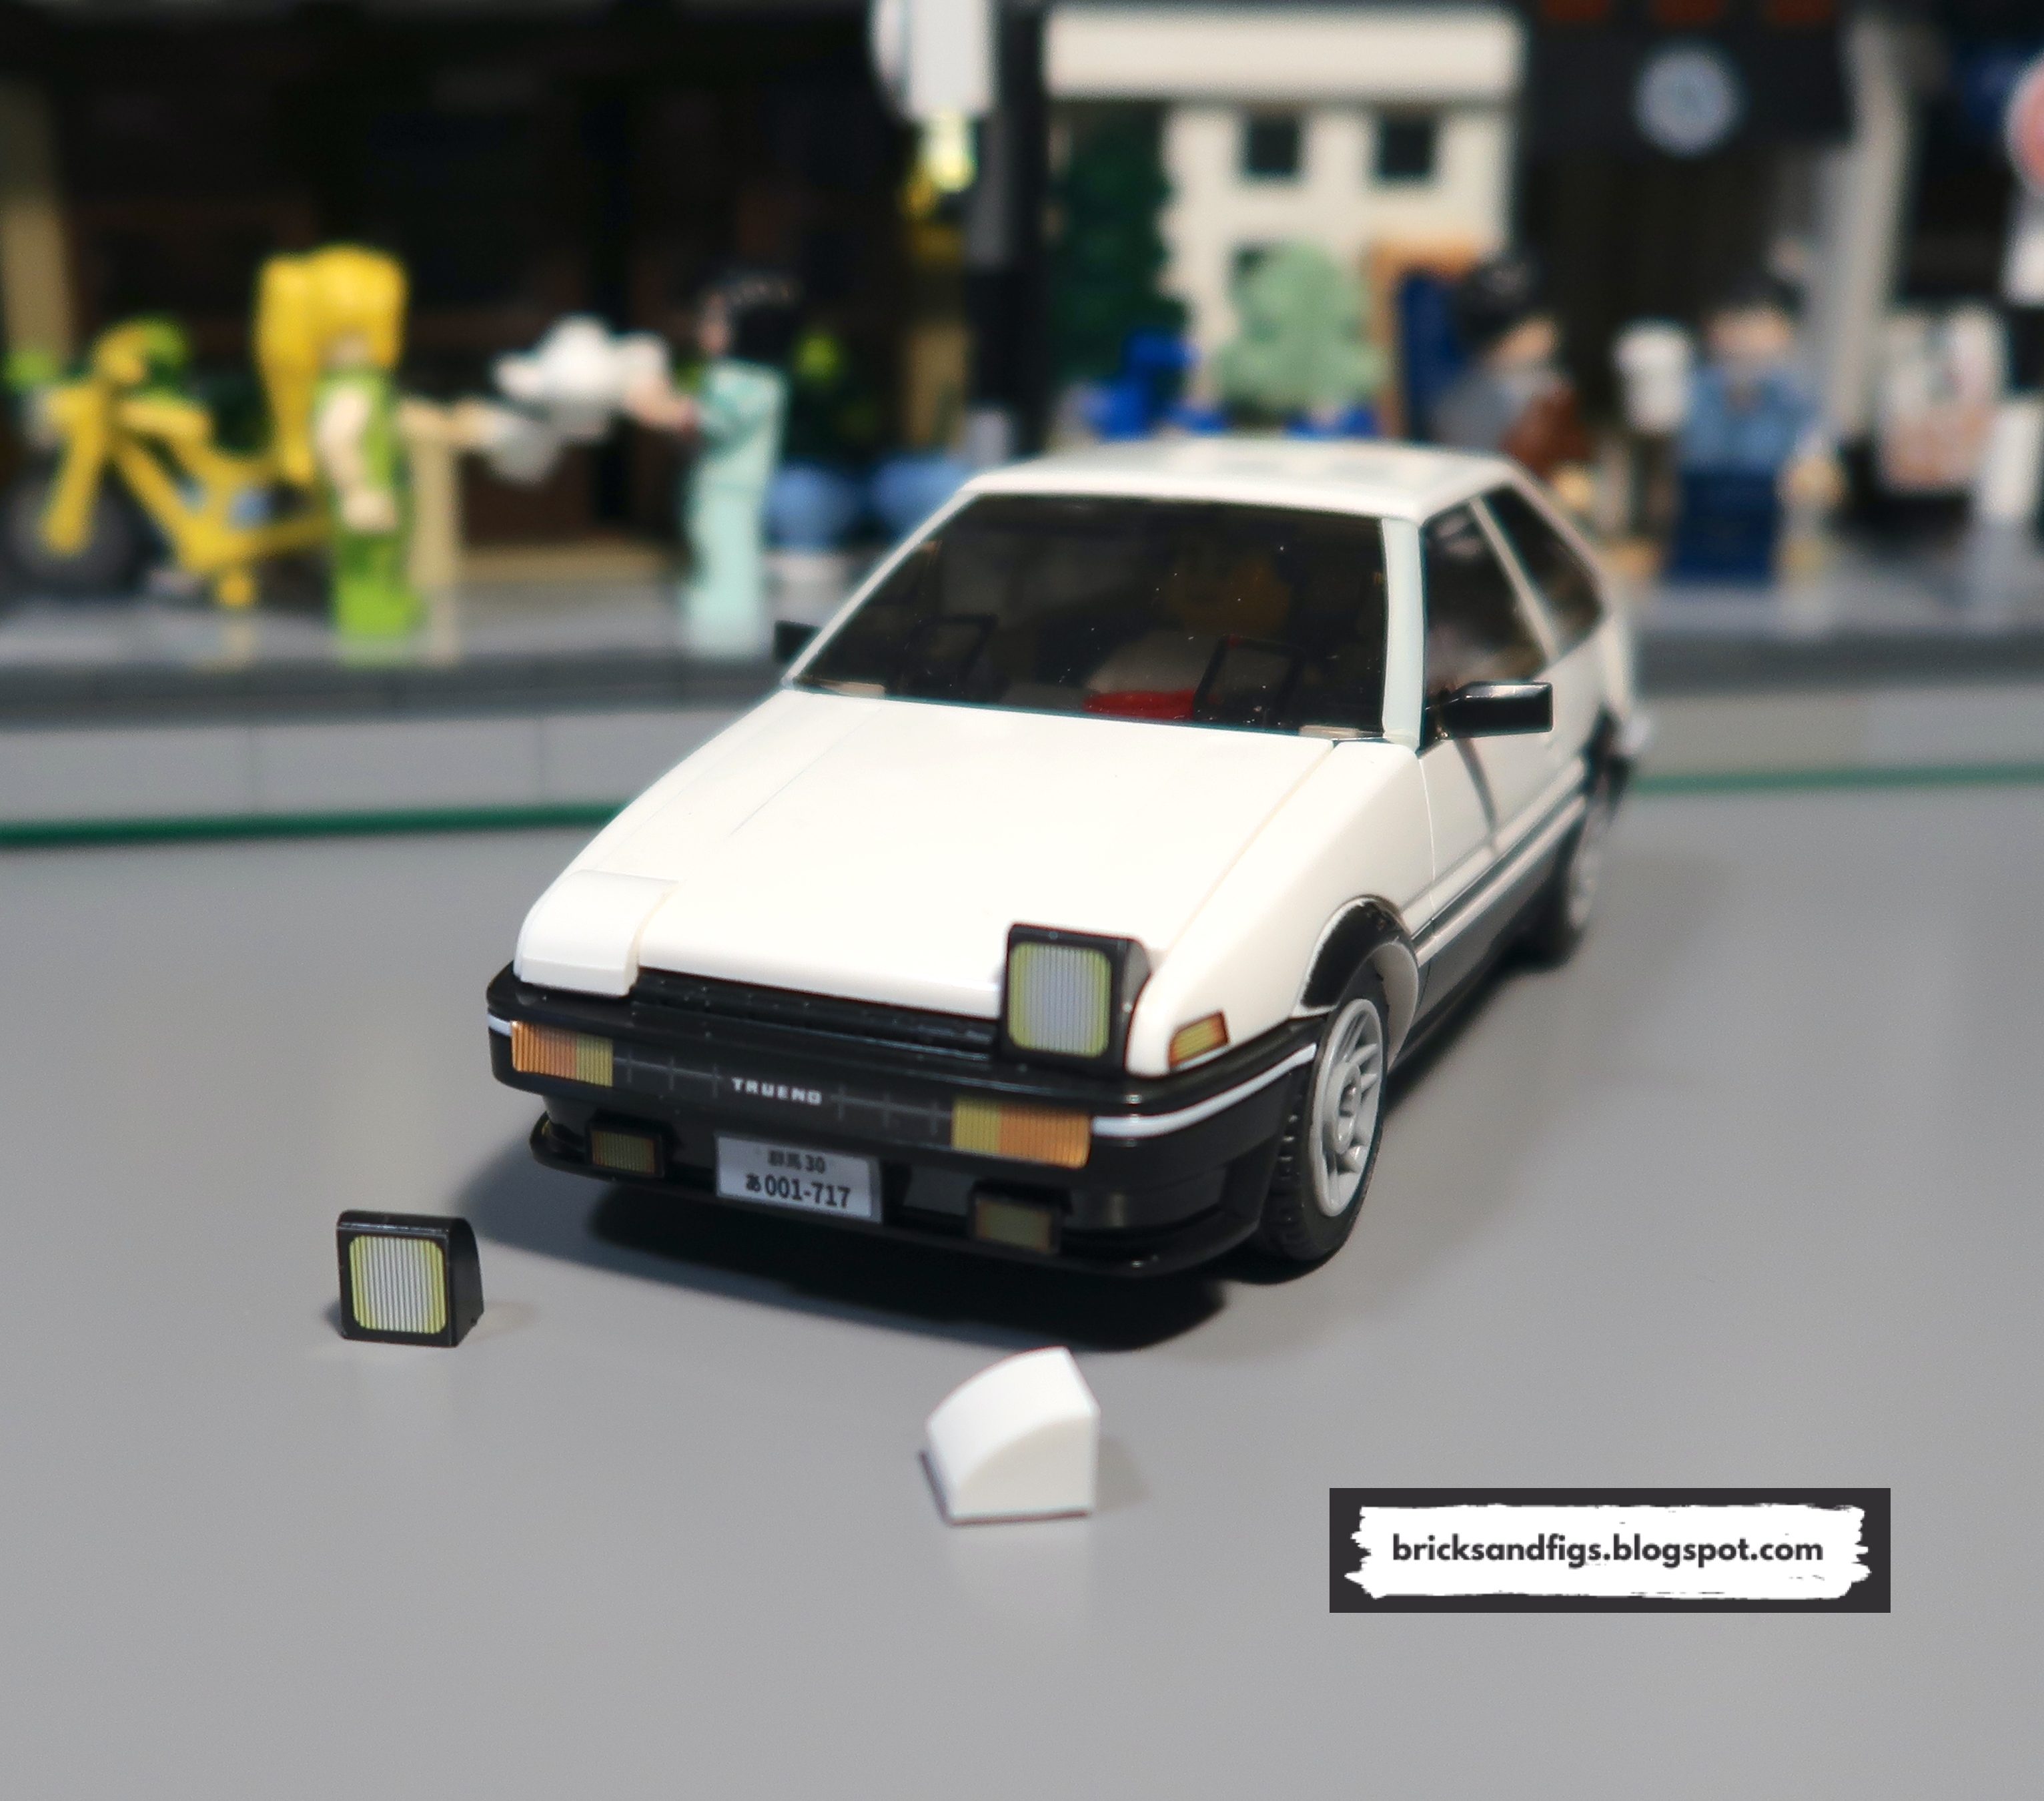
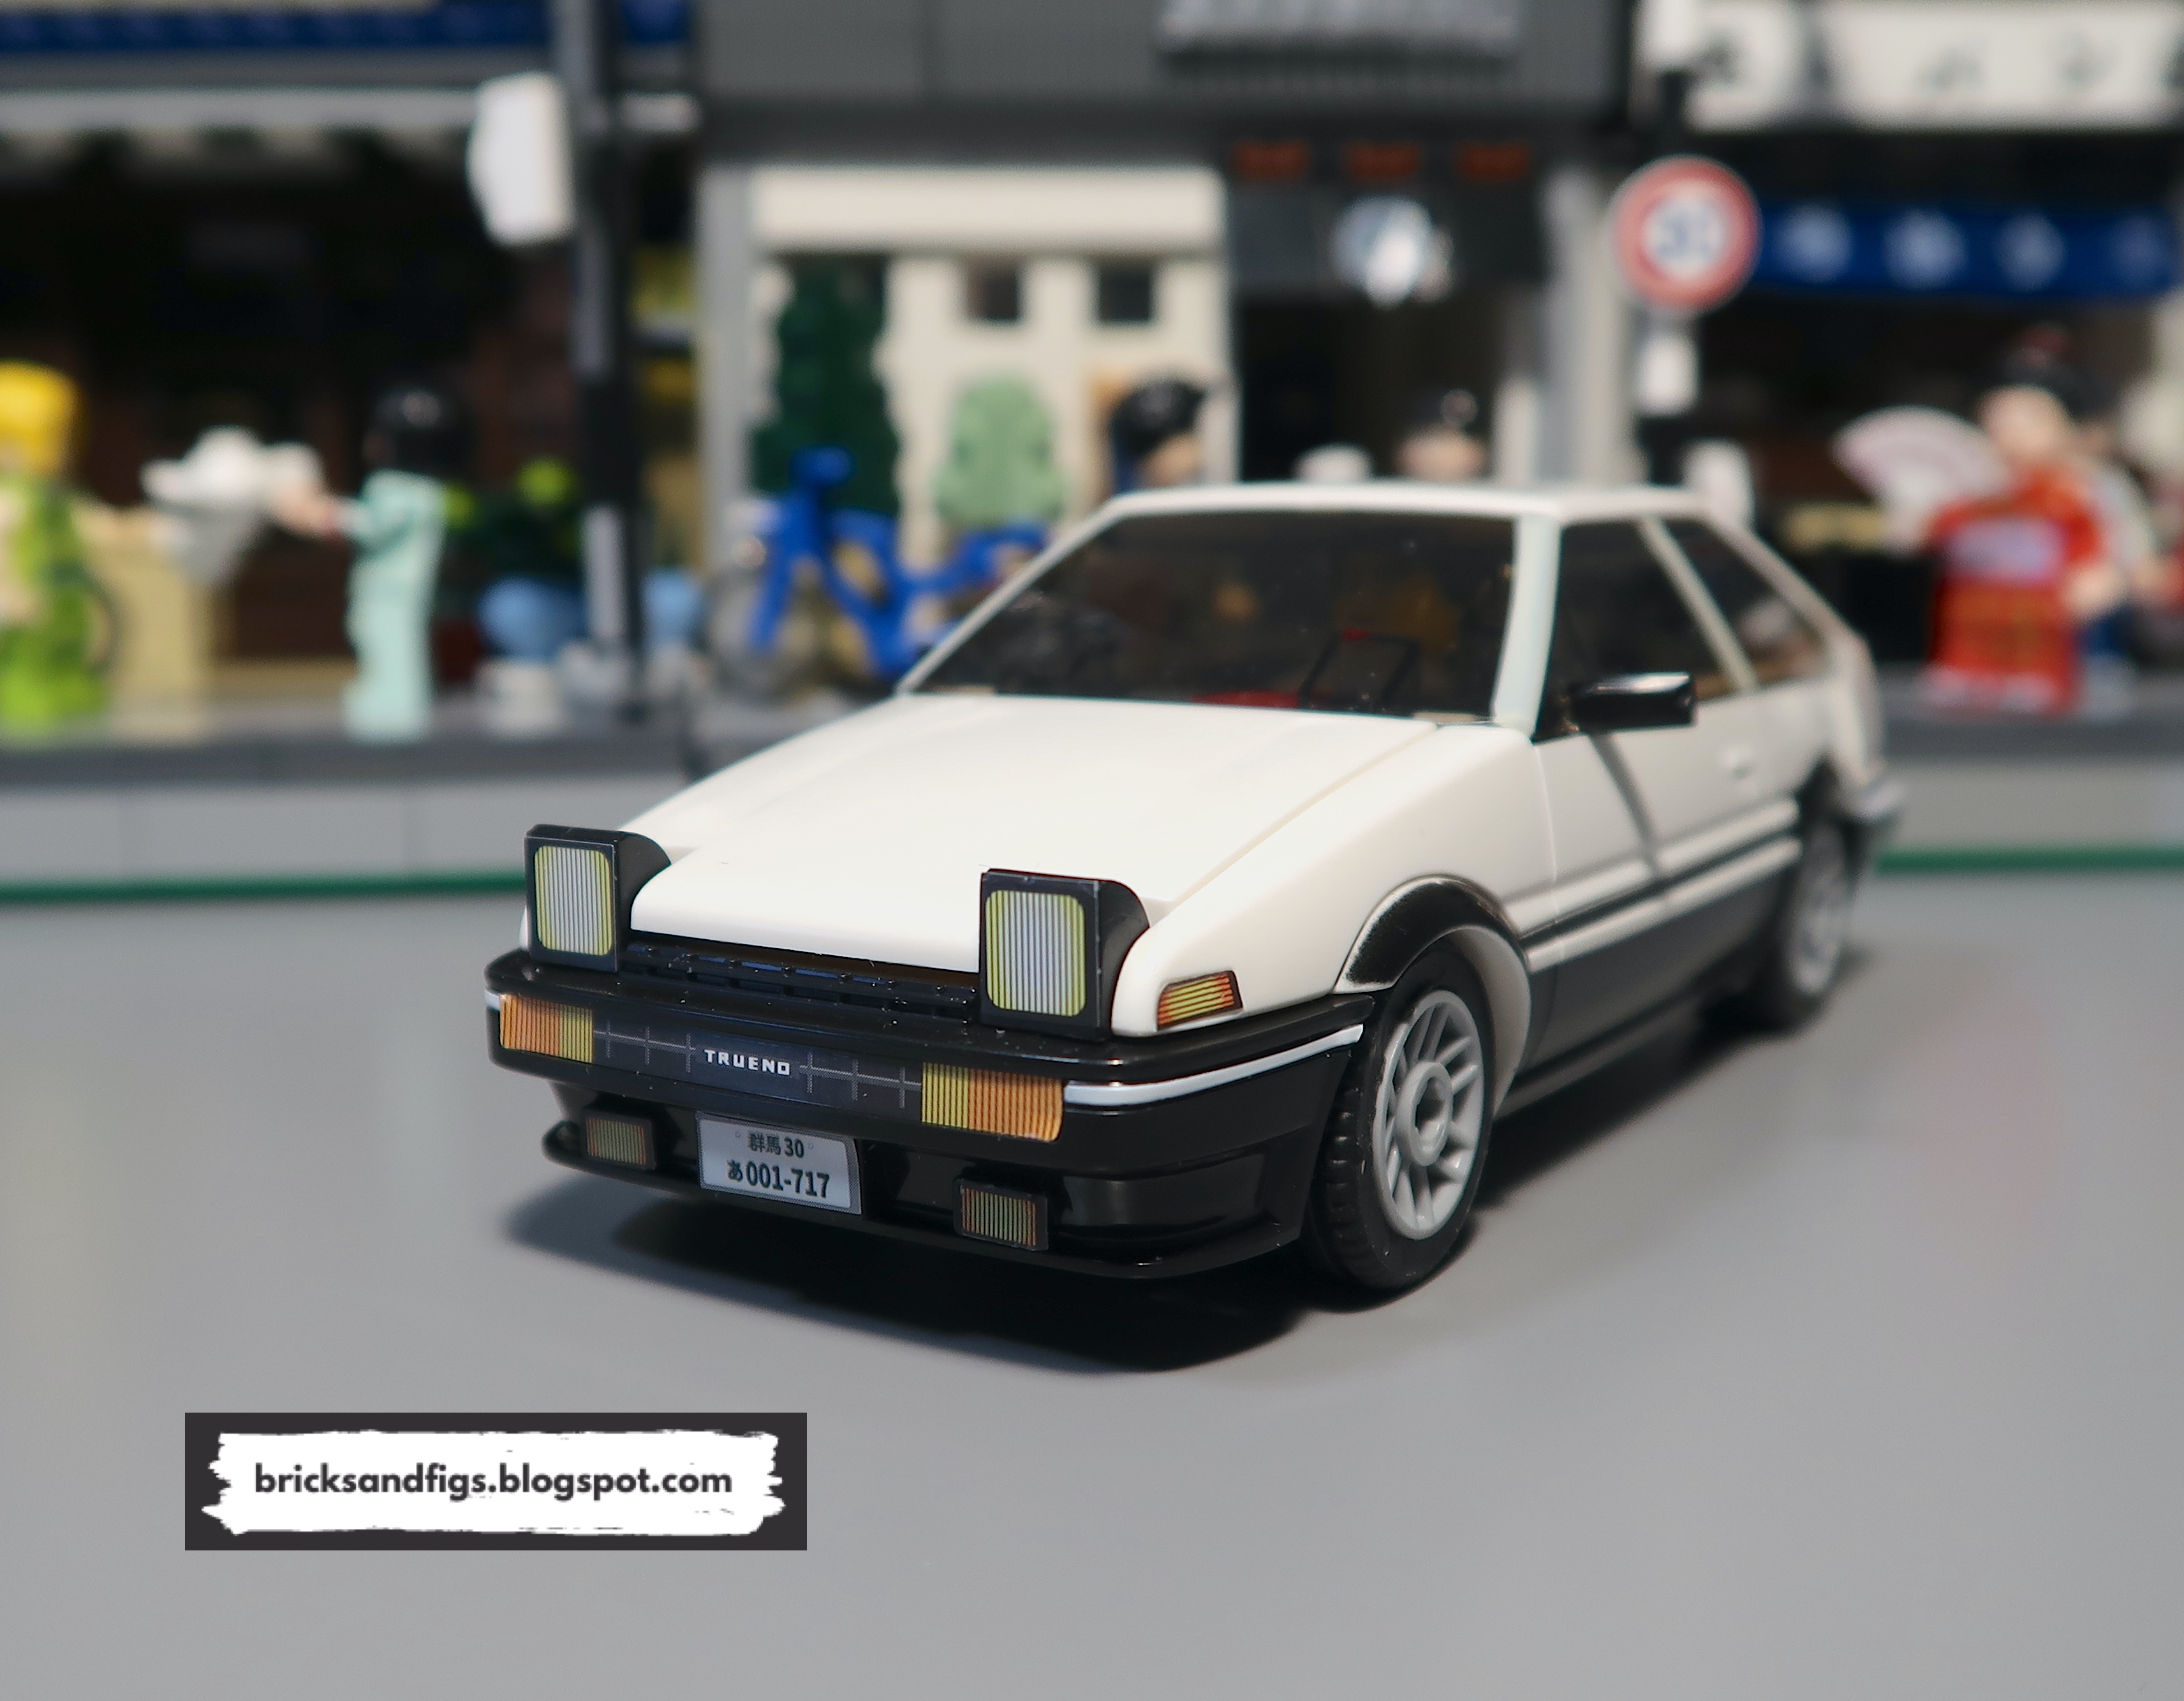
Did you guess the headlights? Good for you! So I also discovered
that by replacing the headlights with a curved 1x1 brick, it puts the AE86
headlights into daytime driving mode.
Before.
After. And I can swap the bricks anytime depending on how I want to
display the AE86.
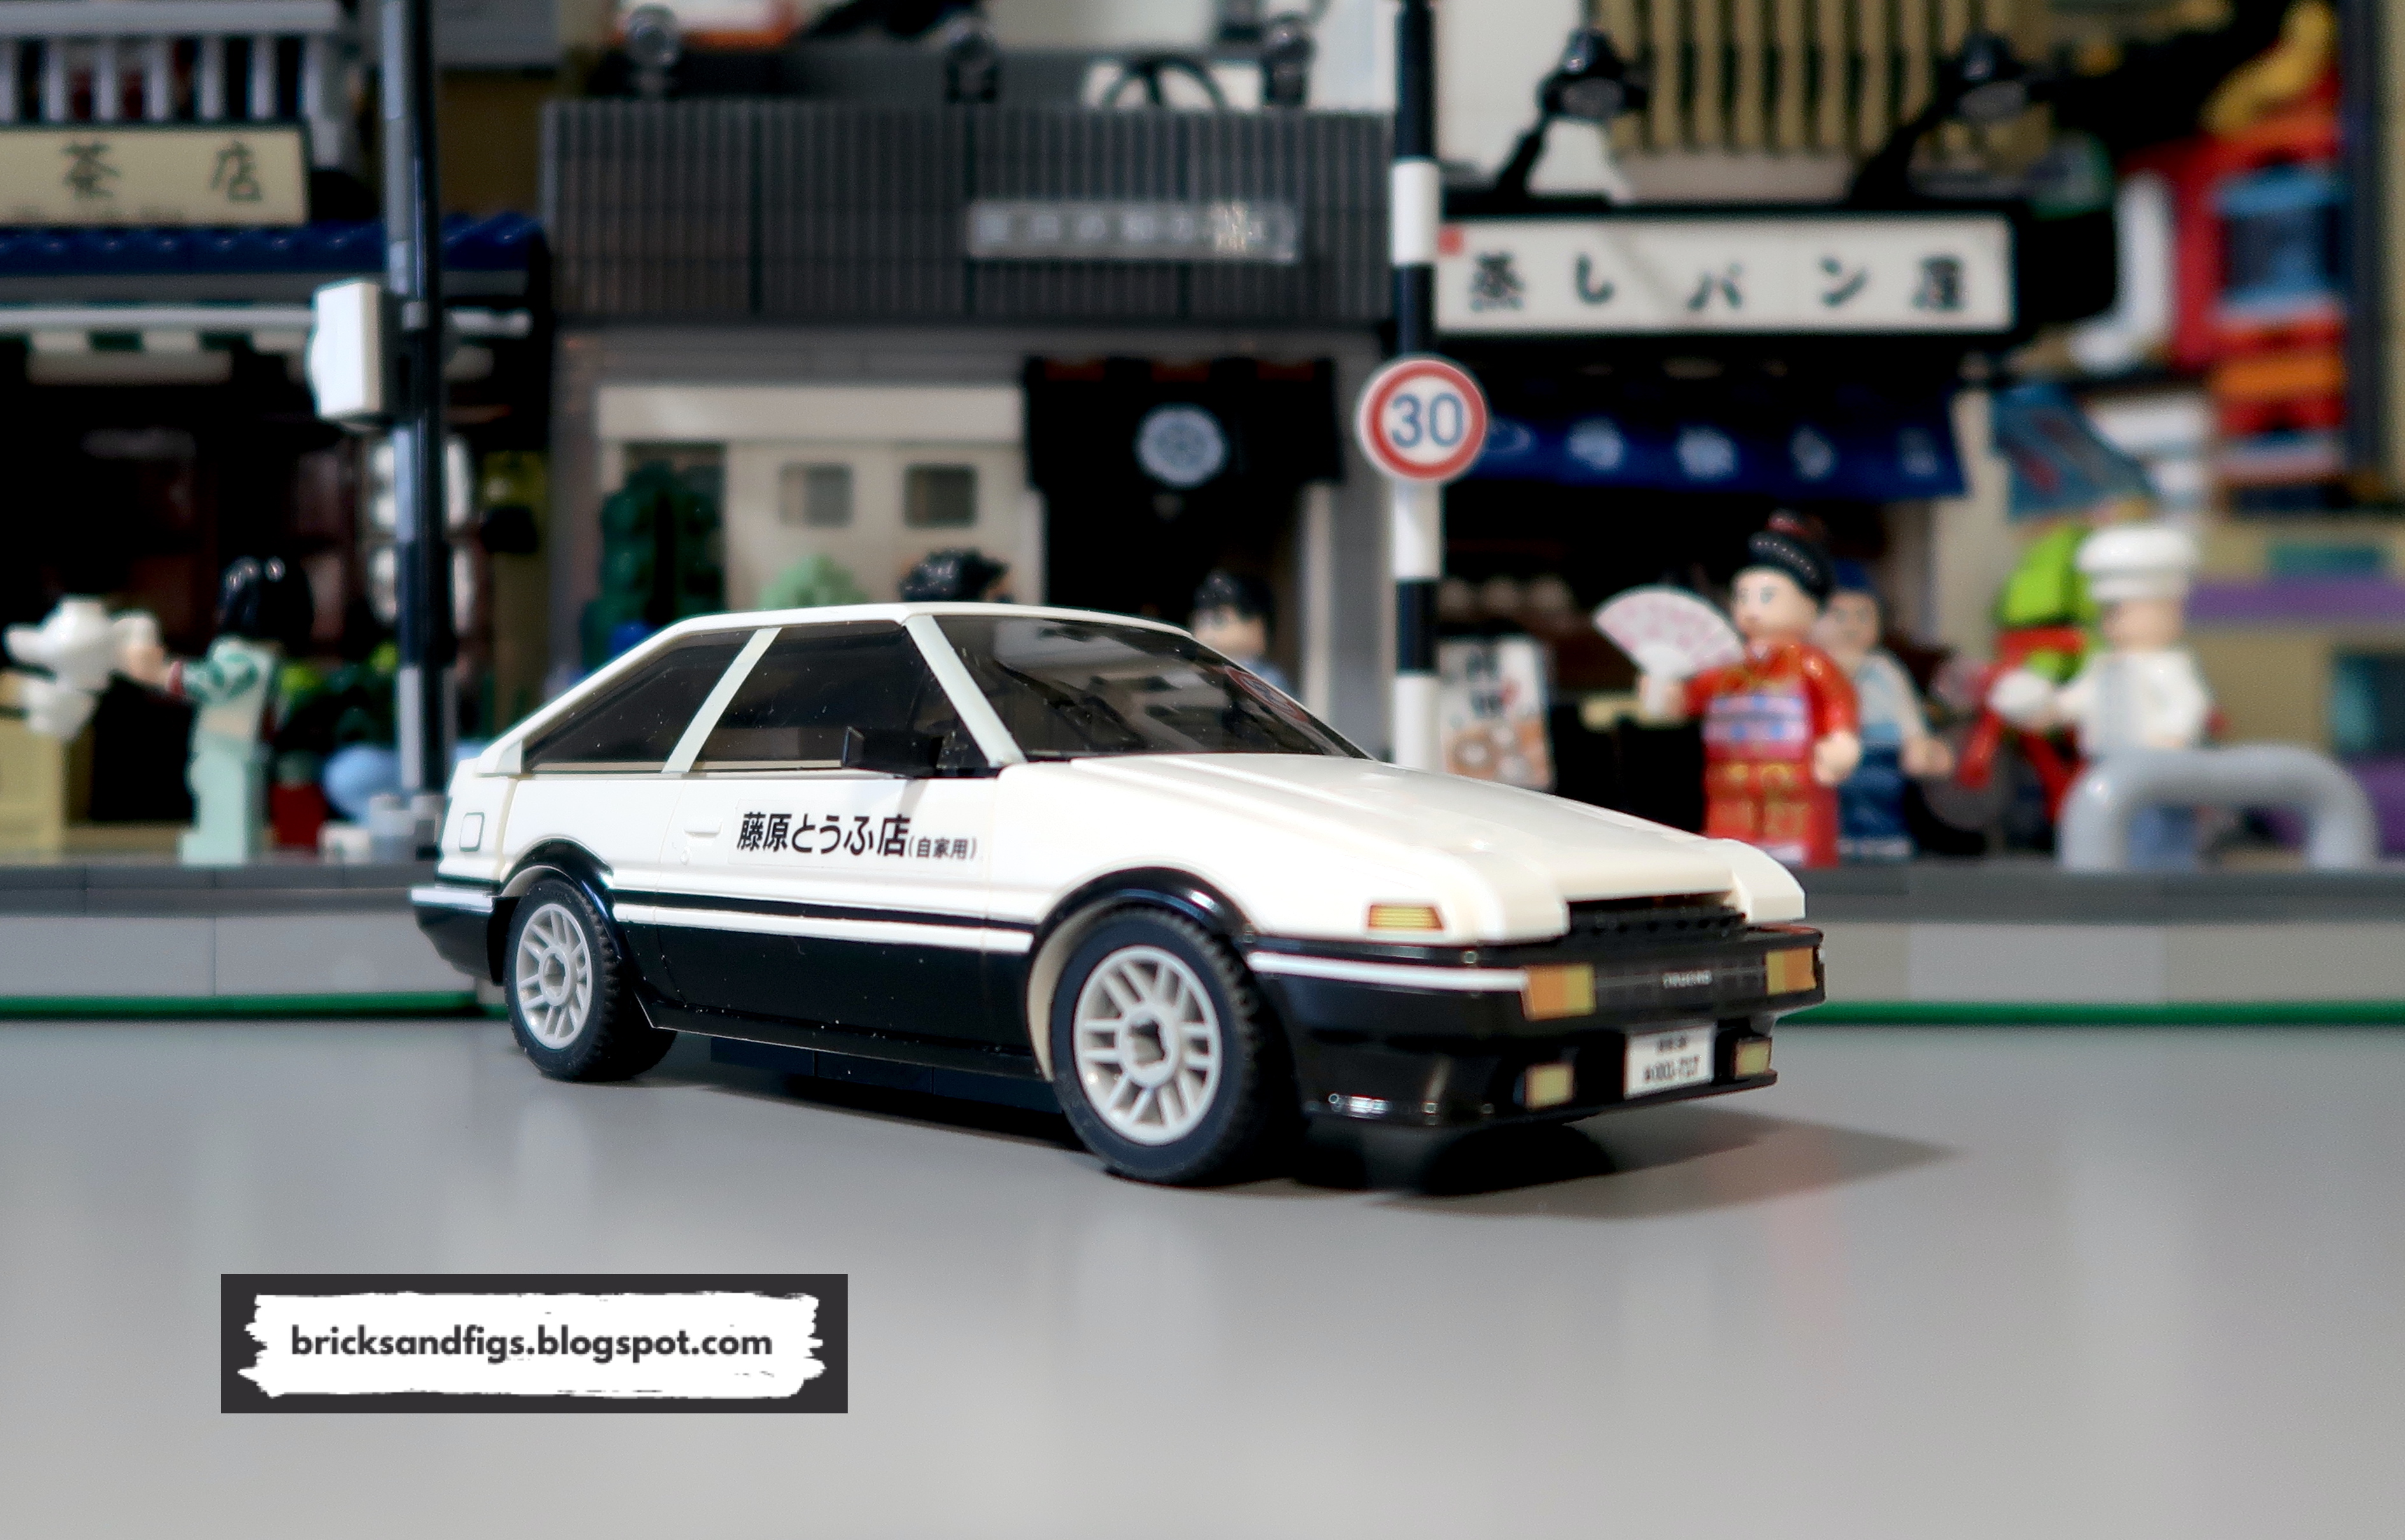
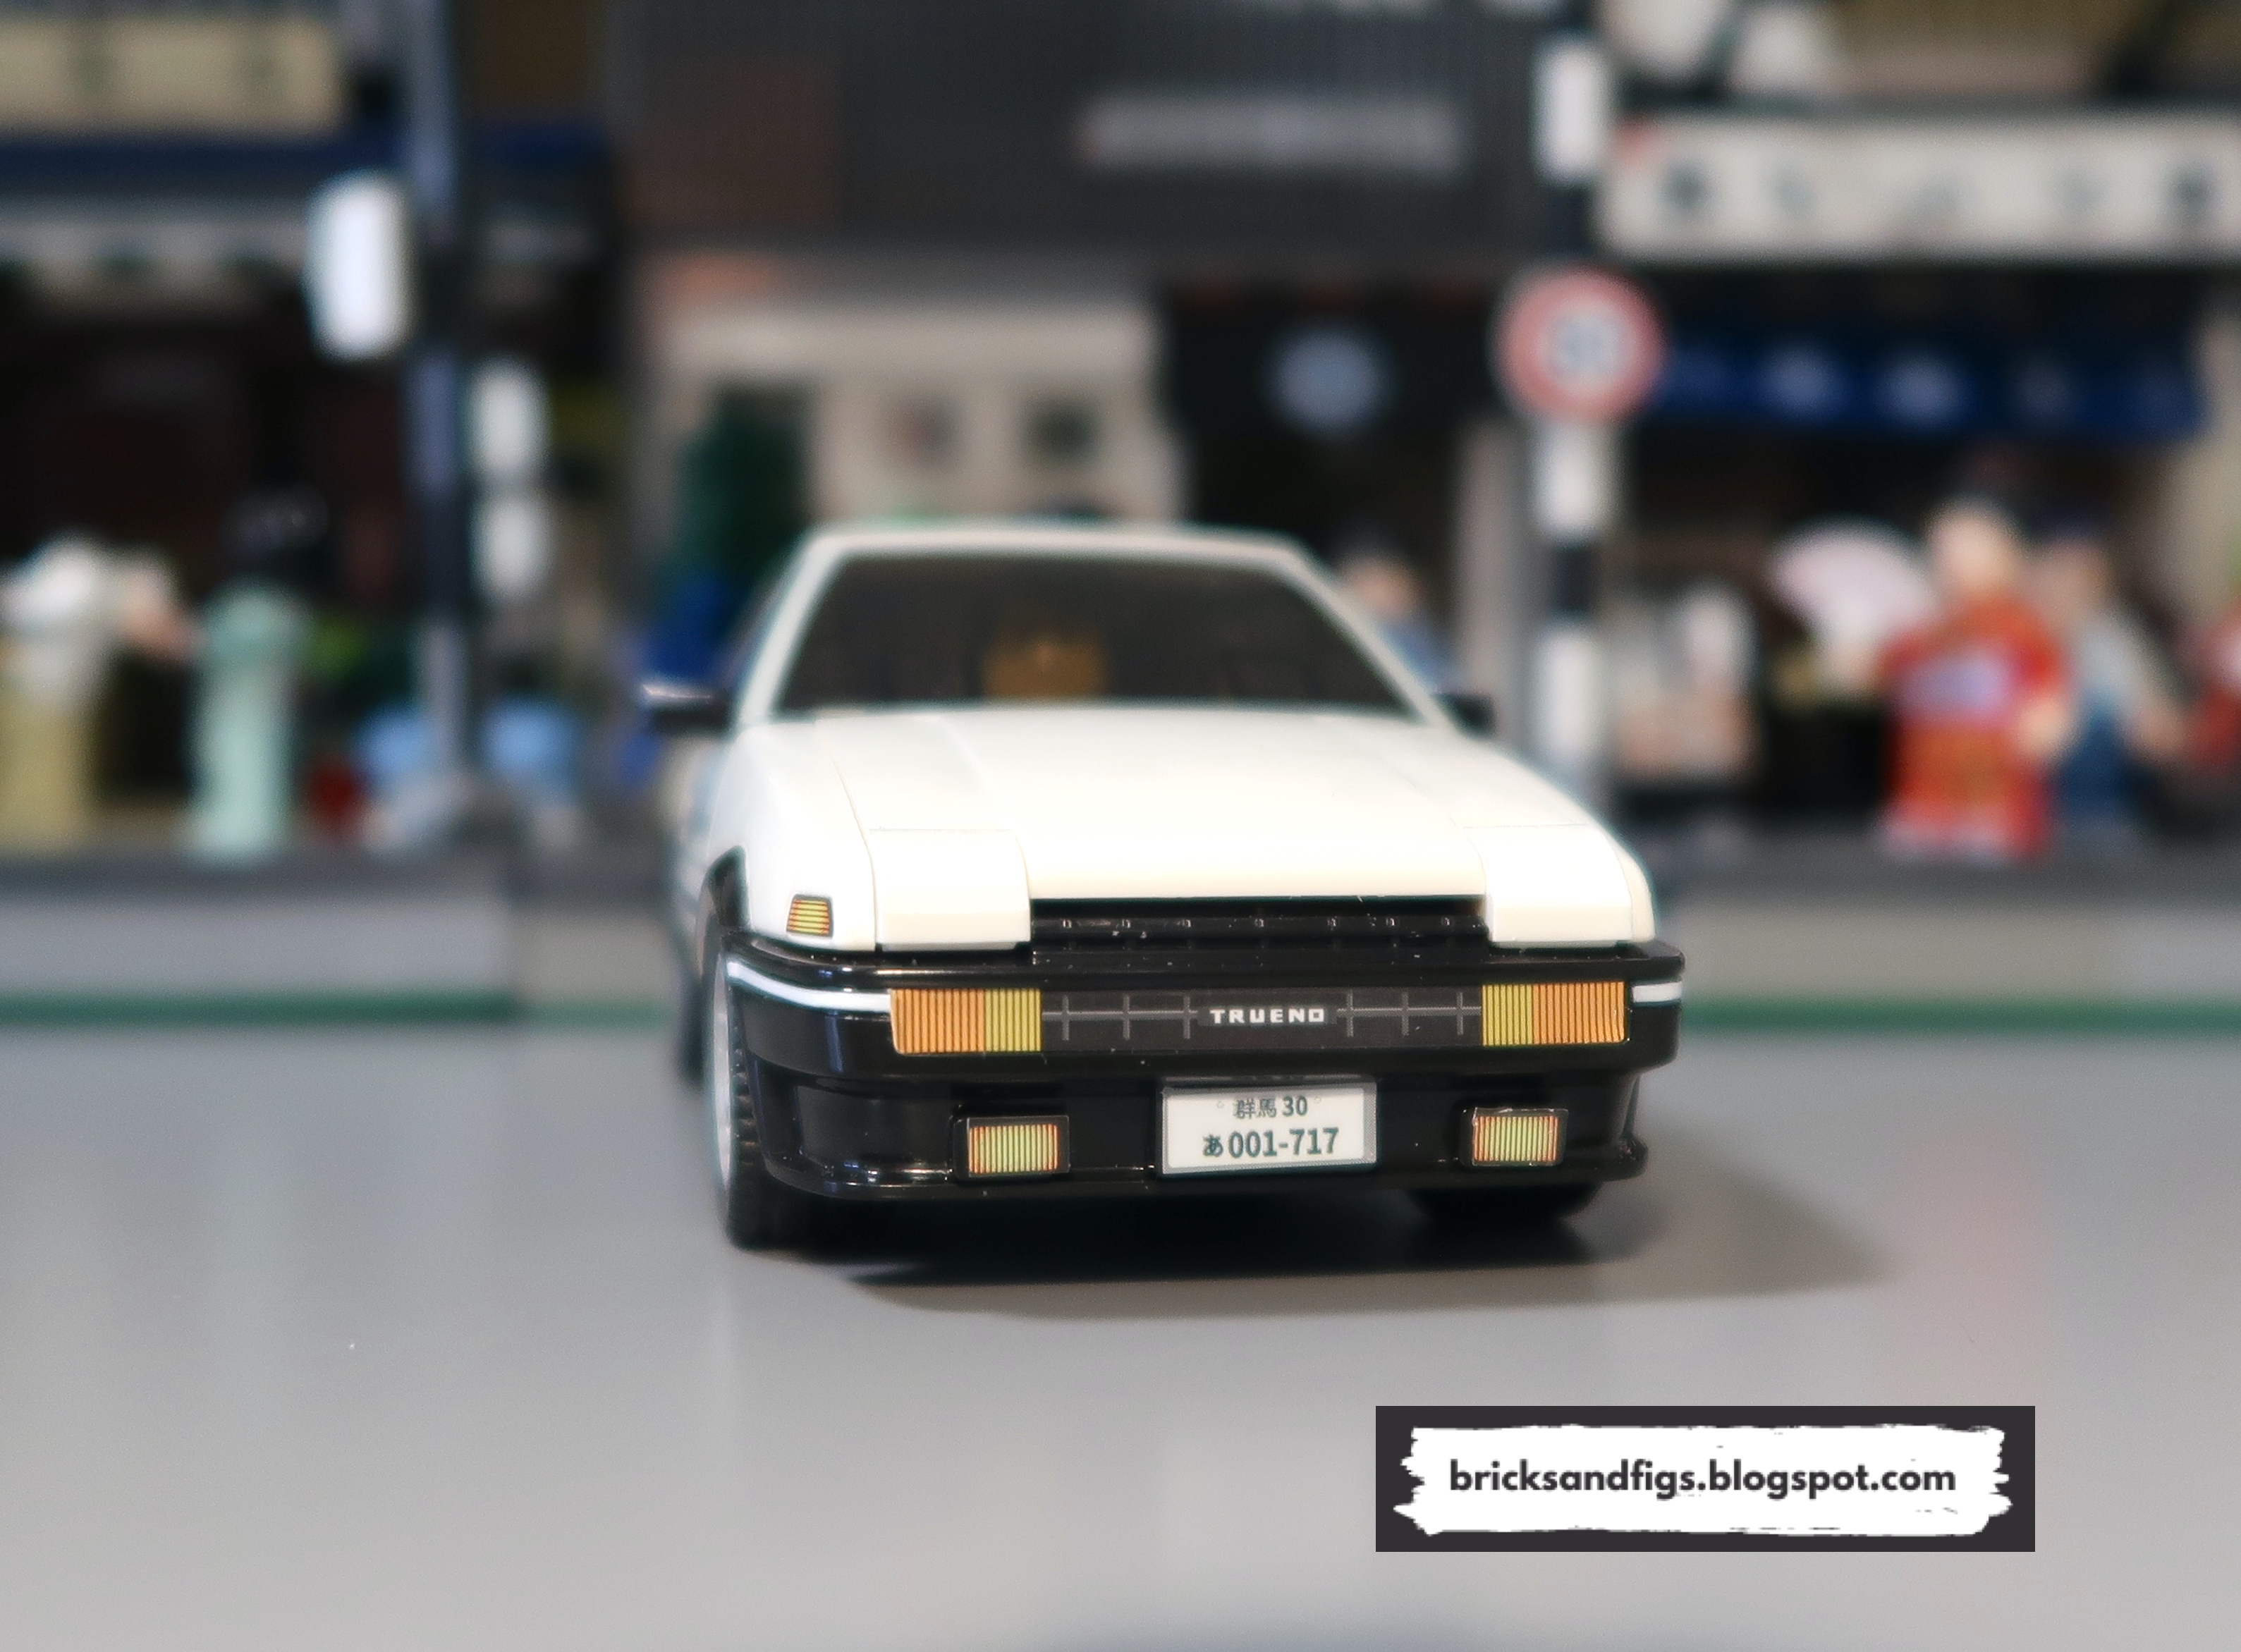
Here's a few more pictures.
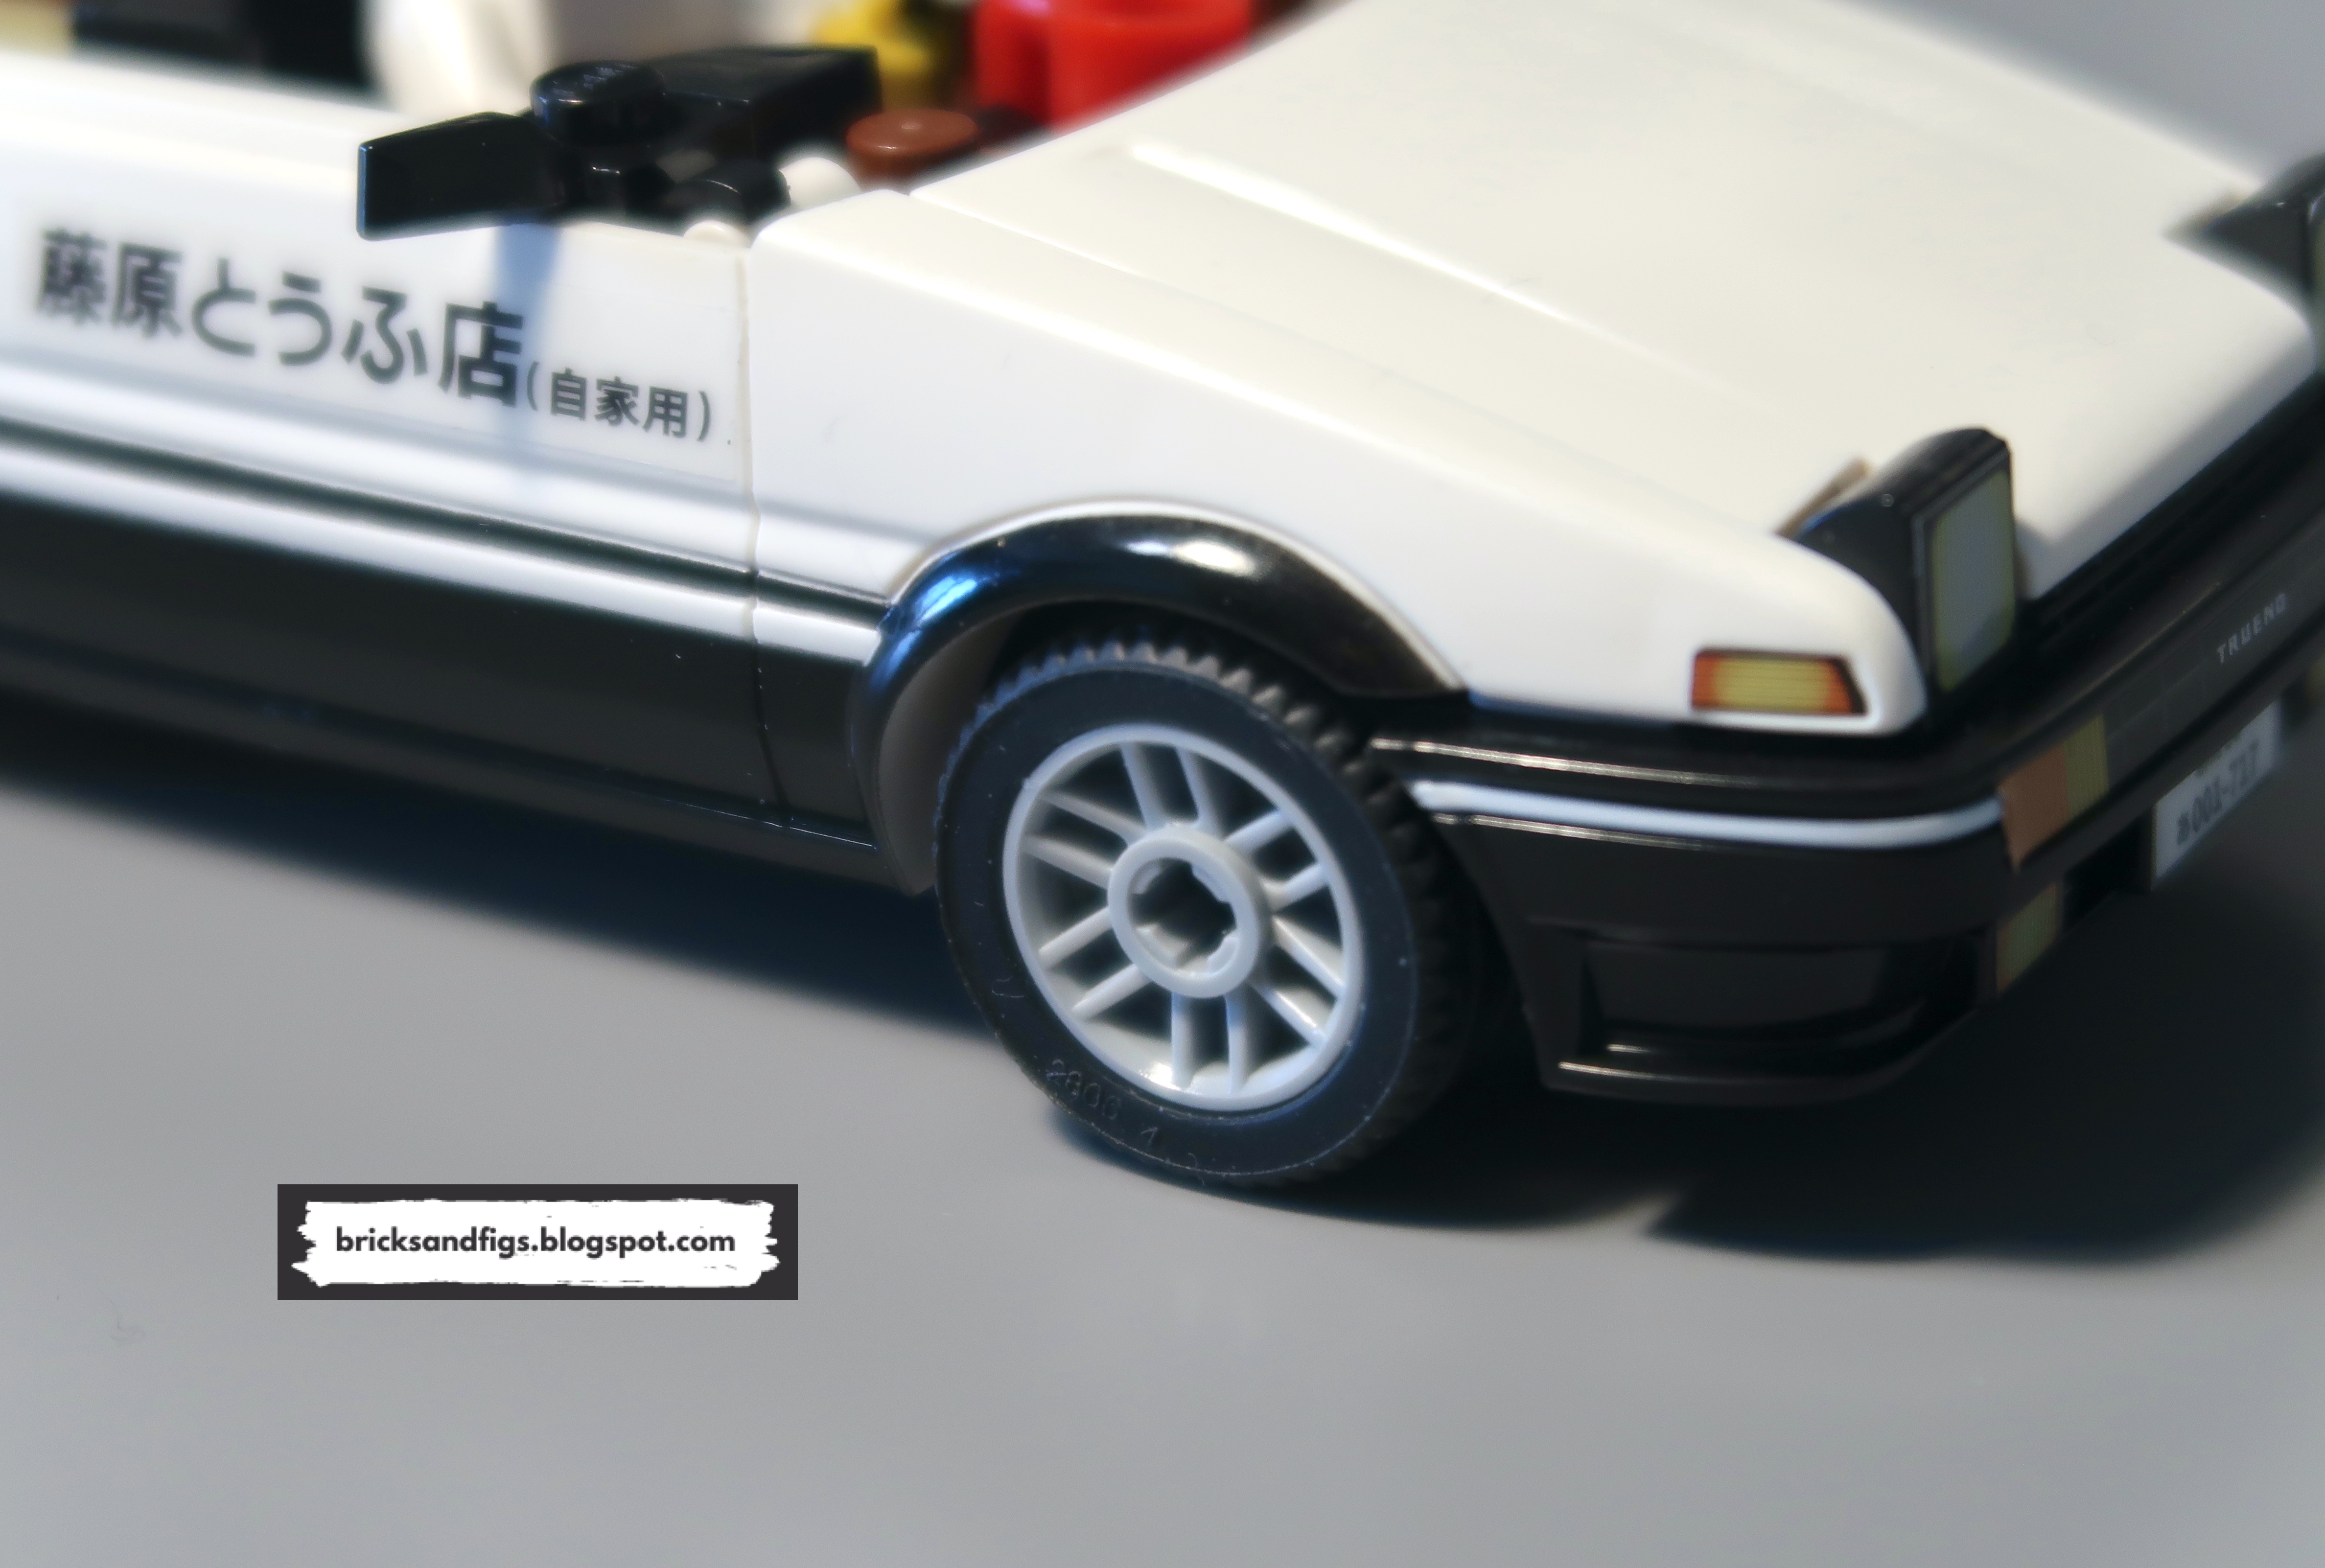
I don't normally apply stickers to my building block sets, but the AE86 just
wouldn't be the same without the Fujiwara Tofu Shop logo.
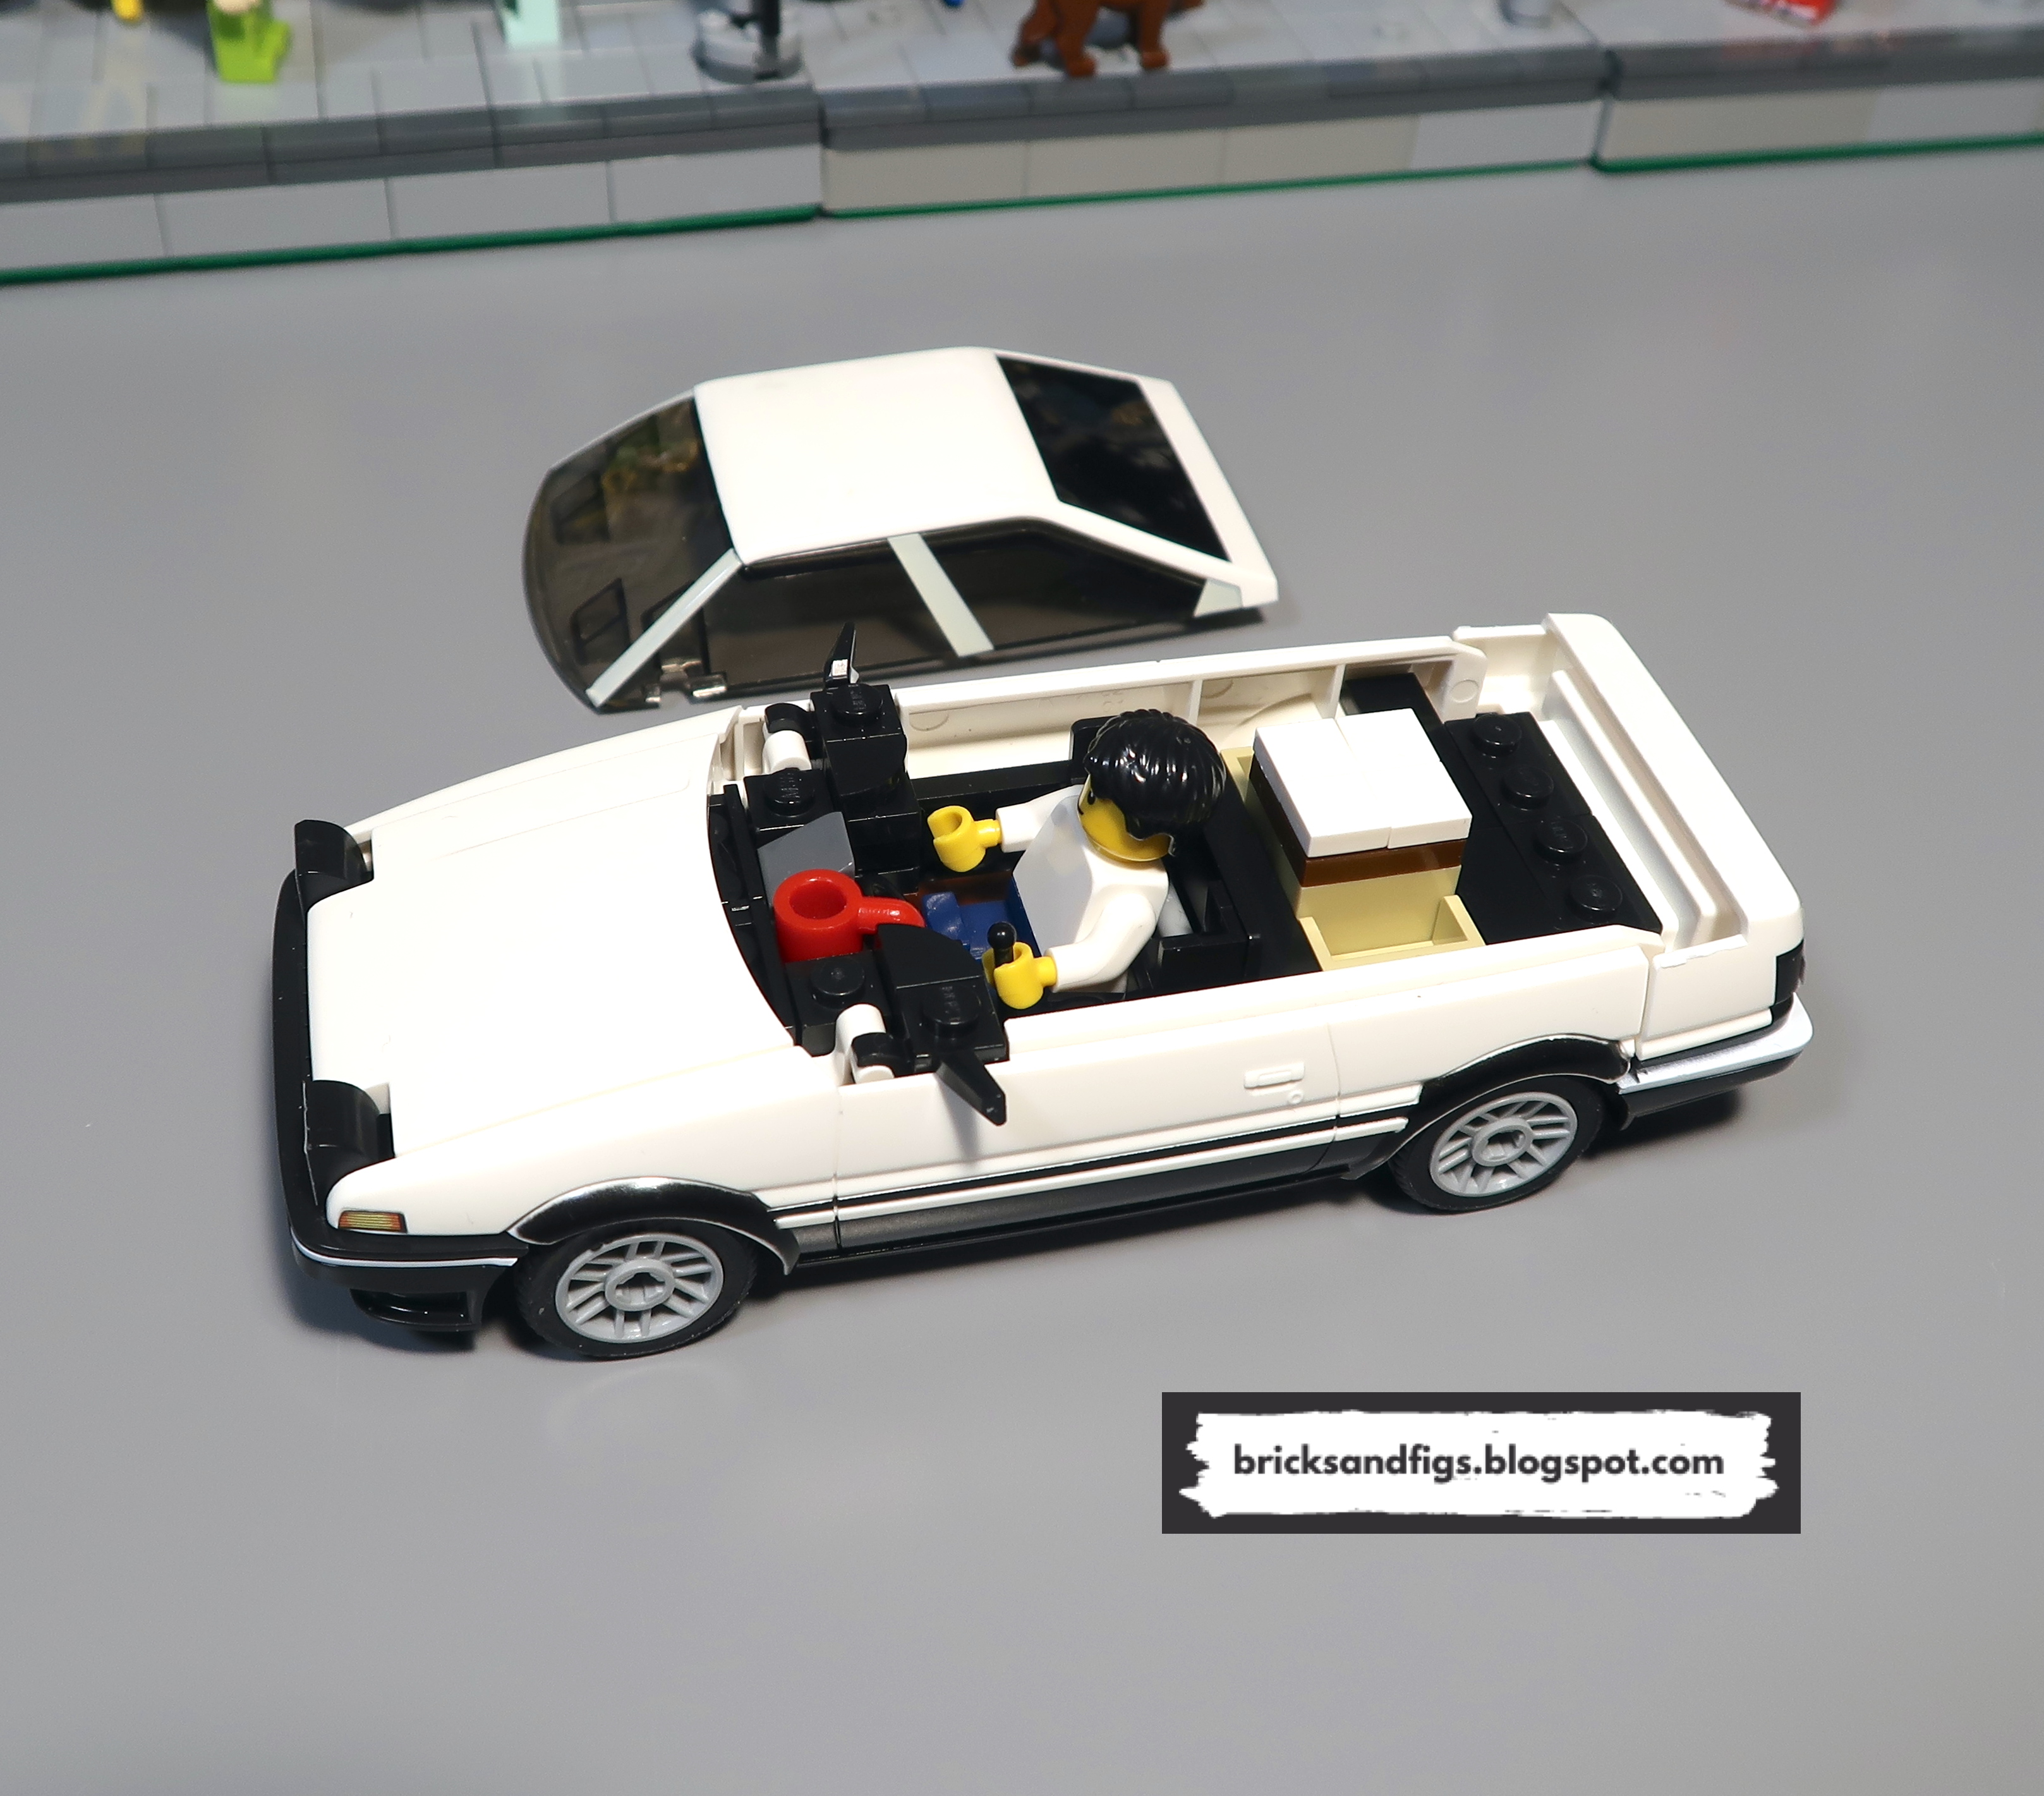
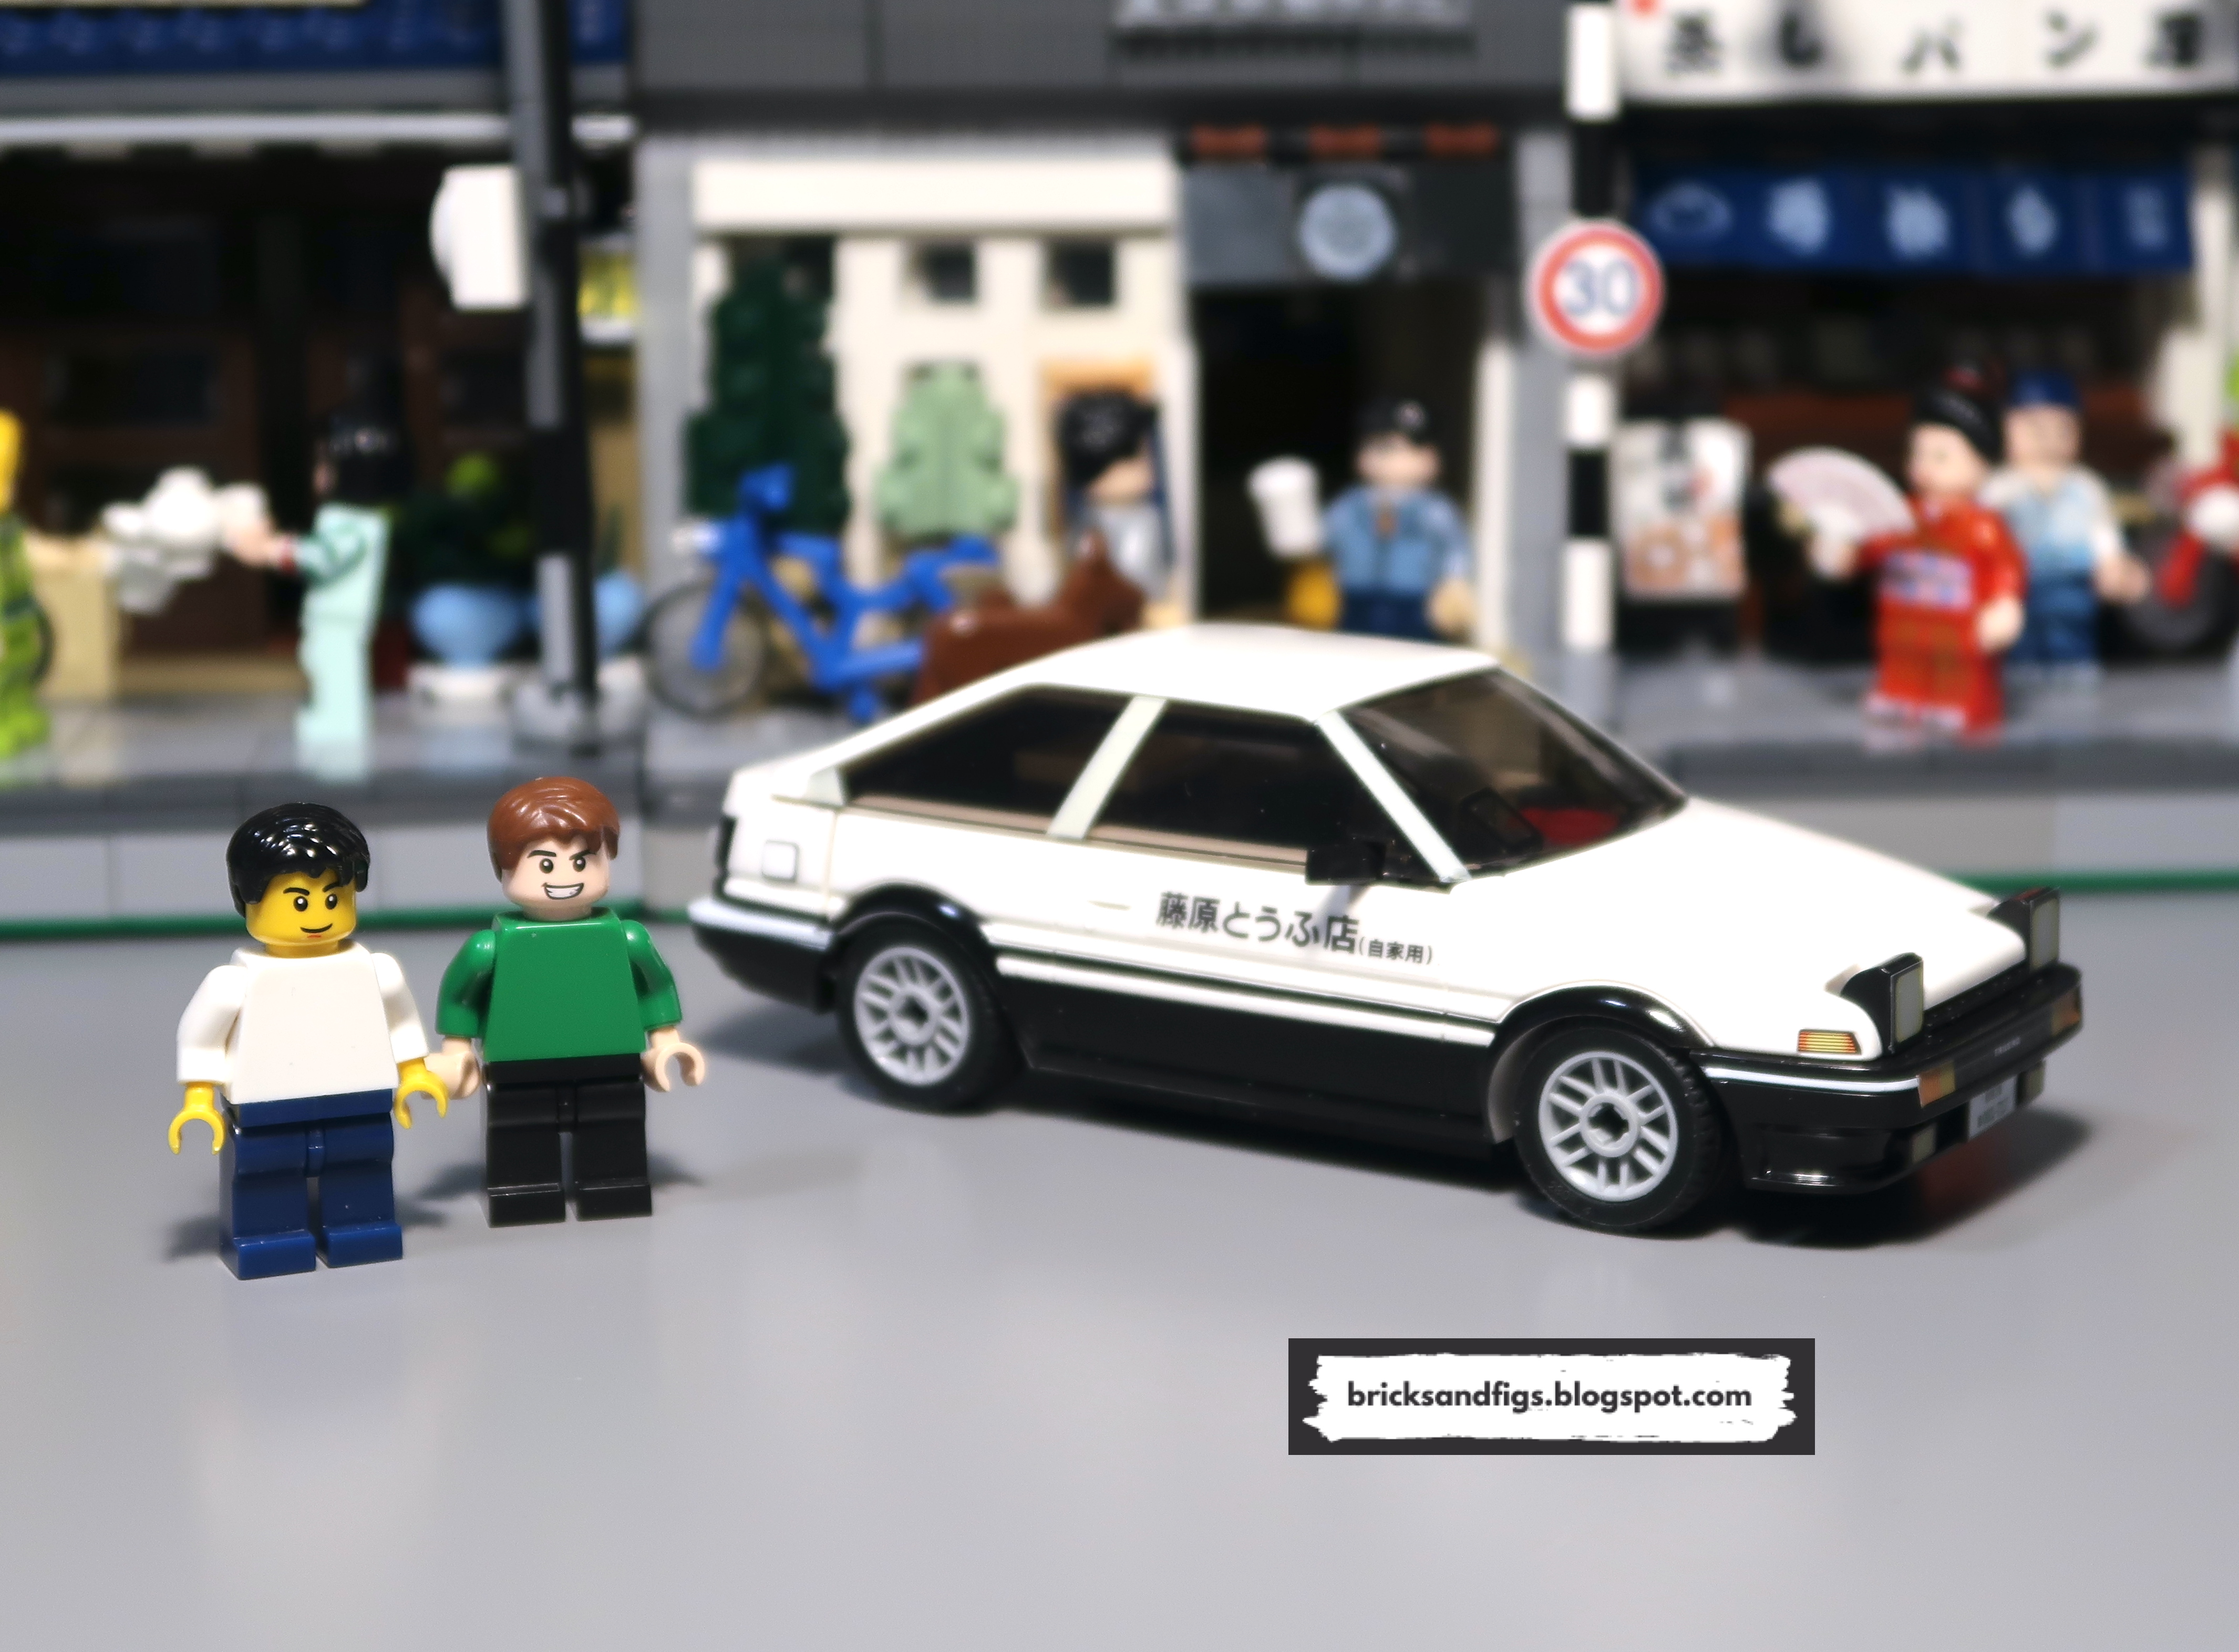
Are you wondering what's under the hood? Oh yes, that may or may not be
my minifigure representation of Bunta Fujiwara. He was the best I could
cobble together with the minifig pieces I had. My answer on whether the
Cada AE86 is minifigure compatible or not is Yes!
It's hard to see with the tinted windows, but you can definitely put a
minifigure inside.
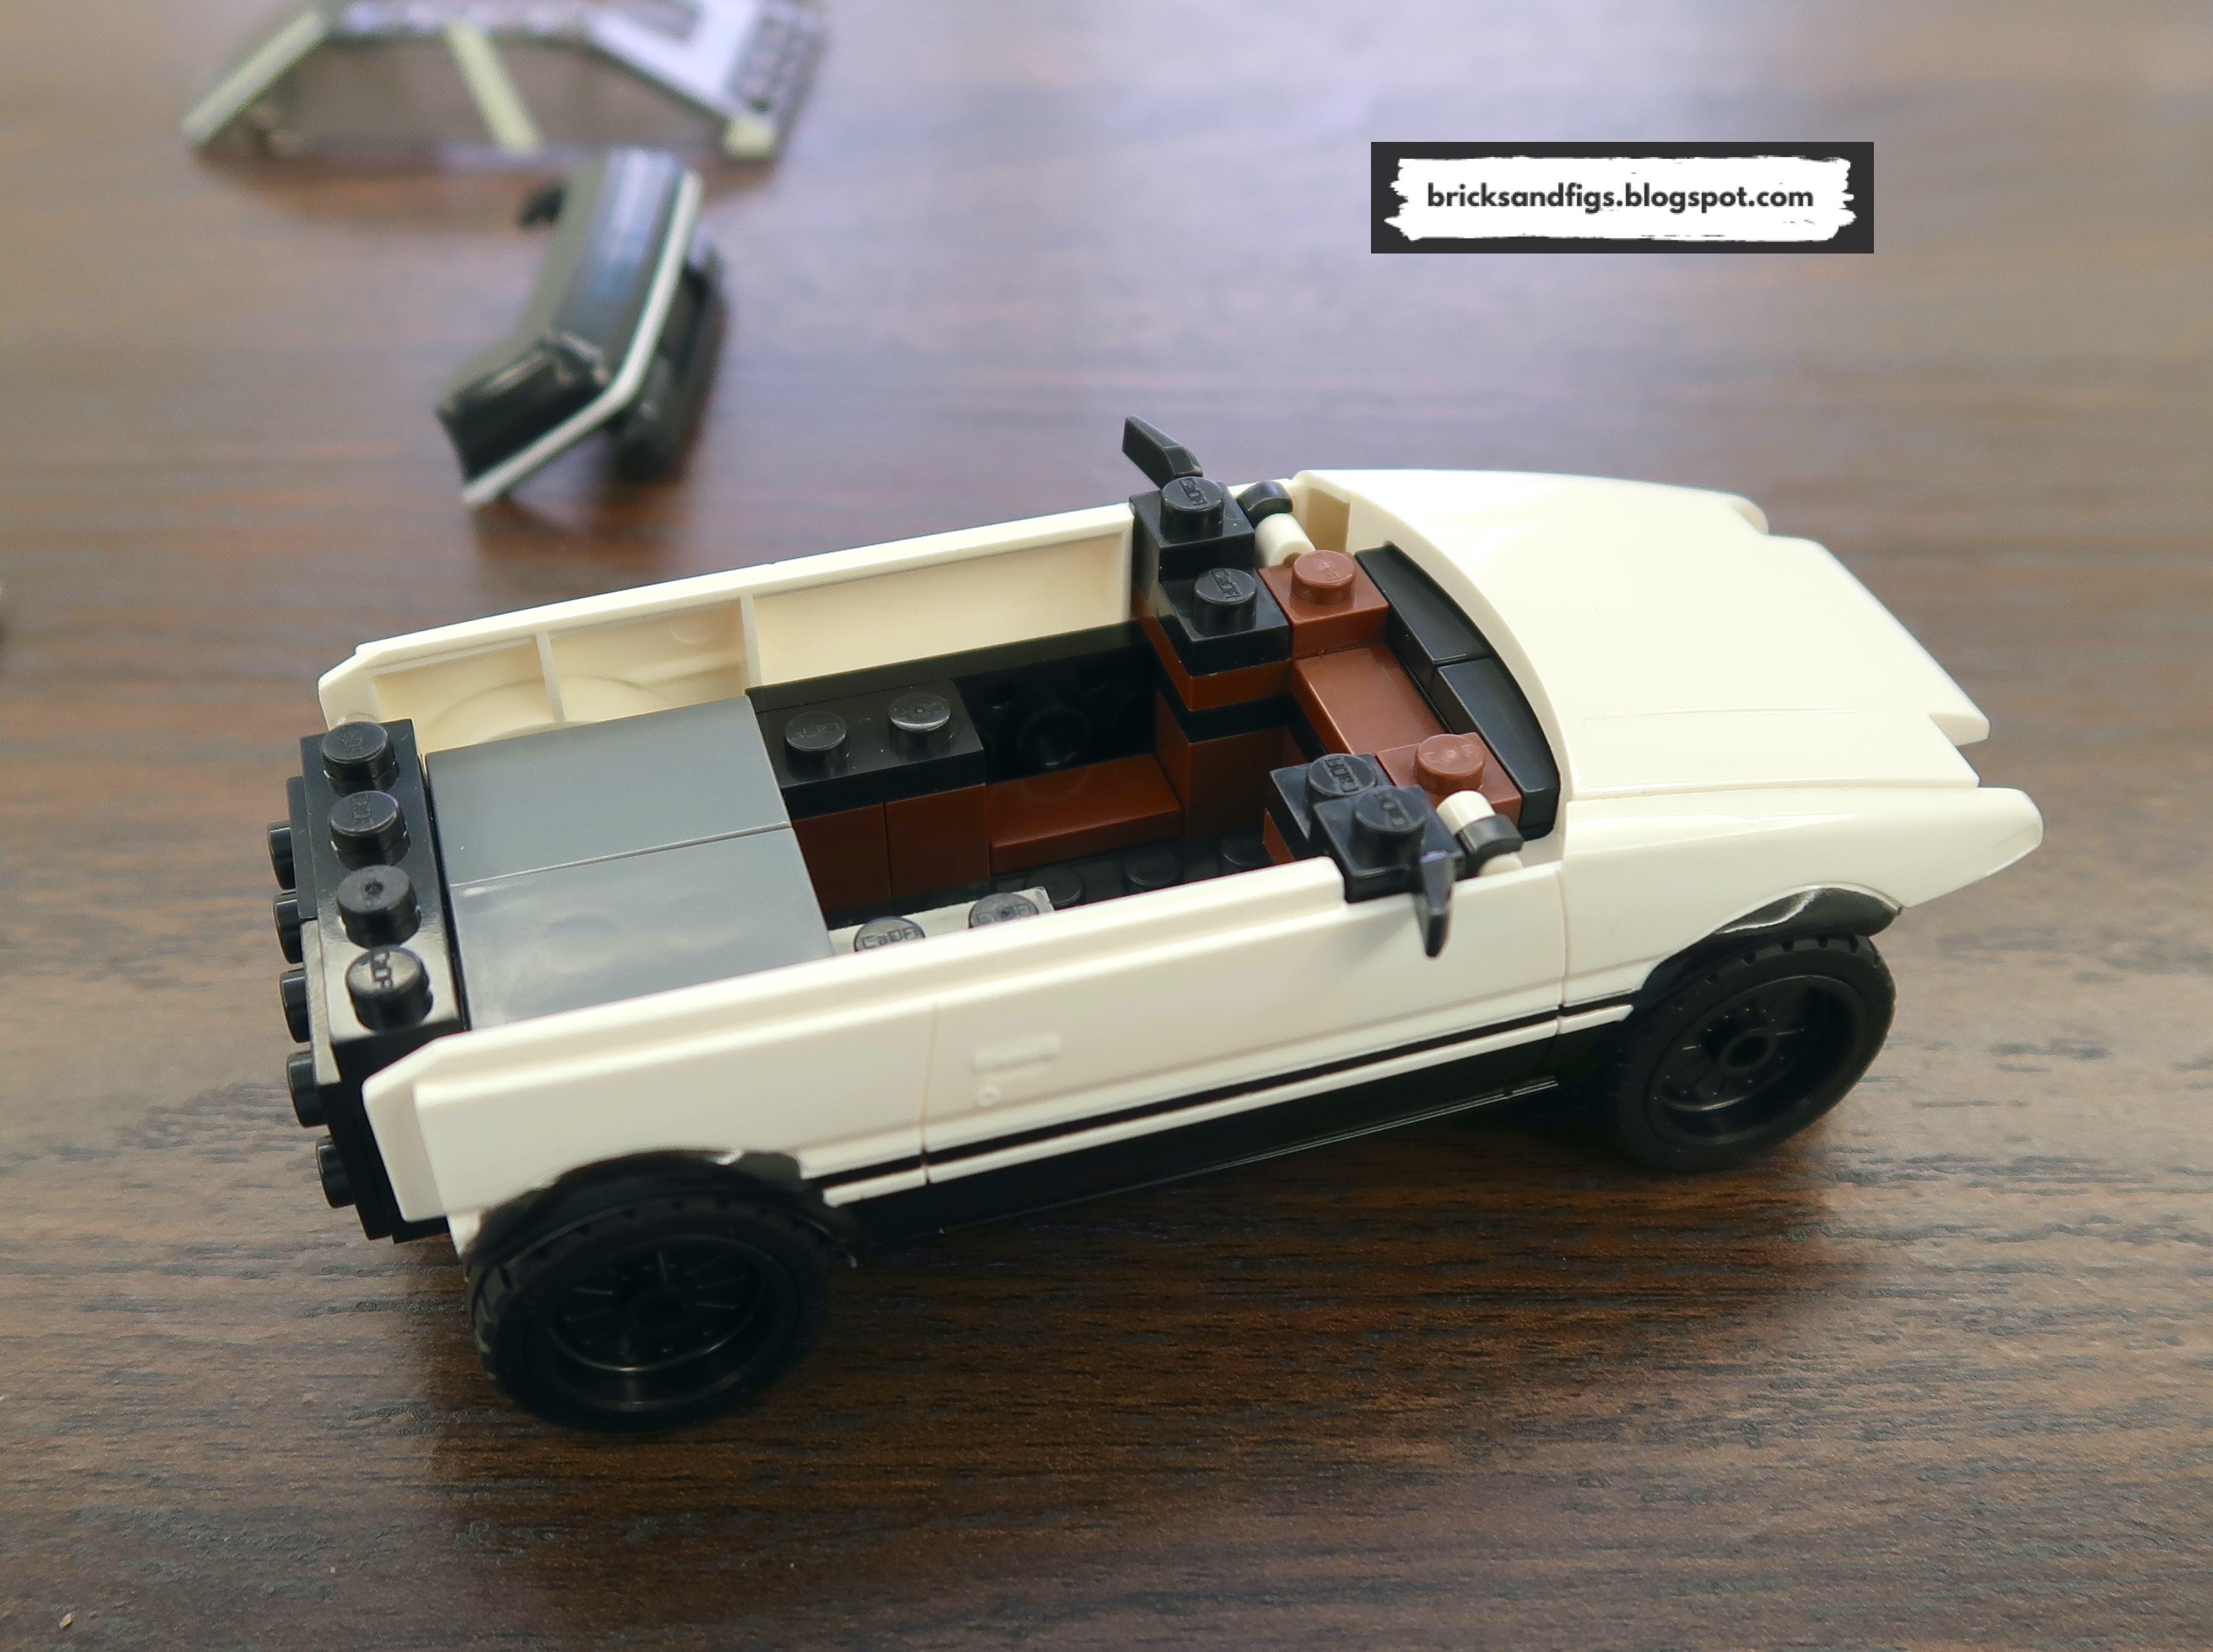
C'mon, you didn't really think I could enhance the exterior, yet leave the
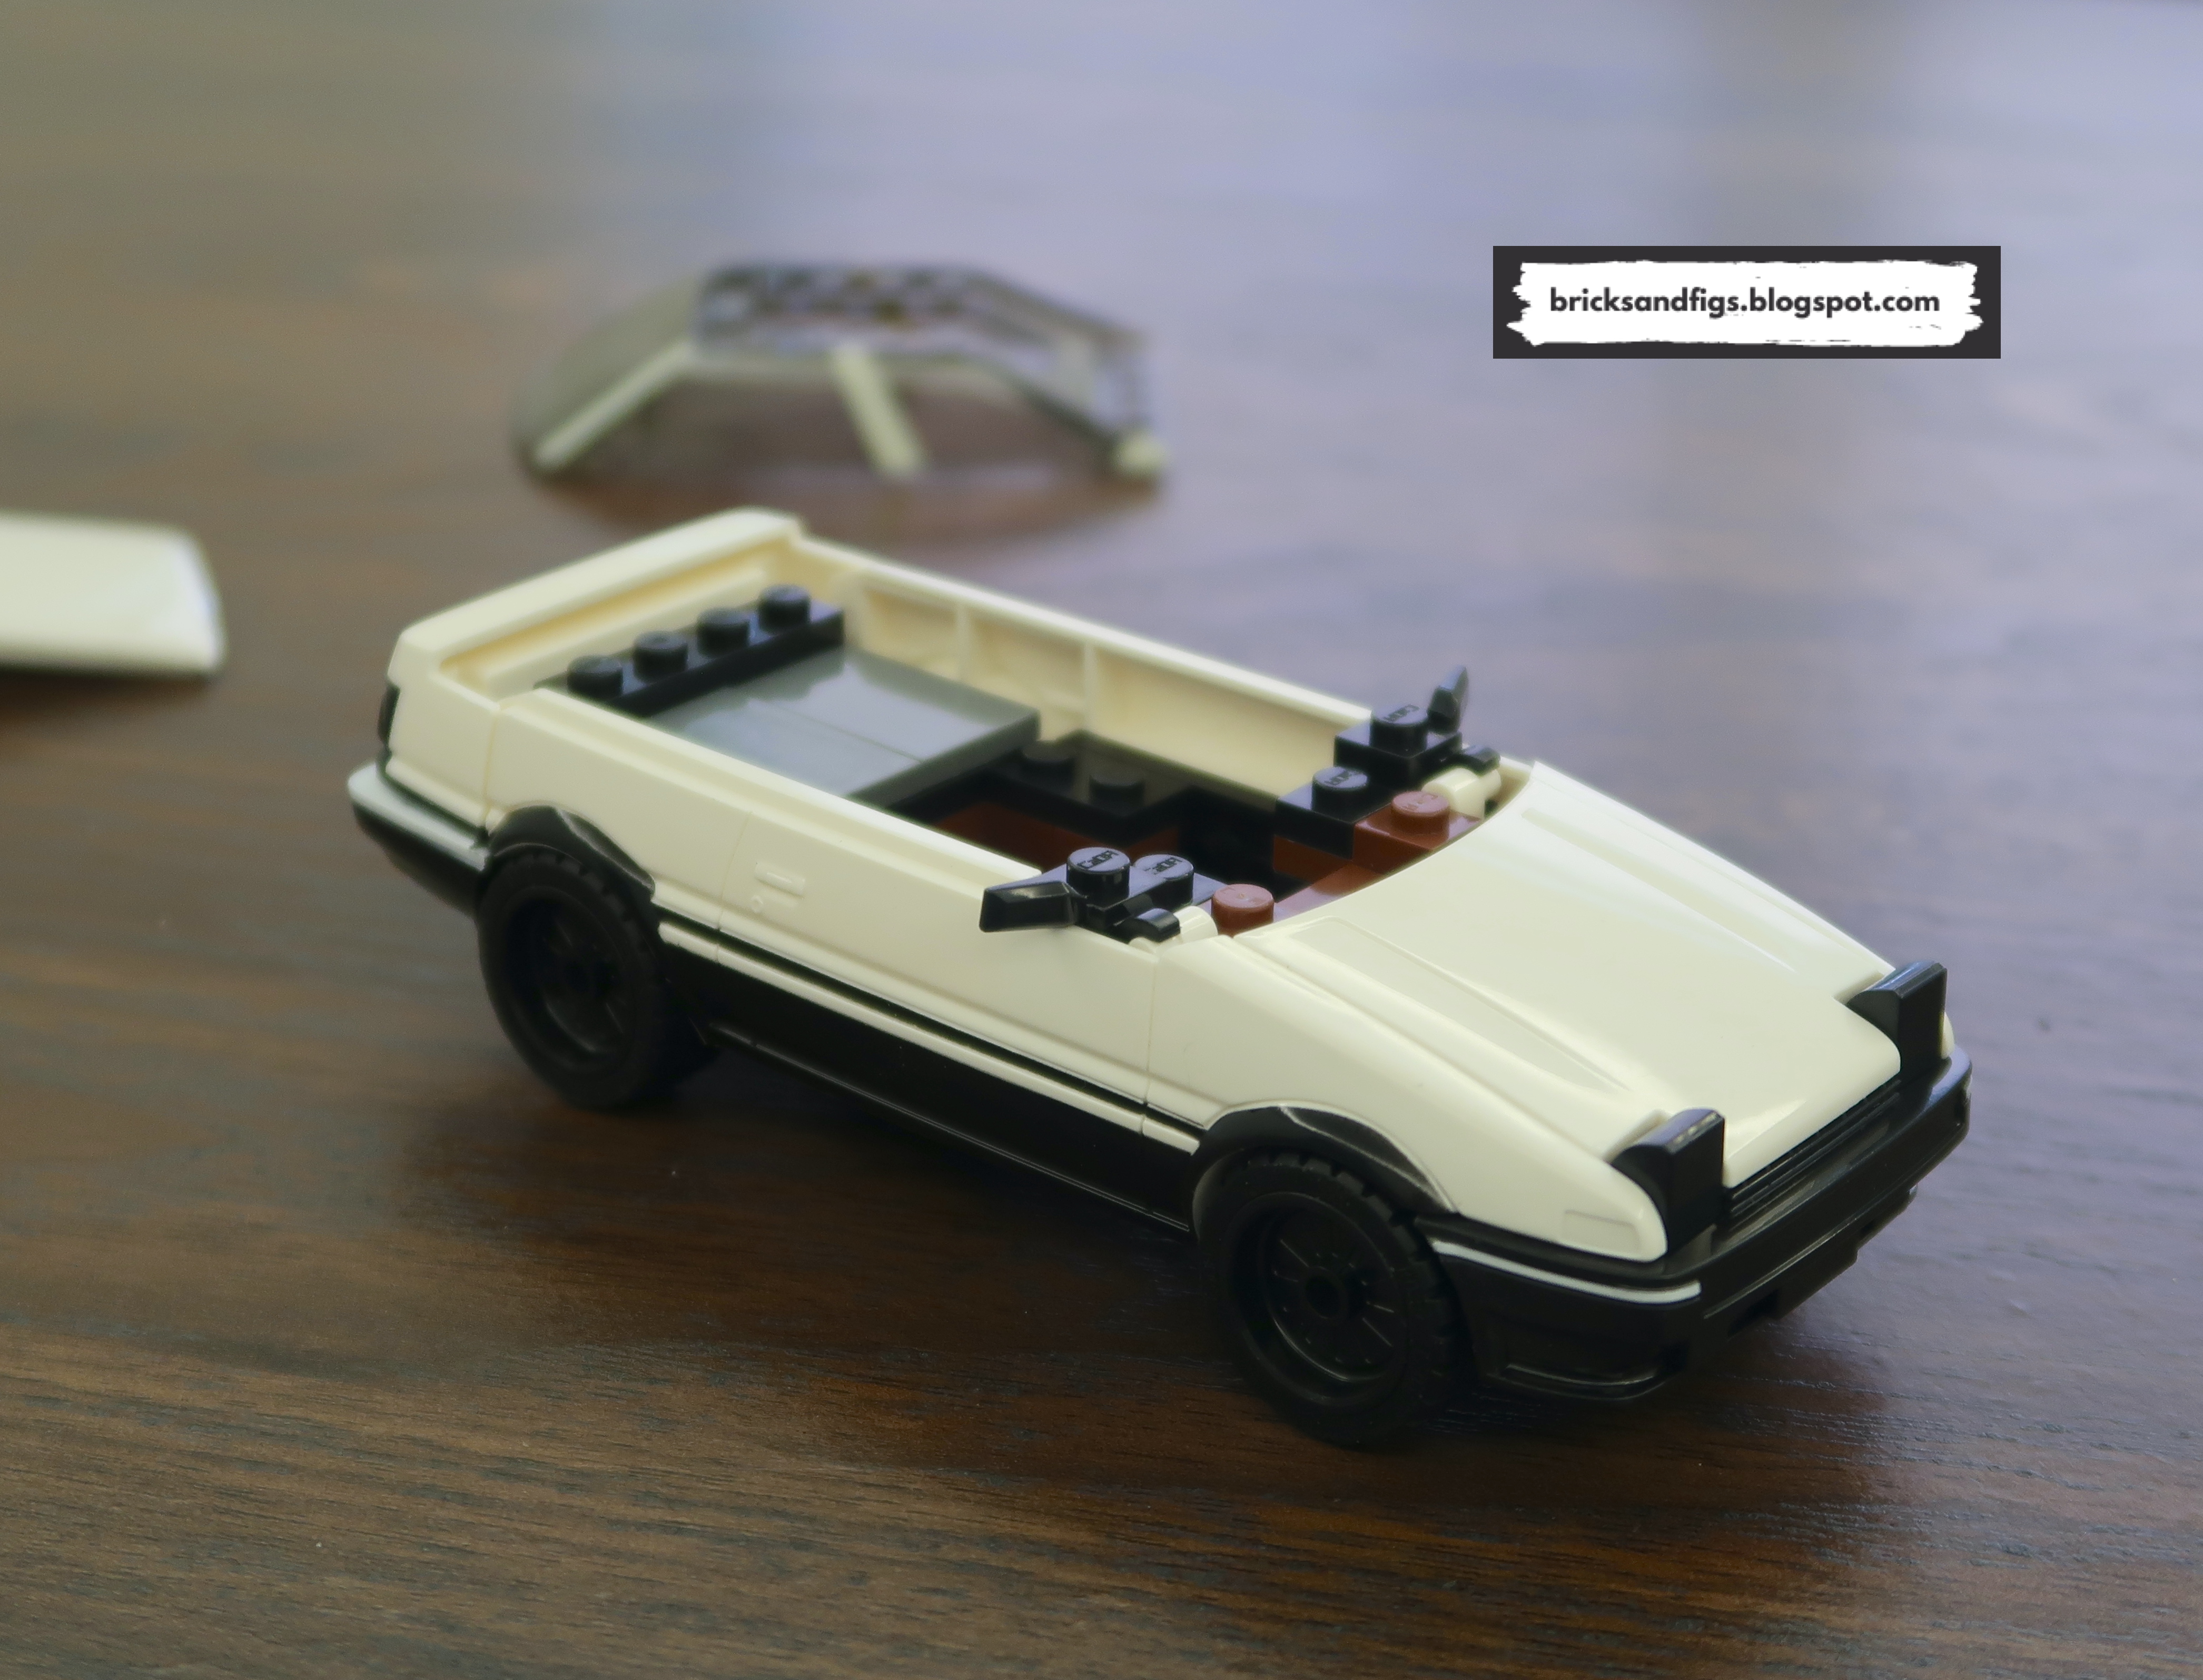
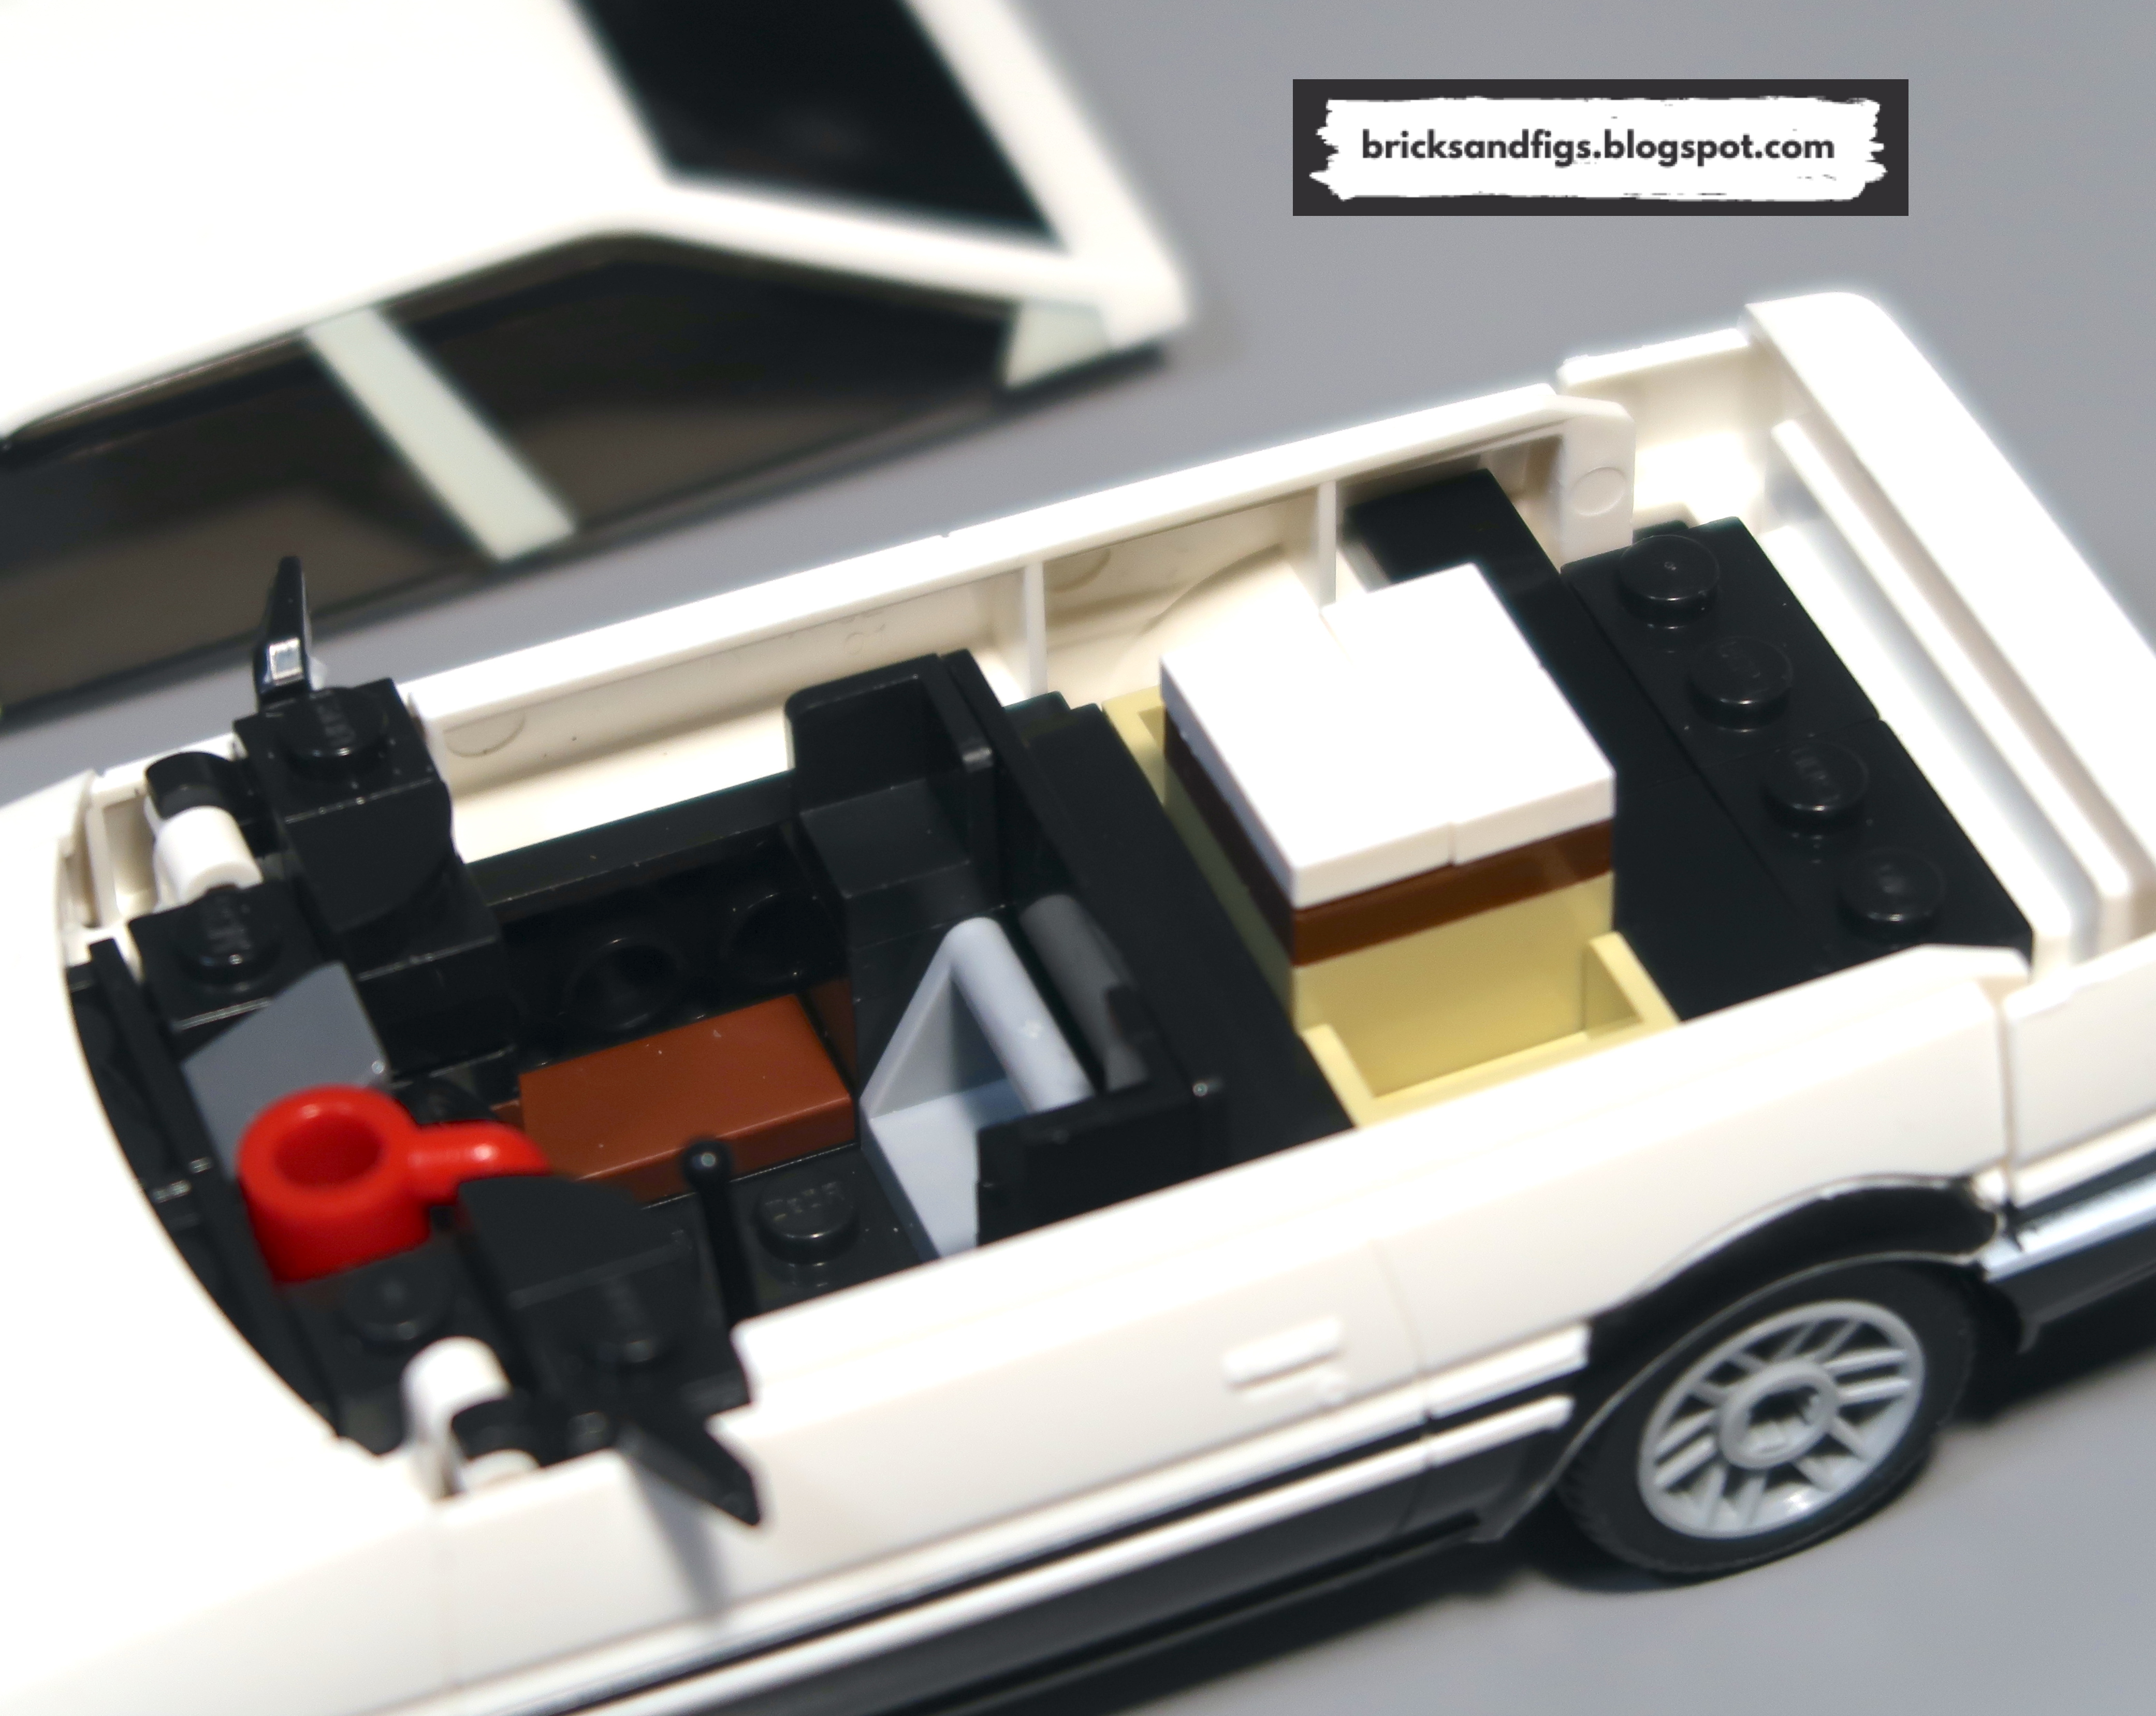
interior alone did you?
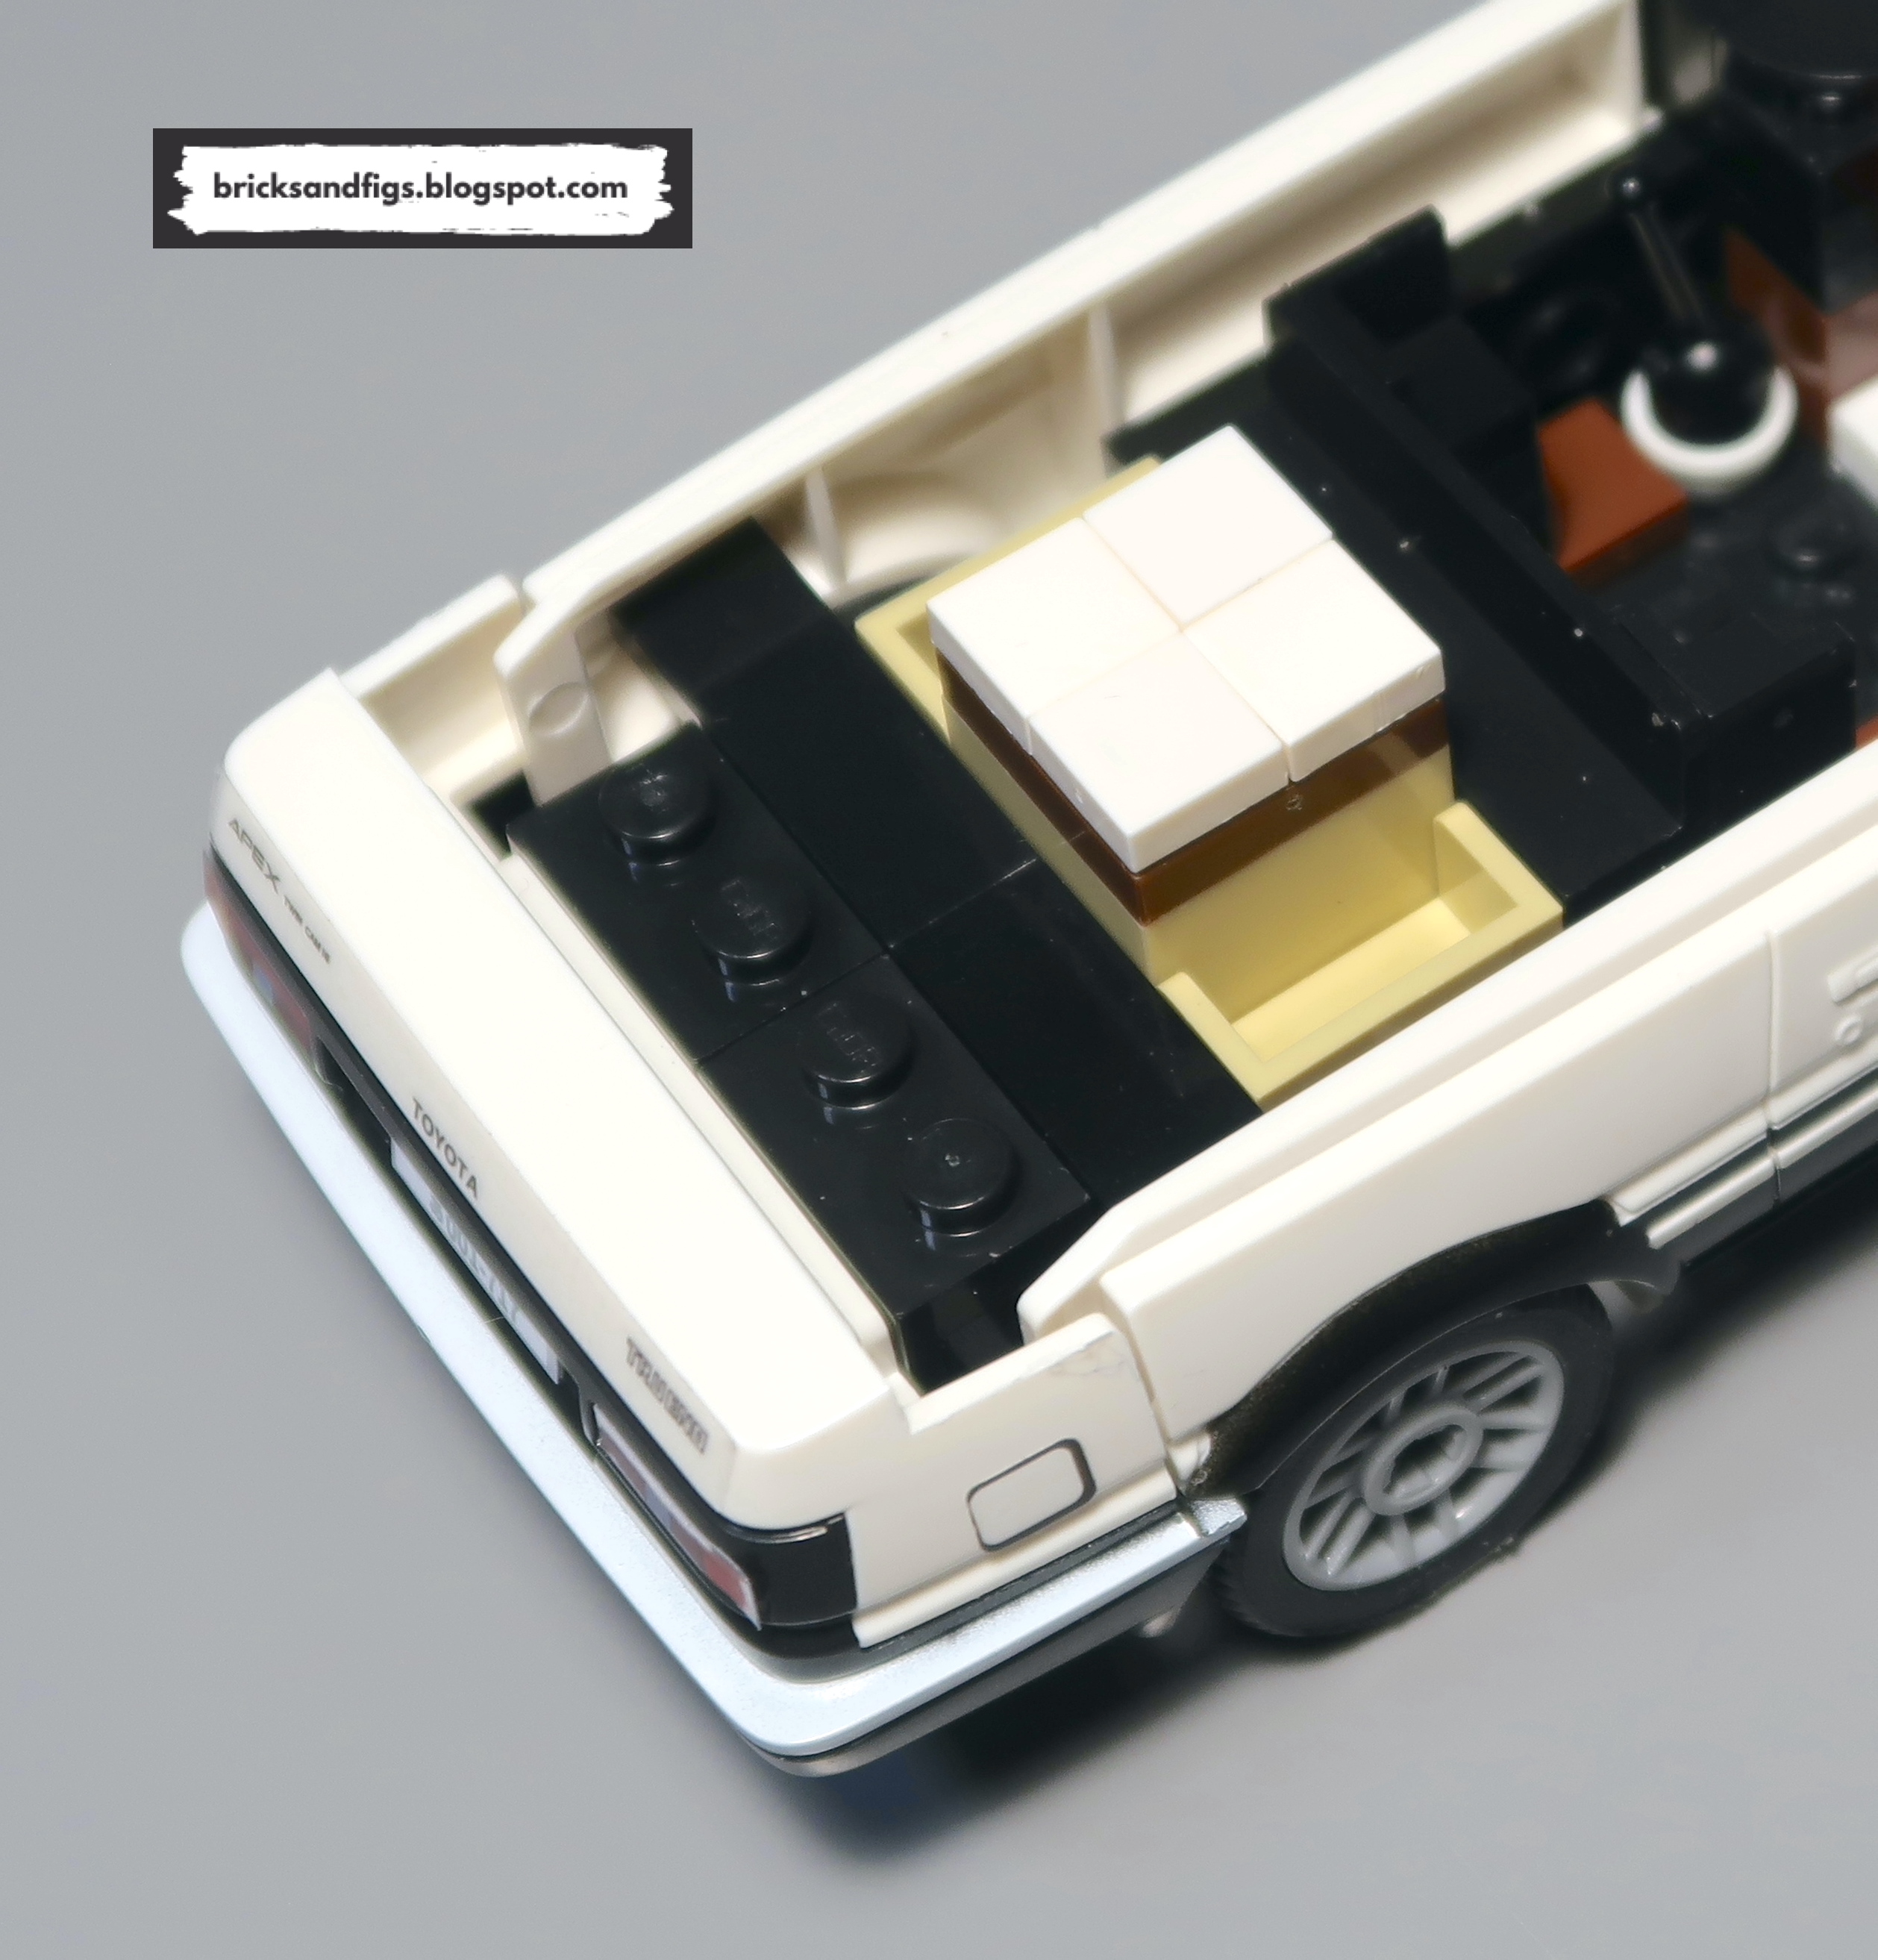
There wasn't any interior in the kit, but I managed to squeeze as much
detail as I could into the AE86. This includes, a dashboard and
steering wheel, a cup of water, and a stick shifter. Initial D
fans will understand the meaning of the cup.
My interpretation of tofu for delivery, lol.
Due to headroom constraints with minifigure added to the interior, I
couldn't also add in a seat, so this was all I could do. Can it be
made better? Let me know.
Some final thoughts. Fit and finish were pretty good. Some
minor smudges on my roof panel which you might not notice if you don't
look too closely. All the parts fit together well and nothing fell
off when handled. The car rolls both well with the original and the
retrofitted wheels. I'm going to give this set a 4 out of 5 ,with
points deducted for the large wheels, the lack of interior, the lack of
minifigures and all of the stickers. But it displays really well, if
you just swap out the wheels.
Anyways, I hope you've had as much fun looking at the pictures, as I've
had taking them. Thanks again to Cada for the contest!
All three of the Initial D sets are available for purchase on the Cada
website. Use my coupon code ITSNOTLEGO to save 5% at checkout.
See ya next time, bye!