Hey brick fans, welcome back to Bricks and Figs! I want to show you my latest modular building MOC (My Own Creation), it's a 14 stud wide townhouse al composed of non Lego bricks. Why 14 studs, you ask?
Here's the story. I store many of my modular buildings in my Ikea Billy bookcase, which has the perfect depth, but if you try to place three 32 stud baseplates into the shelf, it won't fit. The shelf can only accept a total stud width of 32 + 32 + 30 studs. So the 30 studs can be split into one modular that is 16 studs wide leaving a remainder of 14 studs. So in order to make the most effective use of the space, I created a 14 stud wide modular building. As you can see in the above picture, all my buildings now fit perfectly together.
A warning that his blog post has lots of pictures!
The Concept Building
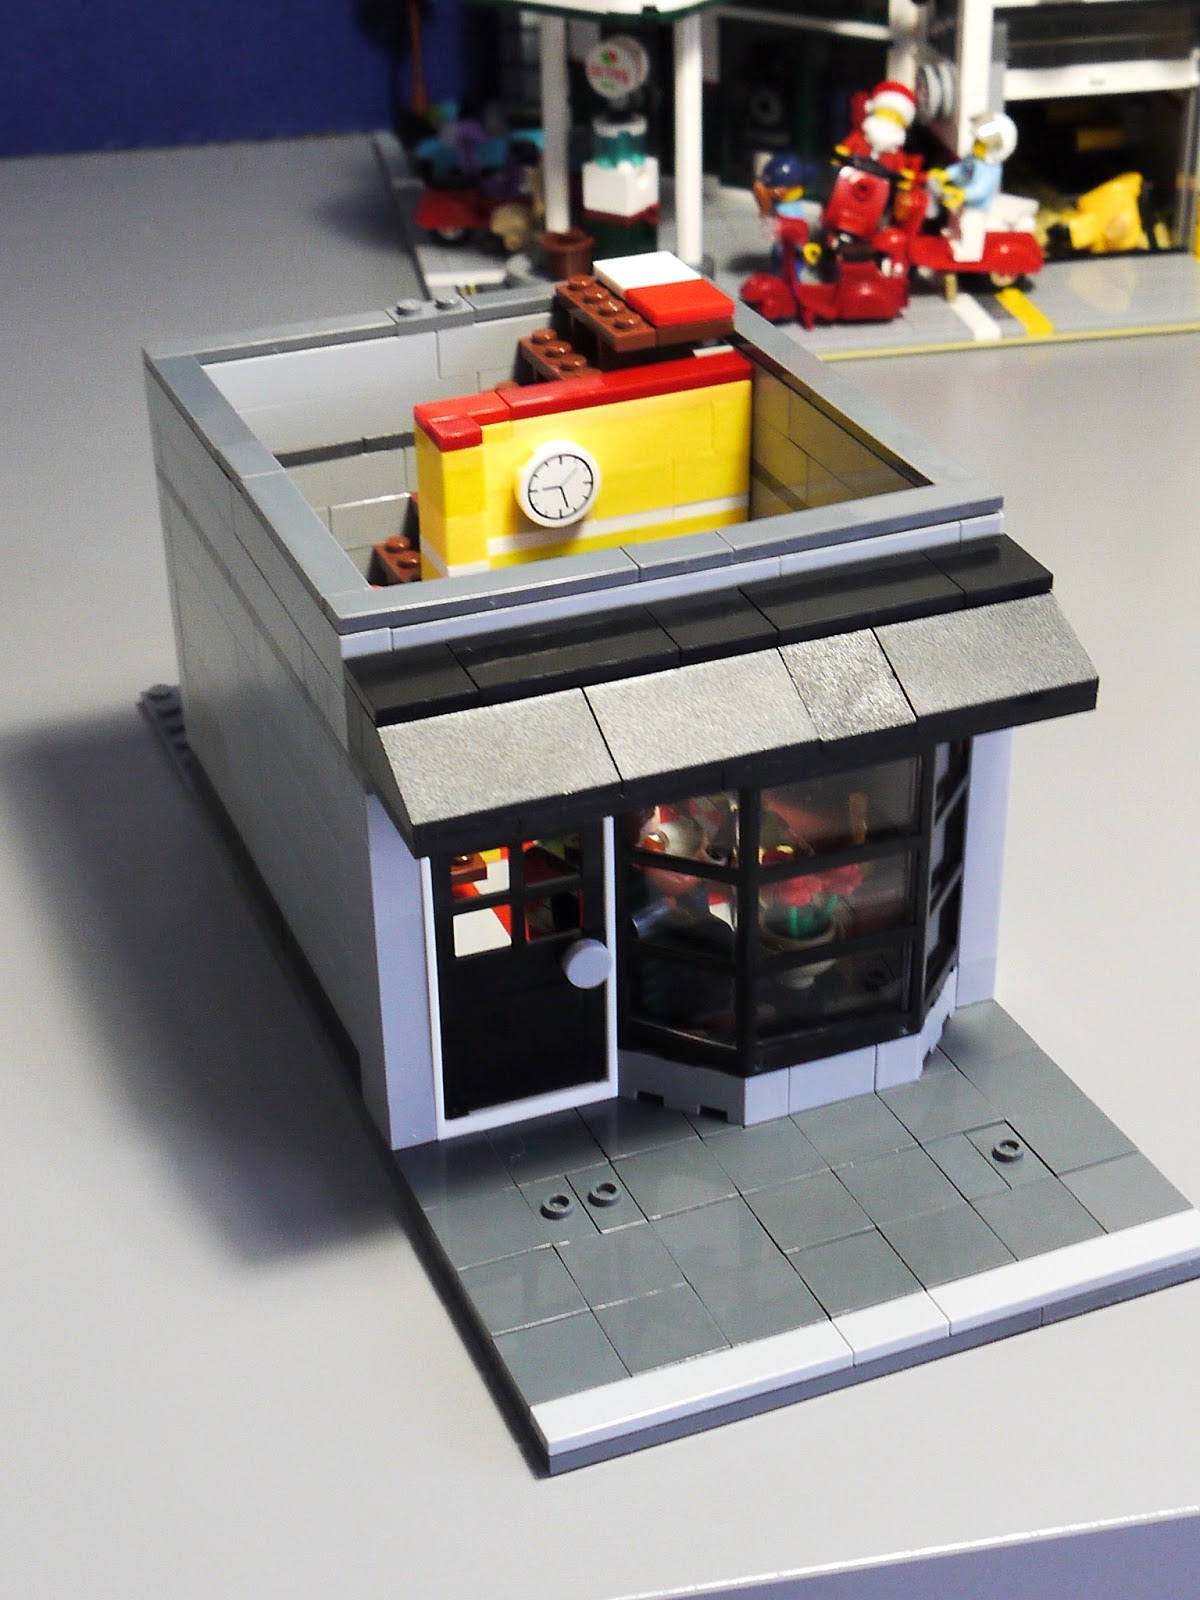
Here was the preliminary building I started with. The building sits on a number of different sized plates that total 14 studs wide and 32 studs deep. I initially envisioned a store on the main floor with two more levels of living space above.
But the realities of trying to squeeze in a staircase on each floor made it hard to come up with any kind of store with useable space on the ground level. The staircase runs up the rear of the building. I have had these red windows from a long time ago but never had a chance to use them until now. Masonry bricks adorn the second and third floors.
This is what I started with before adding the staircases to each level. I put down red and grey tiles on the main floor and red and white tiles on the upper floors to match the red exterior awnings of the concept building.
The Final Product
After I added the interiors, I realized that the my townhouse looked too much like a commercial building with it's red/red and white awnings, although it no longer housed any kind of storefront. I decided to replace the red and red/white awnings with black ones to give the building a more residential feel.
My townhouse is completely modular, which means you can take apart each floor of the building. Here's the four sections of the building all separated.
The First Floor - Living Room and Bathroom

So in place of any kind of commercial shop, the first floor of the townhouse is composed of the living room and a two piece powder room, with a staircase leading to the second floor.

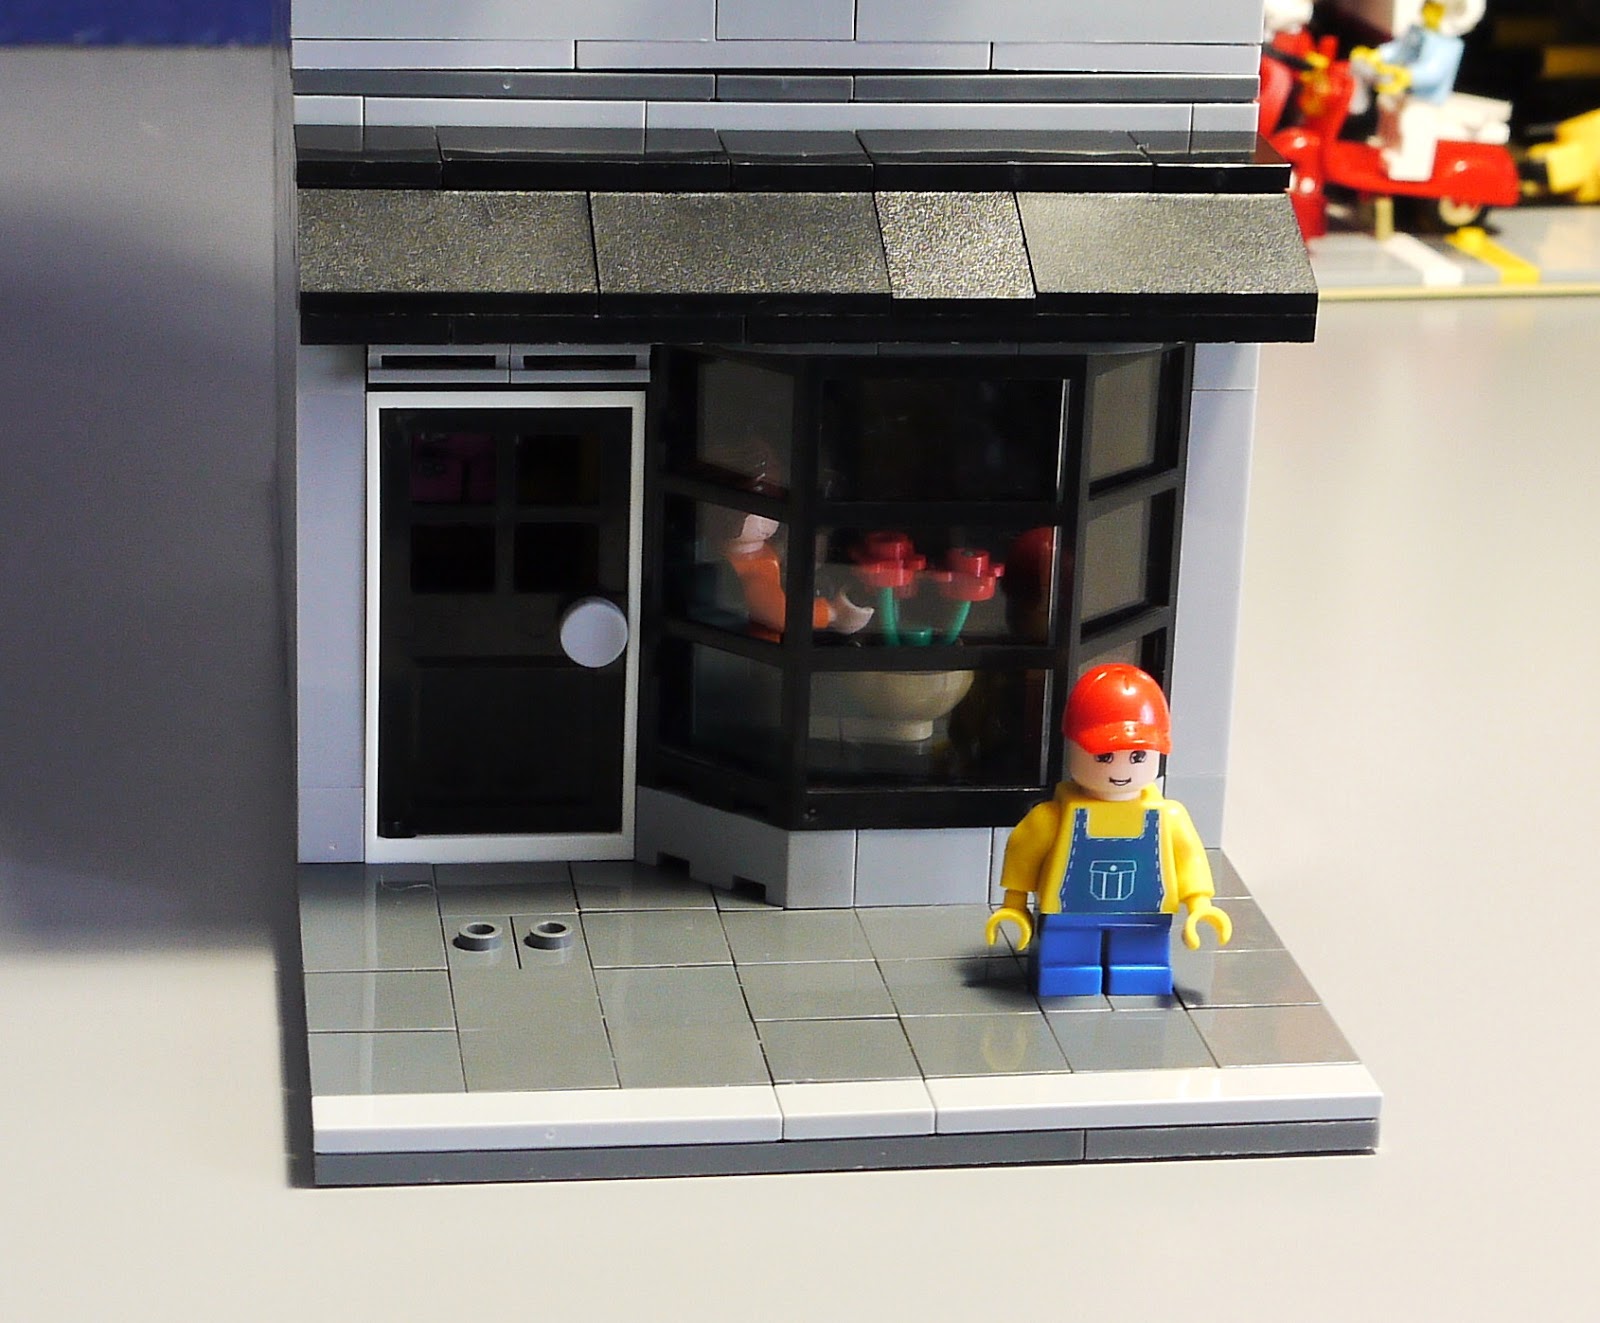
On the ground floor outside, there's the sidewalk that follows the standards of other Lego like modular buildings. I used a big bay window that was from an Enlighten brand police station. Above the front door is a grille for ventilation.
The black canopy roof runs the entire width of the building.
Here's how the first floor looks after removing the rest of the building. Because the main floor has higher ceilings, I had to use a long and a short stair part separated by a landing.
From this viewpoint, you can see the doorway that accesses the powder room located beneath the staircase. The yellow brick walls are sourced from a Brick Tech set.
With the front of the building removed, you can get a better view of the living room. The green armchair is taken from the Lepin brand Sanctum Santorum set. The wall unit is from one of the Xingbao brand home furnishing rooms.
Here's another look at the furniture accessories on the main floor. There's a stand with a potted plant. The wall unit has several drawers and storage shelves with stereo amplifier. For entertainment, there's a flat screen TV and ghetto blaster. The powder room wall has been removed, so that you can see the sink, toilet and small window. On the walls are a clock and the HVAC system tied into the vent over the front door.
I'm thinking about pushing the back and front walls out by a stud or two to make the ground floor larger because it's a tad cramped. Another project for another day.
The Second Floor - Kitchen
On the second floor is where the kitchen is located. Despite the small space, I was able to add a few lower and upper cabinets with an oven with cooktop and sink on one wall.
On the other wall is a contemporary counter depth fridge with french doors. Flanking the fridge is a shelf for mugs and a mop.
If you're interested in the kitchen design, the build
tutorial can be found on Jaystepher's Youtube channel.
Rounding out the accessories on this floor are the kitchen table and chairs, another HVAC unit and clock. The staircase continues up to the third floor.
On this floor, the stair wall is made up of flesh coloured bricks and army green accents.
The Third Floor - Bedroom
Here we are on the third floor where we find the bedroom. The desk has two drawers, a table lamp, a computer, mouse and a mug. The built in ladder rungs on the wall provide access to the rooftop.
From this view of the bedroom, you will find a guitar and a working murphy bed.
I busted open the front wall for better viewing. Oh yeah, I forgot there's another HVAC unit up here as well, but no clock because you can get the time by checking the computer.
The murphy bed design is a slightly modified version of the one found in the Lego/Lepin Parisian Restaurant modular. Here is the bed in the down position. I ran out of flat tiles for the bed cover so I had to use two similar coloured jumper plates at the foot of the bed.
Ok, let's put the bed away, shall we?
Lots more room with the bed tucked away.
The Rooftop
I was going to leave the rooftop empty, but then I decided to use some of the furniture from my recently acquired DG brand Corner Garage. That's where the red lounger and umbrella are from. Other fun accessories are the charcoal grill, some fish and some hot dogs.
The access door is taken from Peter Parker's apartment aka Sanctum Santorum.
Well, that's it! Thanks for staying until the end. I got lots of my spare brick pieces rom Aliexpress. Hope you enjoyed looking at my 14 stud wide modular townhouse. See you next time!