Thursday, July 31, 2025

Enhancing Ohsojang's Antique Shop Modular Building (Part One)


Hey brick fans, welcome back to my blog!

I recently picked up this beautiful modular building from Temu.  It's produced by a new brand called Xbert and the set is designed by one of my favourite MOC builders Ohsojang (aka shinjungseub).

I did a detailed set review on my other blog which you can find here.

Anyways I love the architecture of the set and all of the nice details that the set contains.  However it's a bit small when compared to some of my other modular buildings.   The building footprint is about the same as the Lego Parisian restaurant in terms of width and depth, but the baseplate that it sits on isn't a standard 16x32 or 32x32 stud, which is what all of my other modular buildings are placed on.

So my plan is to rebuild and upsize the shop while trying to preserve it's original design as much as possible.   The purpose of this blog post is to document the changes that I make as I embark on this project.   Think of it as a running journal.   Feel free to pop onto this blog post from time to time to see how things are progressing.   

Updates

Scroll to the bottom to see the latest updates.

Tue Jul 29


Deconstruction begins.  Basically pulled the building off of it's original baseplate and gutted he first floor interior.   I'm going to use a MILS style 32x32 baseplate on which to rebuild the Antique shop.

Wed Jul 30


Ok, so we have cleared away the mess and have temporarily placed the structure onto the 32x32 baseplate.  I'm going wth my standard sidewalk configuration.  In it's original form you had to climb a ladder to get to the second floor.  I'm going to add an outside staircase instead.

The shop will be widened by two studs and the original inoperable brick built doors will be replaced by Lego style doorways.  For now, I've placed the doors flush to the windows, but I'm considering indenting them to sort of follow Ohsojang's original premise.

I've used some linear plates to define the space of the new building footprint.  The main floor square footage will be almost doubled due to the extra 8 stud depth.

I've offset the building from the edge of the baseplate by 3 studs to allow for the protruding awning.  All of the dark gray area outside of the building will be tiled off.  I intend on preserving the original interiors tiling design as well.   Next steps is to collect some dark gray and dark tan masonry bricks and rebuild the side walls.

Thu July 31


Today, we have expanded the Antique shop's width by 2 studs and we have also inset the double doors.
The side walls have been extended in the picture above.  I still need to redo the yellow pipes.
All of the accessories that used to be on the left side of the shop have now been relocated under the new stairwell.  I've got some stair parts coming from Temu, so I will replace the temp stairs when I get them.

Here's the new interior space.  In addition to the original fixtures and furniture, I will need to add extra furnishings to fill in all of the new space.  Floor tiles need to be laid.   And of course I need to expand the rear wall and realign it to the building.

Fri Aug 1


Today, we updated the yellow piping on the side of the antique shop.  I'm going to replace the black 1x1 rounds with yellow ones in the next update.

Light gray tiling added to the perimeter of the shop.

This is a preliminary placement of stuff inside the antique shop.  I've added a few more knick knacks.

 I didn't throw those brick built doors away, instead they are now part of the antiques. 

Some of the stuff that was placed outside has now moved indoors, like the giant wreath and the sack. Got the first edition print of the Lepin News!

Tomorrow, I'll start re-laying the floor tile back inside the shop.   That's a wrap for today.

Sat Aug 2


Now we have installed the floor tiles.  It's following the original colour scheme and layout, just more of it.


And we have built a new folding rear wall, fashioned in somewhat the same way as the old wall but bigger.

I might have to add some window elements later to break up the plain brick wall.   So the first floor is pretty much finished.

I added an AC unit and meter to the yellow pipe.

Just a minor rearrangement of items under the stairs.


The next task is to start upgrading the second floor of the Antique shop.   Stay tuned for part two!

Feel free to check it out, if you like!


If you'd like to get your own Xbert Ohsojang designed Antique Shop, you can get it from Afobrick.com: https://afobrick.com/en-ca/products/xbert-66055-vintage-antique-shop?ref=oGOdUj_izrflQ
Don't forget to use my affiliate code itsnotlego to get another 5% off the price.

Tuesday, July 8, 2025

Lego Greebling, How to, Using Railway Tracks as Scaffolding


Hey brick fans!

Today's little project is about how to make greebling for your space or lego star wars dioramas. I tried a simple solution of using railway track pieces as scaffolding.  Let's see how it turns out!


For this tutorial, I have used 4 railway track pieces, but you can use however many pieces you have on hand.  

Get yourself some plates that are 1 stud wide and attach them to the sides of the track.  Use two 1x2 pieces for the top and bottom and use a 2x2 plate to secure the middle.  As you can see, I've just used random length pieces for the sides.


Use some smooth tiles to cover the sides.
Now, you want to fill in the middle by using stud wide plates.  I'm using 2x16 plates, but again use whatever you have in your brick stash.  On top of the those plates, you will need 2 pieces of coaster track.

It's ok if you don't have any coaster track, just use whatever you have available to you.  Here's another example of what you could put in the middle.

Now let's do some greebling ...

To keep it simple, I start by taking dark gray plates that are 4 studs wide but can be any length.  Then freely add little bits and pieces to the plates.  Feel free to copy my design or come up with your own based on whatever bricks you have.  As you can see above, it's easiest to start greebling on a 4x4 plate. Then as you get more parts, try making a bigger greeble panel from a 4x6 plate, and so on.  Using this modular technique means you won't get overwhelmed by trying to do too much.   After you've made random greeble panels, experiment by putting them together in different ways to see what looks best.

The fun thing is, if you get bored you can pop all the panels off and put them together in a new way.  Here's how mine looks.

These greebled panels can then be displayed as a backdrop for your futuristic setups.

The panels look great both horizontally or vertically. 

Try making more panels once you get the hang of it and try using different pieces to get different textures.  As a tip, I try to keep all the coloured parts on a panel the same, except where you want to deliberately make something stand out like the yellow ladder on the dark gray greeble panel.

Most importantly, have fun and see what you can come up with. Anyways, feel free to leave a comment or question!    Thanks for looking, Bye!


Thursday, July 3, 2025

How I made a Lego compatible Cyberpunk Style tower


Hey brick fans!

Here's some pics of a cyberpunk looking tower I made.  It was heavily inspired by the Lumibricks/Funwhole Cyberpunk Neon city set.   But I wanted a simple design that wasn't too hard to build.  So I came up with this stackable tower.  It's totally modular and you can build it as high as you want given the parts you have on hand.  

In this example, the tower consists of three cubes which I stacked on top of each other.  If you're ambitious, you could even add lighting to the tower, but that's optional.  

Here's what the tower looks like, separated into the three cubes.  You can start by creating one cube, and then continue to add cubes as you acquire more parts.

I actually re-used the rooftop from the Lumibricks Cyberpunk apartments with some adjustments, but you could come up with your own rooftop design if this doesn't suit your needs.  In the Blade Runner movie, I remembered that the city scape had flames shooting up into the night sky, so I tried to replicate that with the flames coming out of the roof.


In it's simplest form, the cube uses a 16x16 stud base, with girders on each corner.  I placed 2 corrugated wall panels and 2 window panels on each side of the cube.  Just repeat this design on all four sides of the cube.

To add some visual interest, I added screens using a fence piece to the inside of the window panels.


To make the cubes stackable, just top them off with smooth tiles and put 2x2 jumper tiles on each of the four corners of the girders.

For more visual interest, you can add pipes or conduits running down the side.

I have pipes running down each cube on 3 sides.   I also aded signage for extra detail.  I've perched my cyberpunk tower on the roof of my existing nightclub building.  More details about my custom strip club modular building can be found here.

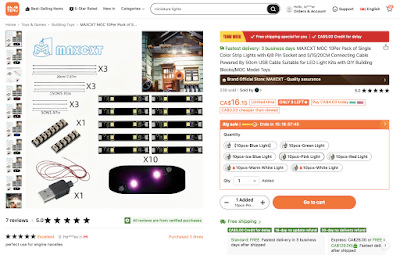
For an extra pop of colour, I added lighting to my Cyberpunk tower.  I used different no name branded light kits I found on Temu.

For the exterior of the tower, I installed a red LED strip light on three sides of the tower.  Since I have three cubes, that makes a a total of 9 red strip lights.


This is the led kit i used. It comes with 10 led light strips, two expansion boards, one connecting wire, and one usb plug.  With three cubes, I needed to add another expansion board from my light kit stash.  Here's the Temu link for this light kit.

Inside each of the cubes, I have the red led light wires connected to a six port expansion board.

Here's what the connection looks like inside each cube.  I have another wire that connects one cube's expansion board to another cube's board.  On the lowest cube expansion board, I've attached a USB plug that runs out the bottom.  Refer to the second pic from the top of this blog post to see how that looks.

For the interior, I used the same brand of LED lights I used to light up the upper part of my Lumibricks tower.  The light strips are sold in different colours, but I chose pink and ice blue as those colours seem to be most representative of cyberpunk colours.  I used one ice blue coloured light strip inside each cube and linked them together using connecting wires.

This LED kit is also found on Temu and it goes by the name MAXCXT.  The kit includes a few extra connecting wires than the other red light kit.   Here's the TEMU link for the MAXCXT light kit.


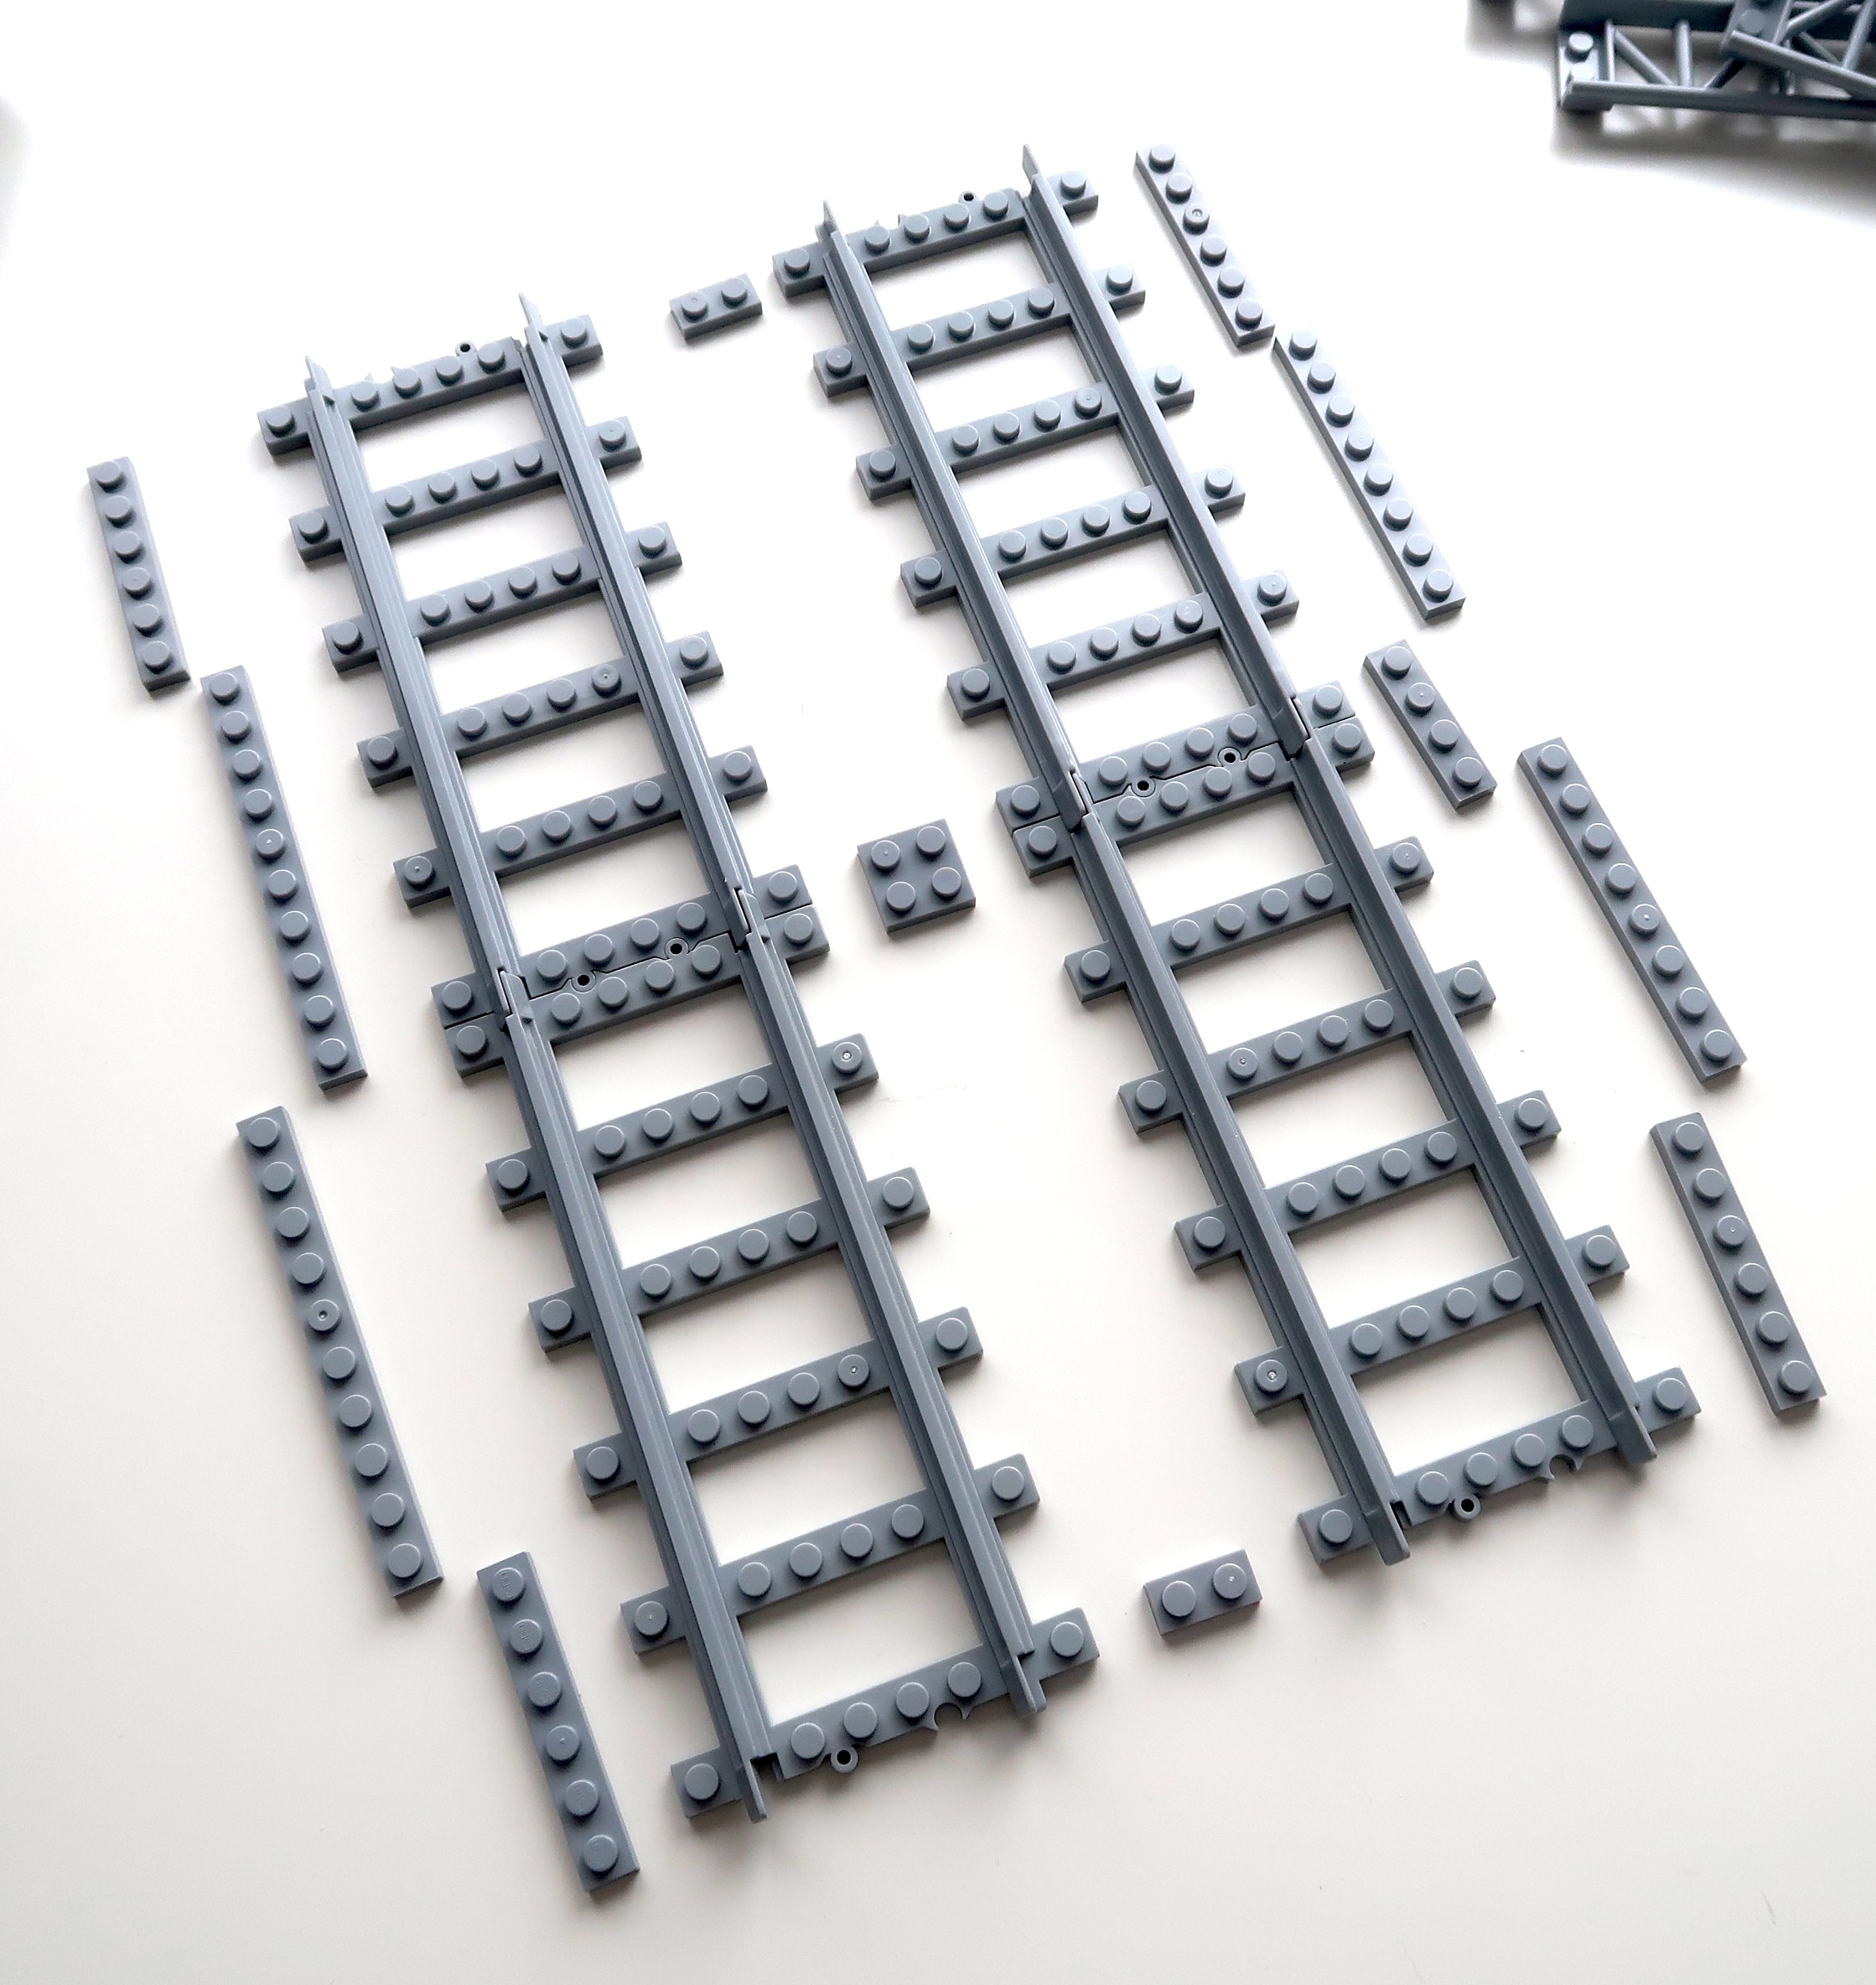
So let's review the basic parts you will need to make one cube:

2 piece16x16 stud baseplate (top and bottom of the cube)
4 pieces of girder part
8 pieces of corrugated wall panels
8 pieces of large windows
8 pieces of clips for the fence part
4 fence parts
4 2x2 jumper tiles
assorted smooth tile pieces that attach to the top of the wall and window panels.


Finally, if you plan on adding a lighting kit, instead of using one 16x16 baseplate, you might want to consider using a collection of sized smaller plates for the top and bottom of each cube.  Leave a hole so that the light connecting wires can pass through from one cube to the next.   

If you like the Cyberpunk style, you will love the Lumibricks Cyberpunk sets!

Anyways, hope this mini tutorial guides you in building your own Lego compatible Cyberpunk style tower.  Let me know if it helps!    Thanks for looking and Bye for now.