Hello and welcome/welcome back to
Bricks and Figs, my little place on the Internet where I showcase my Lego and alt Lego creations. I also do reviews of new alt Lego sets on my other blog
It's Not Lego. Please feel free to check it out if you get a chance.
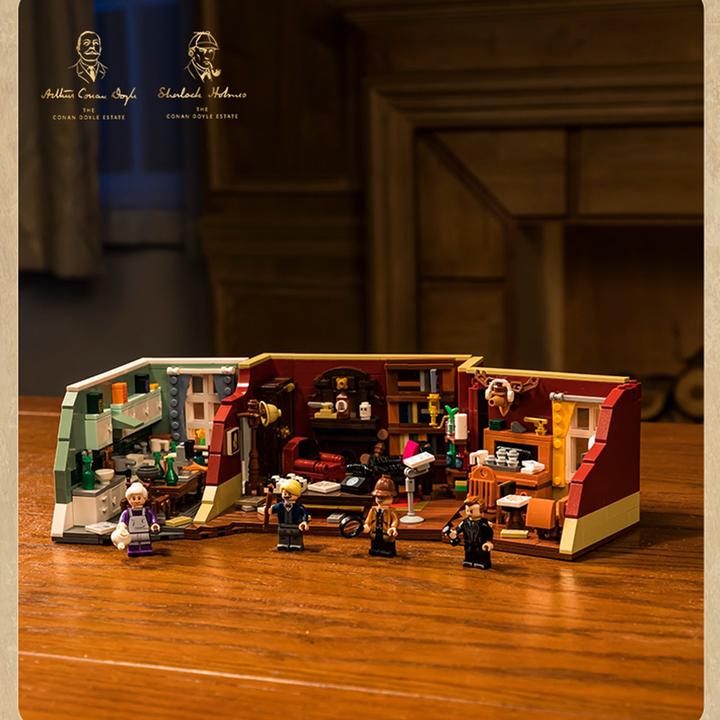
Today, I'll be looking at how to install a Briksmax lighting kit into a Lego or alt Lego modular building. I'll be using my Detective's Office modular building, but these procedures could apply to any modular building you have. So let's get started!
Full disclosure: While
Lightailing.com was kind enough to send me this kit to review, I've endeavoured to provide an honest evaluation and unbiased opinion of the product.
* * * * * * * *
For all my blog readers, you can get 20% off all led light kits until the end of December 2021 by using code at checkout: itsnotlego20
* * * * * * * *
Unpack the Contents of Your Kit!
If you have already received your Briksmax Light kit, unpack the box and make sure you have received everything in the kit. The kit may include power supplies, such as USB plugs and/or battery packs, LED light strips and bulbs, expansion boards and connecting wires. There should also be a user guide, instruction manual and service card. I did an unboxing of my LED light kit in my previous blog post which you can find
here.
Study the User Guide and Instruction Manual!
The idea is that you want to familiarise yourself with the process and understand what needs to be done before you start. The instruction manual provides a lot of pictures but it can still be daunting if this is your first time to assemble a light kit, as it was with me.
The manual shows you which led light bulbs or strips to use. Be careful as there are different styles of light (warm and bright) and different lengths of cables attached to the the lights. The manual also depicts what parts of the modular building will need to be disassembled in order to install the lighting pieces.
Anyways, I must have gone over the instructions at least two to three times, to fully understand the task at hand.
Test Everything!
These LED lights are very delicate so I strongly recommend that you test each part of the kit to make sure there are no defects. I encountered a problem with the USB plug and also an expansion board port problem not responding.
How to Test?
Initially, at a minimum you will require 3 components to test the lights and accessories in the kit. You will need a power source (ie. battery pack or usb plug), an expansion board, and an LED light.
Testing from the battery pack
First make sure you have fresh batteries for your battery pack. Mine takes 3 AA batteries, but your pack may differ. Insert the batteries into your pack and turn on the power switch. Take any one of the LED lights in your kit and plug it into the expansion board via the attached connecting wire, as per the user guide. Then take the connecting wire from the battery pack and plug it into the same expansion board. You should see that the selected LED light comes on. If not, check your connections, try a different led light or different port on the expansion board. Contact the
Lightailing.com service number or email for more assistance.
Test each light and expansion board
If you successfully connected the light and it comes on, continue to plug in different led lights to each port on the same expansion board. This effectively tests all the lights and ports on the selected expansion board. Repeat this test with every light in the kit, then repeat the process using each expansion board, making sure you test every port of each board.
Testing from the USB plug
If your kit includes a USB plug, repeat the above tests but replace the battery pack with the USB plug. The plug will have a connecting wire which you attach to the expansion board. Plug the USB connector to your own USB power source such as a USB hub or power bank. If you successfully verified that all of your lights and expansion boards are working, this test simply swaps out the battery for the USB plug and therefore your expected results should be the same.
Troubleshooting problems
During my testing, I encountered a problem when attaching an LED light to a specific port on one of the expansion boards. All the attached lights would turn off, when I tried to plug in a light to a specific port. Normally I would just expect that the LED light was bad and not turn on, but in this case, the actual port was bad.
Another problem I encountered in my kit was that the USB plug did not work, so for the time being I have to rely on only my battery pack to power the LED lights. These were the problems I encountered with my own kit, but you may or may not have any issues with your kit.
Contacting Service
Do reach out to
Lightailing.com support for assistance if you encounter problems, as I did. They will ask you to document the problem with either photos or videos so that they can assess. Afterwards, they should be able to resolve it or send you replacement parts. At the time of writing this blog post, I'm awaiting the parts that
Lightailing.com sent out to me.
Assuming you didn't have any issues with your lights, let's move on to the next step!
Taking Apart Your Modular Building!
As per the instruction manual, you have to remove or replace parts of your modular building to install the LED lights. Make sure you have your original modular building instructions close by, in case you forget how to re-attach the different parts.
This was probably the most stressful part of the process for me, because it means tearing down parts of my modular building. If you don't do this often, it's a daunting task, but know that the end result is so worth it. The instruction manual is pretty good in most places but you will have to finesse the wire placement and where to attach the expansion boards. All the wiring makes the interior kind of messy, but when viewed from outside, your modular building will look amazing.
Light It Up!
So here is the first floor of my Detective's office wired up. What do you think?
There are lights under the canopies of the pool hall. The interior of the pool hall is also lit up as is the adjacent pedestrian tunnel.
Here's Al's barber shop with interior lighting and the barber pole lit up. Not gonna lie, trying to squeeze the led lights into the barber pole was a nightmare, and I still think the wiring placement can be improved, which I might return to at a later date.
The street lamp on the sidewalk is also lit up.
Don't be alarmed about why my Detective's Office looks different than yours. I made some minor customisations awhile back (I actually borrowed the windows for another modular MOC I was working on). But anyways, you can see the back of the building is lit up just as nicely as the front.
I just finished lighting up the first floor of the Detective's Office, so I've still got the second floor interior to do plus the POOL sign. I'll do another blog post after I've wrapped everything up, so please be sure to come back when I'm done to see the final result. Hopefully the replacement parts get shipped out to me soon!
In the meantime head on over to
Lightailing.com, if you want to check out all of their different LED light kits. They make all sorts of kits for pretty much every Lego set, not just modular buildings.
* * * * * * *
BTW, use special code ITSNOTLEGO at checkout to get an extra discount off your purchases!
* * * * * * *
That's a wrap for this blog post. Don't worry, there will be a part two once I finish wiring up the rest of the Detective's Office to show you the completed and lit modular. Thanks for looking!