Hello brick fans! If you are new to my Bricks and Figs blog, welcome! And if you aren't, welcome back! So sorry for not posting very often, I've been building a few MOCs and Mods lately, but just haven't gotten around to posting pics of them. That reminds me, I also need to update my other blog It's Not Lego! Do feel free to head on over there too to see what new alt Lego sets I've acquired and built.
So today, we are returning to look at my updates to the Zhe Gao brand Hill Tavern, set number is QL0935.
This blog post is a continuation of my Hill Tavern modifications, specifically it will look at the second floor that has been fully furnished. If you just jumped in here randomly, you may want to check out my other blog posts first to get some context. Here's my list of posts specifically about the Zhe Gao Hill Tavern evolution.
3. First floor furnished <--- you are here
6. Bonus Pics (coming soon!)
It's taken me awhile to get all the parts and pieces, but now it's all done and I'm very pleased to show you the full interiors of each floor of the Zhe Gao Hill Tavern.
Warning! As always, I take way too many pictures, so my apologies if you've got a slow internet connection. Ok, let's go!

In my alt Lego town, this Hill Tavern is my first pub or tavern establishment. With that in mind, the immediate interior update had to be the bar area. The layout of the main floor was perfect to locate the bar into the jut-out. In the above pic, I was supposed to just put some rudimentary bricks down to figure out the flow, but I got carried away with adding details. This was supposed to be a planning exercise, not a building one.

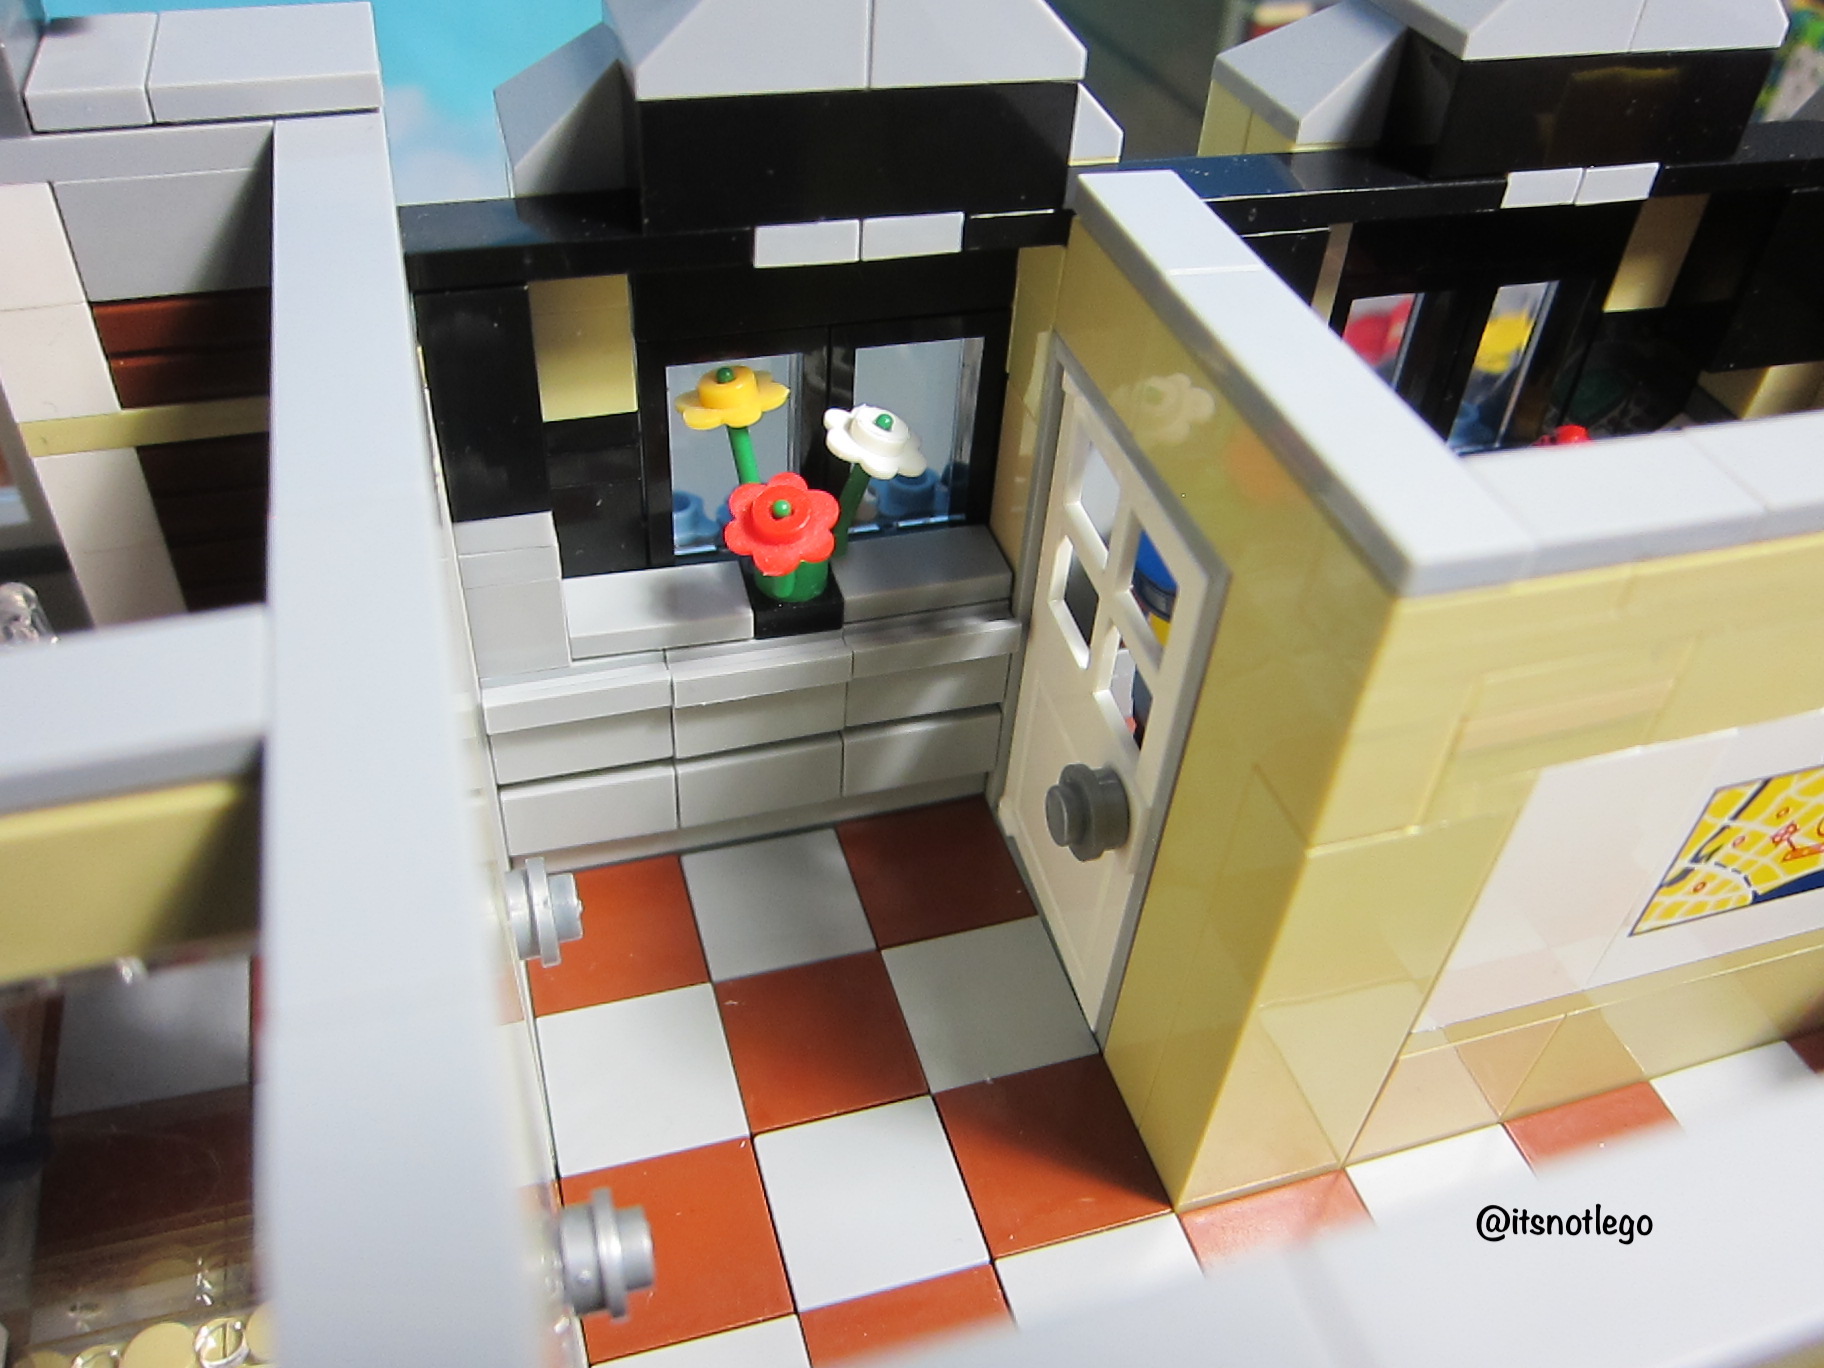
For the bar area, I wanted a long counter with bar stools where patrons could sit. I also wanted a huge wall of glasses and bottles and I also wanted taps to dispense draft beers. To facilitate deliveries, I needed a back door with easy access to the bar, so it only made sense to put the door in the back corner.

Here's the first of three booths. Two by the windows and a third one will be added to the back wall. I thought it would be interesting to elevate the booths and entrance. BTW, the tavern owner's name is Ned. He has various wait staff employed at one time or another. Here Sally is letting the customers at the booth that the first drink is free, because they are still opening up. At the counter is Bill, he is camera shy and doesn't like his picture to be taken.

And here's how the bar area turned out. Instead of just shelves on the wall, I put the glasses into a display unit. Got some nice liquors for the guests with deeper pockets. I also moved the taps to free up the area at the end of the counter. I added a sink and dishwasher to rinse and wash the glasses. Above the dishwasher is the order and payment terminal. I added a clock to let patrons know when closing time was. Bill turns out to be a regular. Ellie is working today. Fun fact, Ned doesn't drink, so that's why you always see him with a glass of water.

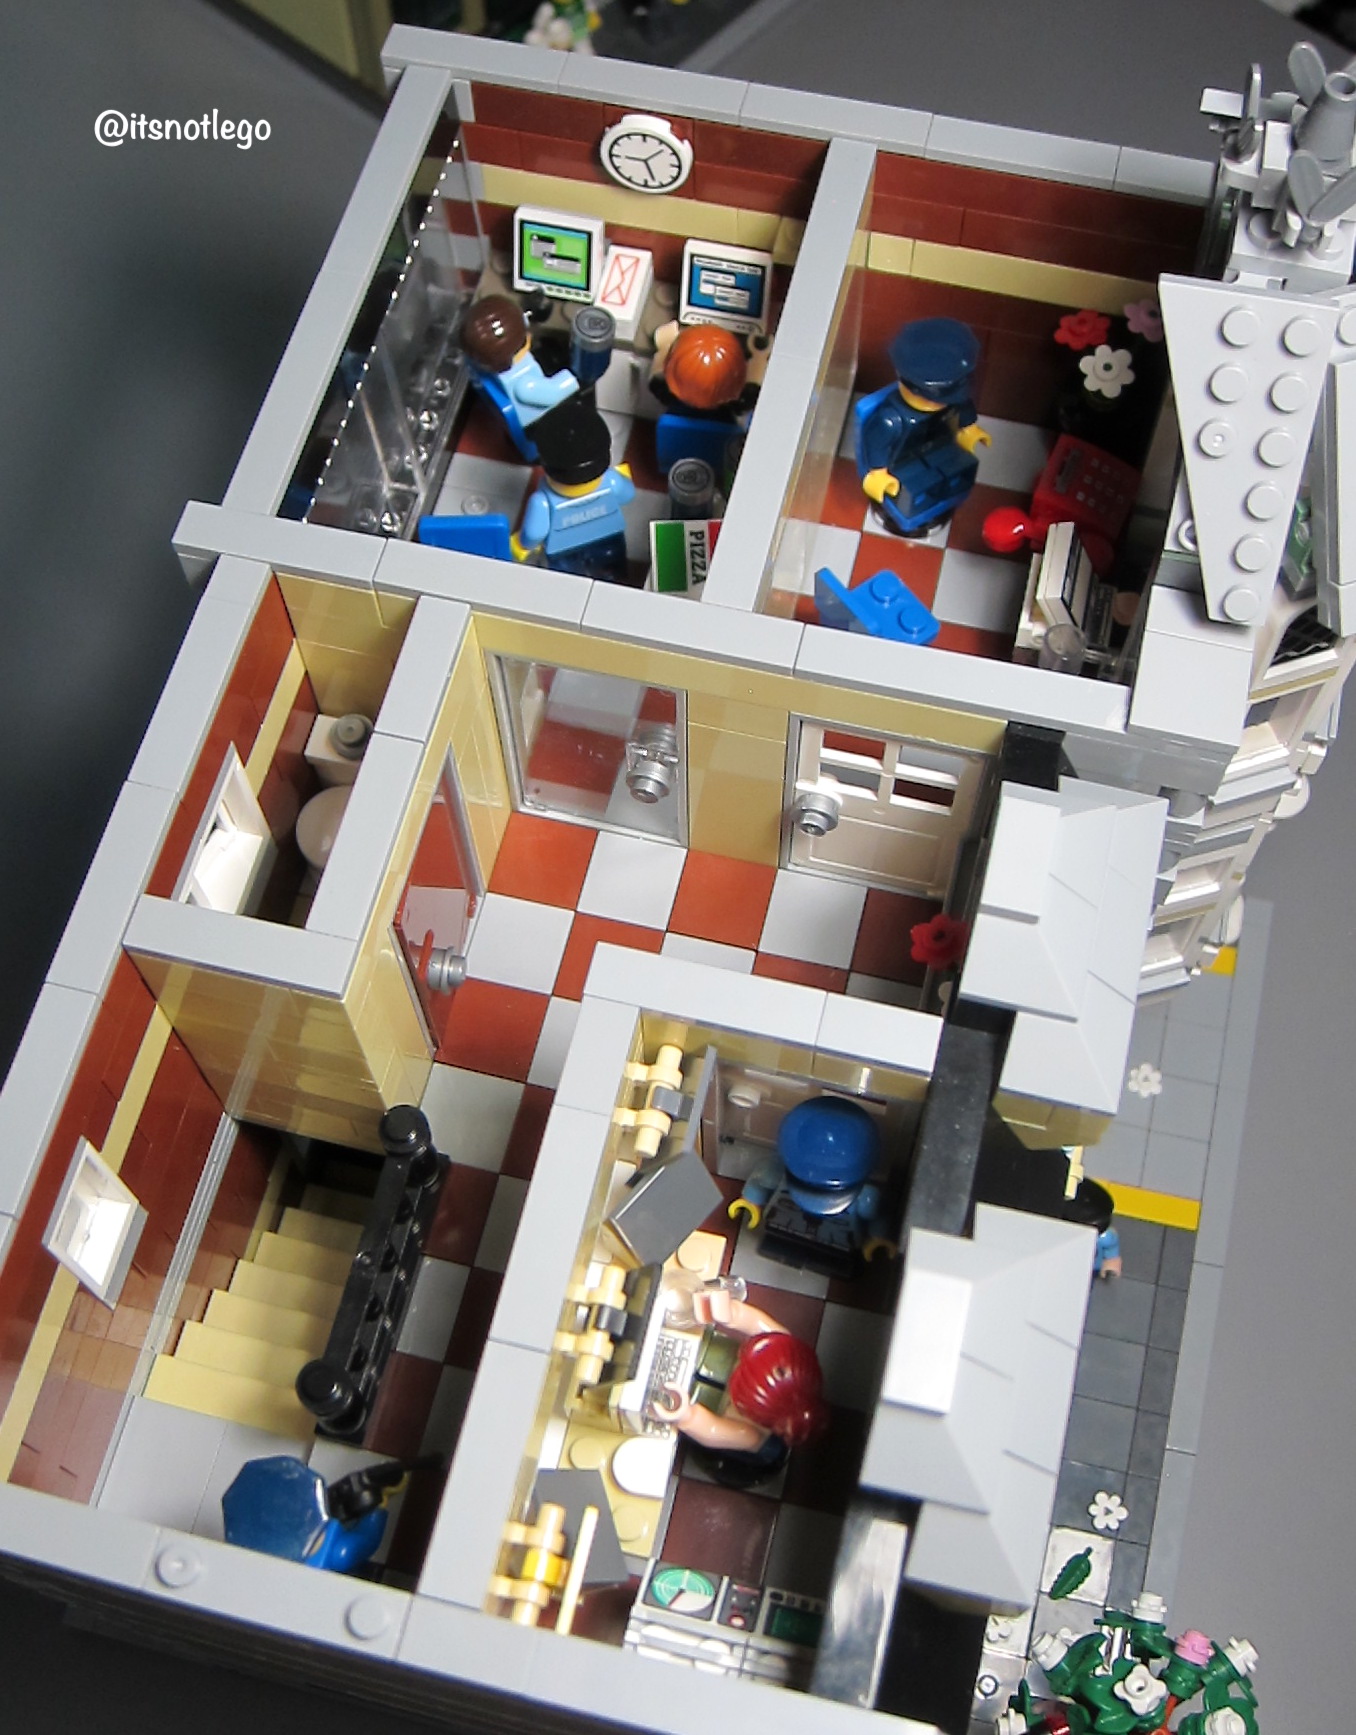
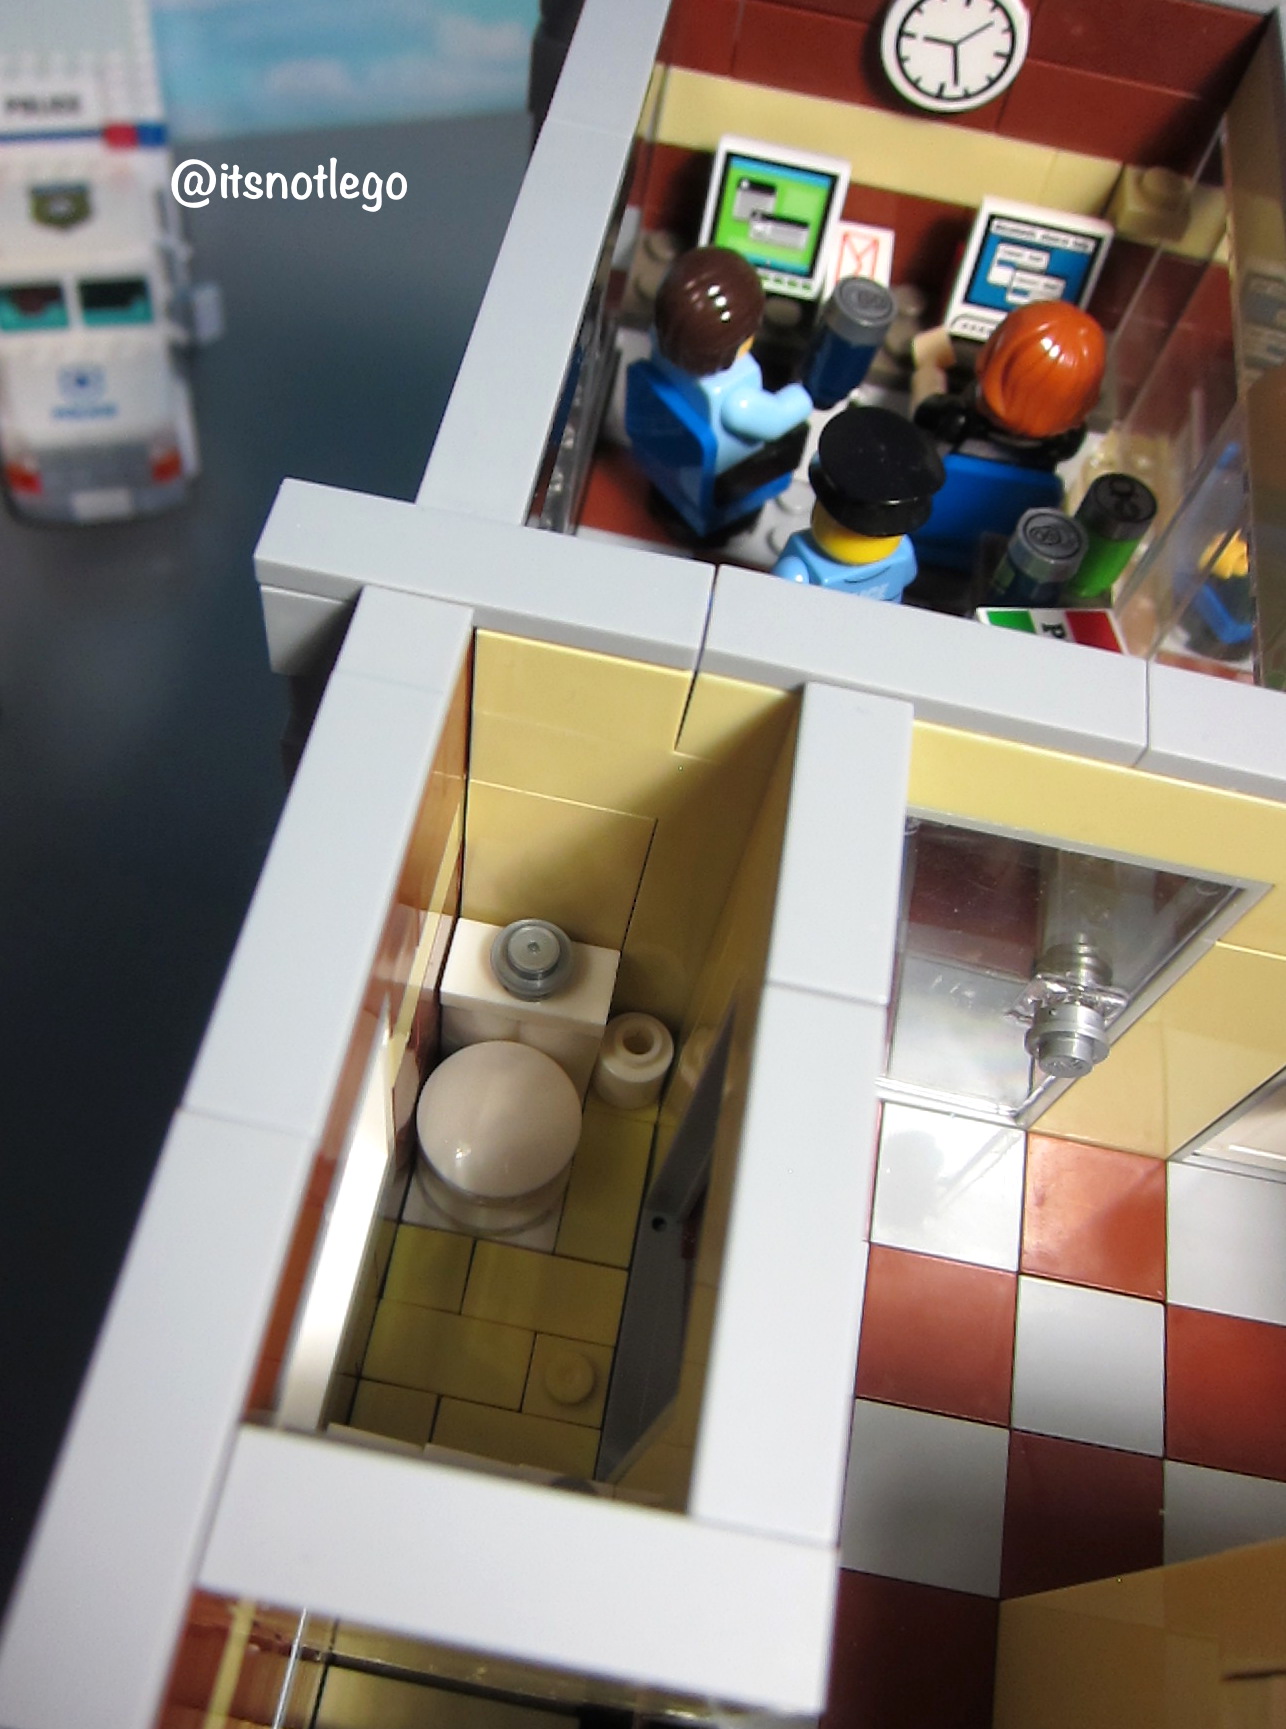
Tada! The fully finished first floor, hope you like it! I've made it a point of making sure all my modular MOC have tiled floors, it costs me more in parts, but I think it gives a cleaner look, don't you? Here you can see all three booths. I made the booths a bit more decorative. There's a staircase to the second floor, and underneath is a washroom. It's late afternoon, and the construction workers decide to get together for drinks. Luckily the open area in the middle can accommodate big groups.

Pictured above is one of several TVs located throughout the establishment.

Here's a better view of the third booth, and the door to the washroom. Sometimes famous people will come in to have a drink.

Another look at the staircase to the second floor. I subsequently tiled the landing. Maybe I'll update this pic later.

Those guys can get a bit loud. Hopefully there's some music playing in the background to drown them out a bit.

Another day, another dollar. It's nice and peaceful in the morning before the crowds come in. Out back, are some of the empties from the night before. There's even an extra chair for emergency seating. Pretty sure Bill will wander in at any moment.
So, this post is getting kinda long, so I'm going to end it here. Hope you enjoyed the tour of the first floor bar. If you want to see more, please visit my next post where we will see the VIP lounge on the second floor. See you there!
BTW, you can find the Zhe Gao QL0935 Hill Tavern set on Aliexpress by following the link below.
Thanks for visiting Bricks and Figs, and hope you can come back soon! Bye!
 AliExpress.com Product - ZHEGAO QL0935 Creator MOC Street View Series Hill Tavern Building Blocks 1367pcs Bricks Toys Sets Compatible Creator